The main cylinder is replaced with the following faults:
- - incomplete release of all wheels (jamming of the master cylinder piston);
- - “failure” of the brake pedal (wear of cuffs, breakage of cylinder parts).
Repairing the master cylinder usually does not lead to the desired result, so the master cylinder should be replaced.
Preparing the car for work.
Disconnect the negative battery terminal.
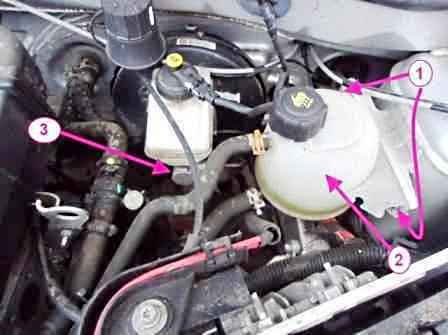
Using a 10 socket with an extension, unscrew the two nuts 1 (Figure 1) securing the expansion tank 2 and move the tank to the side without draining the coolant.
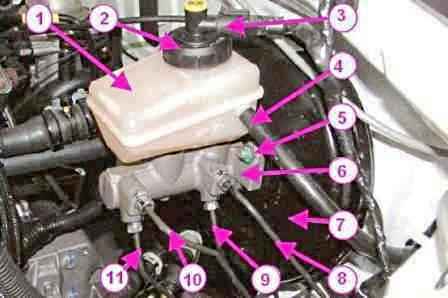
Disconnect block 3, Figure 2, of the wiring harness from the brake fluid level sensor.
Unscrew and remove plug 2 as an assembly with the brake fluid level sensor.
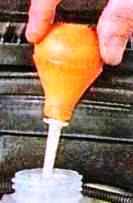
Pull out the brake fluid from the tank, Figure 3.
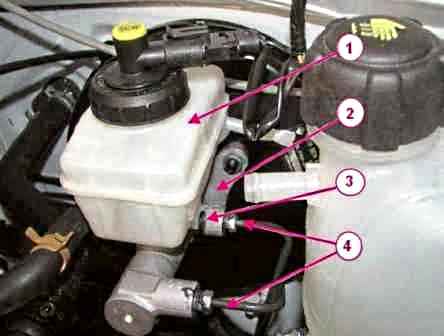
Remove latch 3, Figure 4, fastening the reservoir to the master cylinder of the brake, remove the reservoir and install plugs in the holes of the master cylinder.
With a special wrench for brake pipes, disconnect the fittings of the brake pipes 4 from the master cylinder 2 of the brake, move the pipes to the side and install technological plugs in the holes of the master cylinder and on the brake pipes (plugs from the brake bleeders can be used).
We unscrew the two nuts 5, Figure 2, fastening the master cylinder 6 of the brake to the vacuum booster 7 and remove the cylinder (replaceable head 13, extension, ratchet wrench).
Install
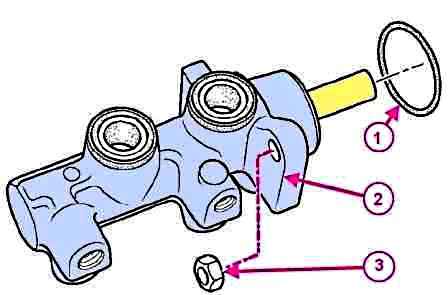
Before installation, be sure to replace the sealing ring 1, Figure 5, of the master cylinder 2 of the brake.
In case of leakage of working fluid from the brake master cylinder into the vacuum booster, be sure to replace the brake master cylinder - vacuum booster assembly.
A vacuum brake booster with a rubber diaphragm that has been exposed to brake fluid becomes unusable.
Install the brake master cylinder in place and align it with the vacuum booster so that the booster tappet fits into the seat in the master cylinder housing.
Fix the brake master cylinder to the booster housing with two nuts. Nut tightening torque 21 Nm (2.1 kgf.m) (replaceable head 13, extension, ratchet wrench, torque wrench).
Remove the plugs from the brake pipes and the holes of the brake master cylinder, attach the brake pipes to the master cylinder and tighten the fittings. Tightening torque of fittings 14 Nm (1.4 kgf.m)
Remove the plugs from the holes of the brake master cylinder, install the hydraulic drive reservoir on the cylinder and secure it with a retainer.
Replace the expansion tank 2, Figure 1, and secure the two nuts 1. The tightening torque of the nuts is 8 Nm (0.8 kgf.m) (replaceable head 10, extension and wrench, torque wrench).
Bleed the brake system and hydraulic clutch.
Put the cap on the brake cylinder reservoir and connect the wiring harness connector to the brake fluid level indicator sensor.
Check the efficiency of the service brake system.
Details on replacing the reservoir and brake master cylinder
Disconnect the negative battery terminal
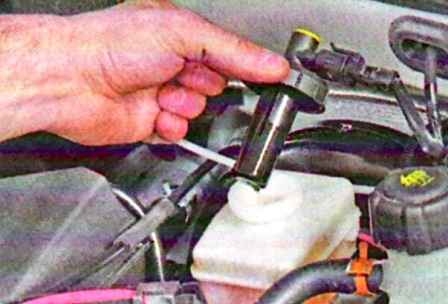
Unscrew the cap of the reservoir of the main brake cylinder
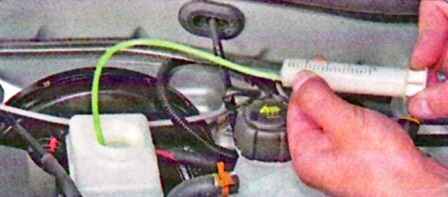
Pull out the brake fluid from the reservoir
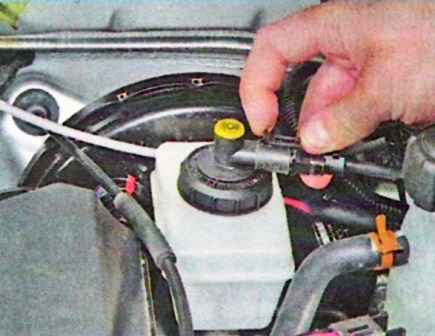
Reinstall the plug and disconnect the wiring harness from the brake fluid level sensor and remove the plug
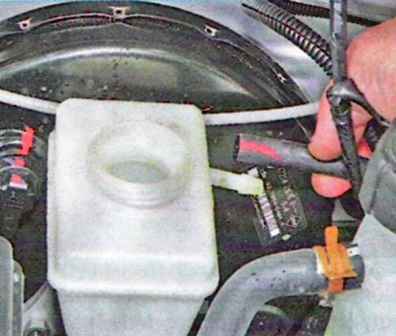
Remove the hose from the tank fitting to the master cylinder of the hydraulic clutch release
After disconnecting the hose, we fix it in the upper position so that no liquid flows out (so as not to pump the clutch hydraulic drive)
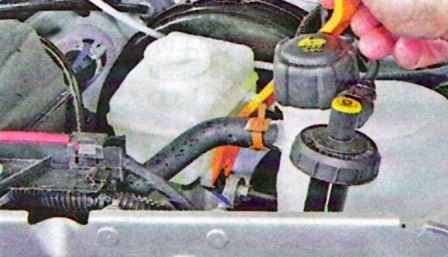
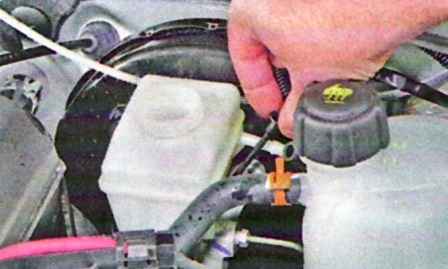
We pry off the fixing pin and remove it from the holes of the reservoir and the main brake cylinder
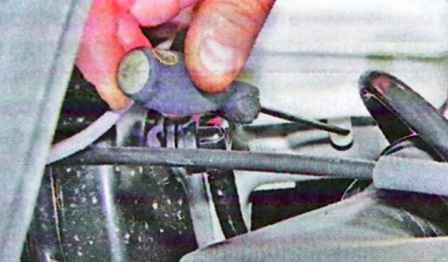
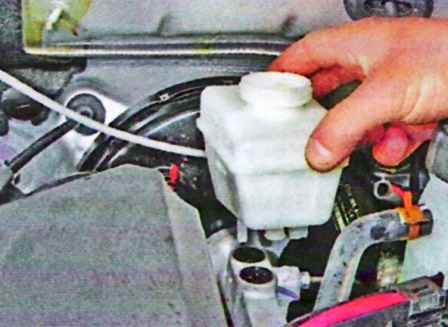
We take out the tank, removing the nozzles from the connecting pipes
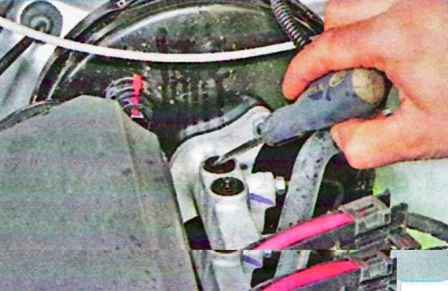
If the bushings are worn out, then remove the bushings and replace them
Removing the brake master cylinder
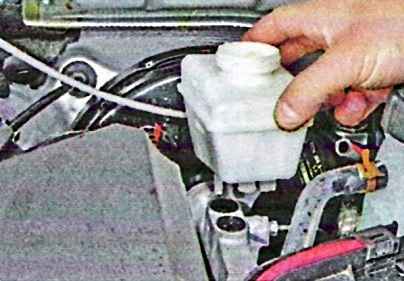
Remove the tank as described above
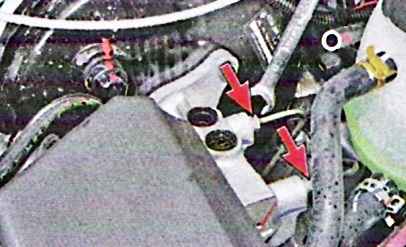
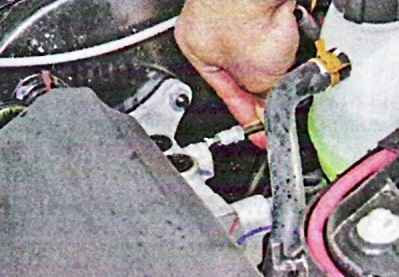
We unscrew the nuts securing the two tubes to the main cylinder and gently move the tubes to the side
We insert plugs on the tubes to prevent fluid from escaping
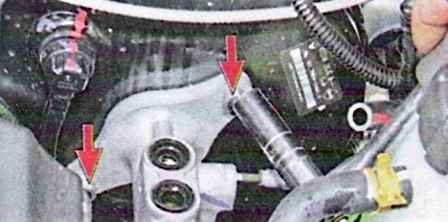
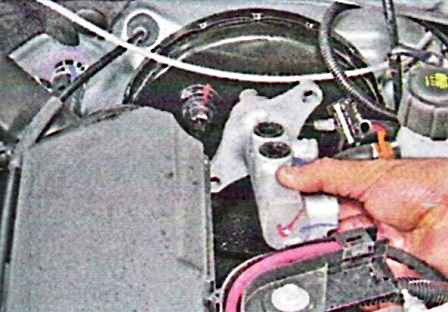
We unscrew the two nuts securing the master brake cylinder to the vacuum booster and remove the master brake cylinder
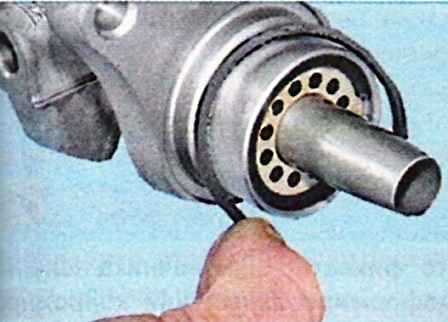
Remove the rubber sealing ring from the brake master cylinder body
Install the brake master cylinder and all parts in reverse order
Fill in brake fluid and bleed the brakes


