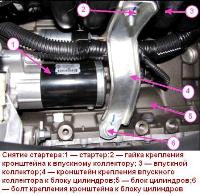
The compressor pulley is mounted on a double-row ball bearing.
When pressing out, the bearing is destroyed, so we press it out only for replacement
We bleed the refrigerant from the air conditioning system and remove the compressor, as described in the article - Removing and installing the air conditioning compressor Lada Largus
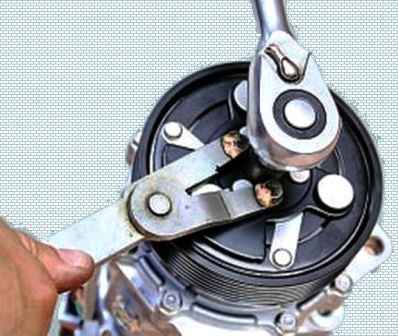
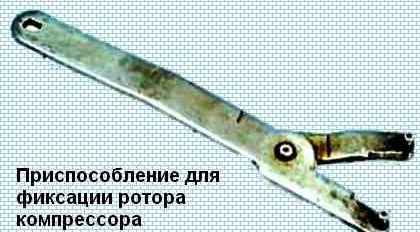
Holding the compressor rotor from turning with a special tool
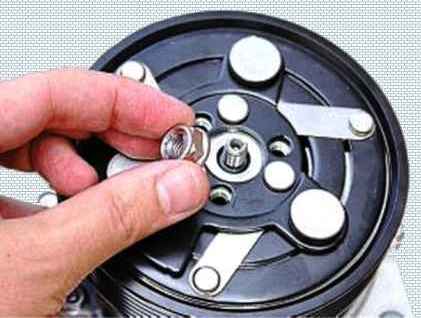
Unscrew the clamping plate nut
Using a puller, we press the pressure plate off the compressor shaft
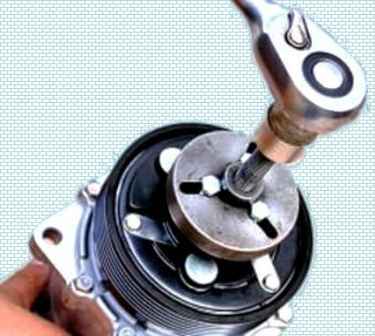
If the pressure plate is tight and corroded to the shaft splines, do not attempt to remove it by inserting a screwdriver into the gap between the pulley and the plate. This will deform the plate.
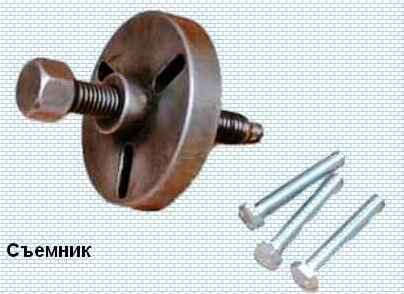
To remove the pressure plate, use a special puller
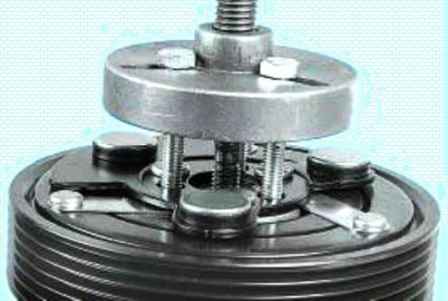
We screw the bolts of the puller into the threaded holes of the pressure plate and turn the stop screw of the puller
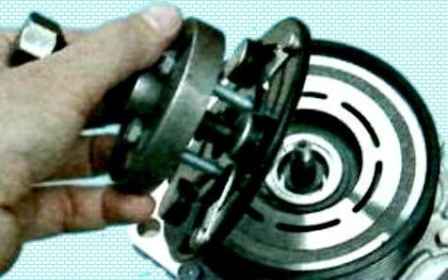
Compressing the plate
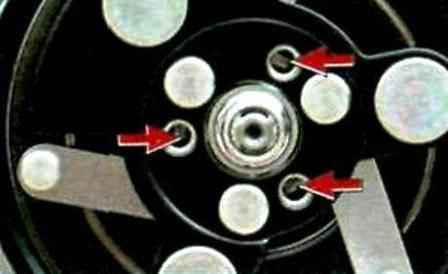
Some plates do not have threaded holes. Then you need to cut the M6 thread
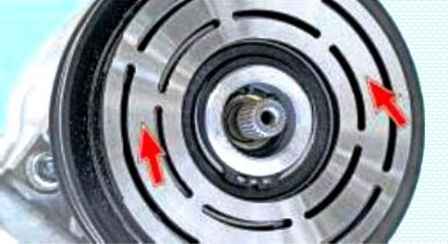
Inspecting the working surfaces of the pulley
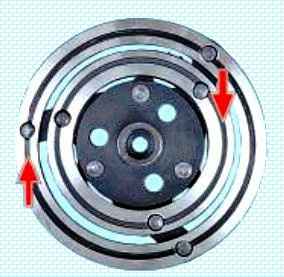
We inspect the working surfaces of the plate for the absence of deep scratches, scuff marks and signs of wear and overheating. Replace parts if necessary
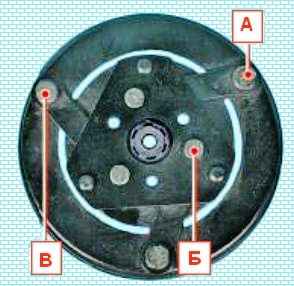
We examine the rivet connections "A" and "B", as well as the elastic steel leashes "C" of the plate.
If the drivers are broken or the rivet connections are loose, replace the pressure plate.
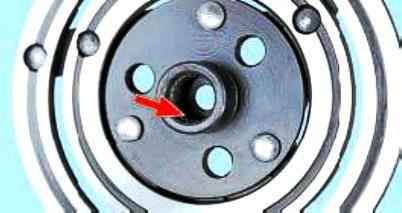
Inspecting the slots of the pressure plate. When the splines are worn, we replace the plate.
Inspecting the surface of the shaft seal
If there are signs of oil leakage through the shaft seal, the compressor must be replaced.
In some cases, if a leak is detected, the gland can be replaced.
But you need to know that the leak is caused by shaft play due to wear of the bearings or wear of the shaft in the seal area. It is better to replace the compressor immediately.
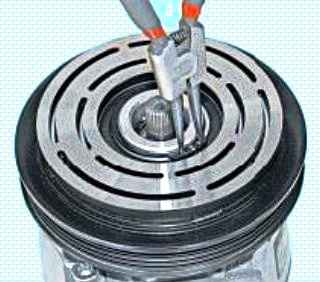
Using an expanding puller, remove the pulley bearing circlip
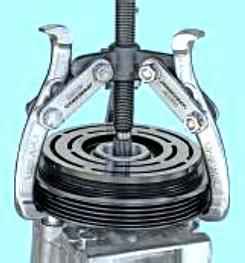
Installing the puller
We press the pulley from the landing neck of the front cover of the compressor.
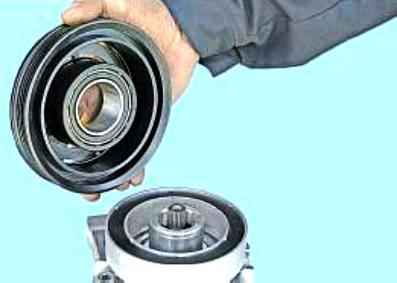
It is convenient to use a three-fingered puller
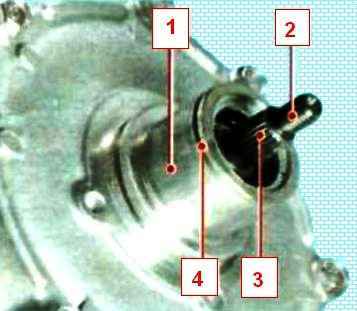
After removing the pulley, inspect the splines 3 and the threaded tip 2 of the shaft, the groove 4 for the retaining ring and the seating surface 1 of the bearing journal (for clarity, the magnet coil is removed). If they are worn or damaged, we replace the compressor.
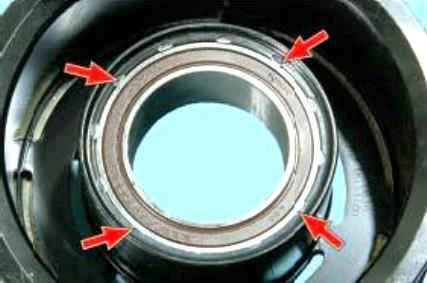
On a lathe, we cut off the rolling to fix the bearing in the pulley
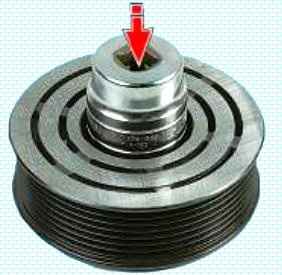
Using a mandrel of a suitable diameter, we press the old bearing off the pulley.
After removal, the bearing is no longer suitable, we replace it.
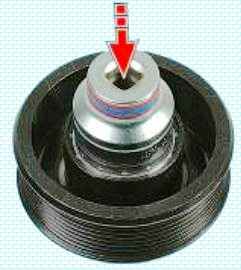
We press in a new bearing.
You need to be careful when pressing. The outer race wall of the pulley bearing is very thin.
Slight misalignment during press fitting can lead to bearing failure.
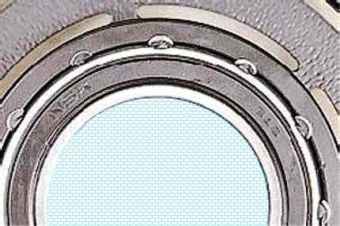
After pressing, we fix the bearing by punching the edge of the pulley mounting hole
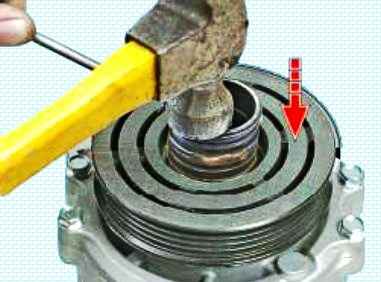
We press the pulley onto the front cover of the compressor. When pressing, you need to apply force to the inner ring of the bearing.
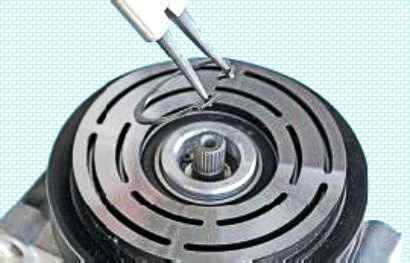
Installing the retaining ring
After pressing on the compressor, we check the condition of the pulley. It should rotate silently, without jamming, evenly. There should be no axial or radial runout.
If the check reveals an axial or radial th runout, we replace the pulley.
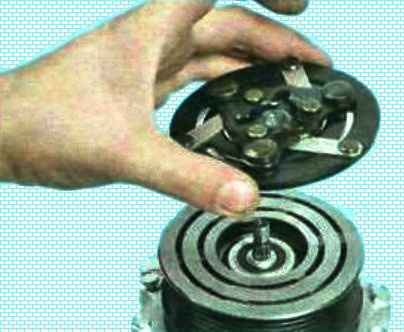
Press the pressure plate onto the shaft

Screw on the old fastening nut
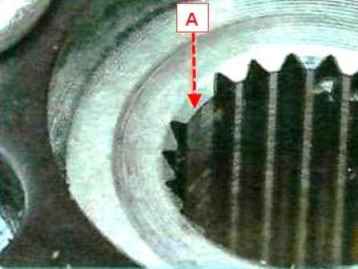
The pressure plate can only be installed on the shaft in one position.
When installing, we combine the protrusion "A" on the inner splined surface of the plate and the cavity on the outer splined surface of the shaft.
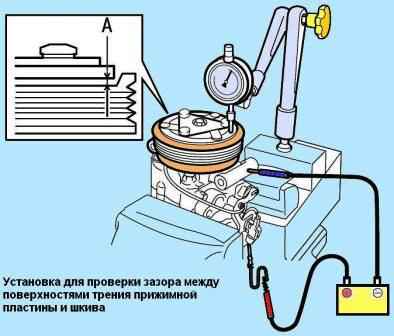
Installing the compressor in a vise
Installing the arrow indicator.
Connect the positive terminal of the battery to the coil winding connector, the negative terminal to the compressor housing.
Measure the gap "A" between the friction surfaces at different points.
If the gap is not the same, replace the pressure plate. The nominal gap is (0.35±0.02) mm.
If the gap differs from the nominal size, remove the pressure plate.
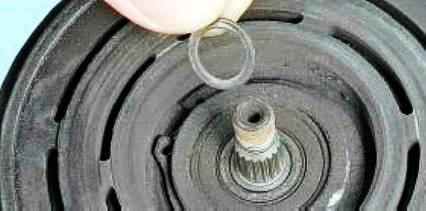
To adjust the gap, we use special calibration washers.
After adjustment, unscrew the old bolt from the shaft end and screw in the new bolt.
We install the compressor and all the removed parts. Filling the air conditioning system.
Compressor clutch solenoid replacement
To work, you will need tools: a set of screwdrivers, an 18 wrench, pullers to remove the pulley, a puller to remove the electromagnet and a tester
We remove the refrigerant from the system. We remove the compressor.
Remove the pressure plate
Remove the drive pulley as above
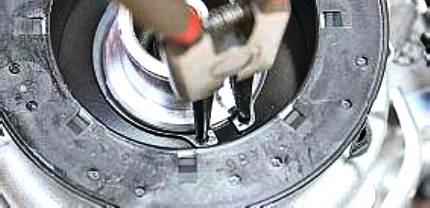
Remove the retaining ring of the compressor clutch electromagnet
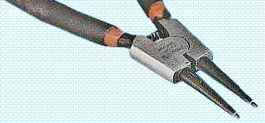
To remove the retaining ring, use a special expanding puller
We move the electromagnet from the landing belt of the front cover of the compressor and remove it
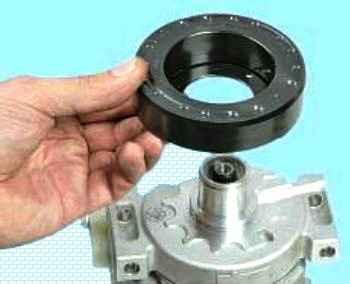
We check with an ohmmeter the resistance of the winding of the electromagnet coil and the absence of a short circuit to the case. The resistance should be 3.6-3.8 ohms.
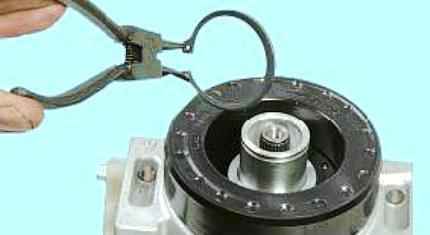
We install the electromagnet on the front cover of the compressor. You need to make sure that the retaining ring is fully inserted into the groove
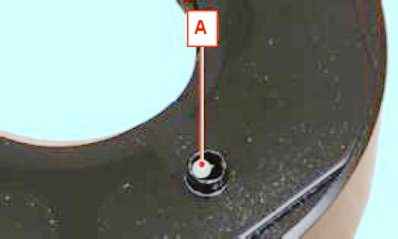
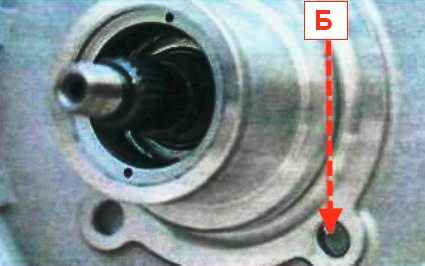
When installing the coil on the compressor, the fixing protrusion "A" on the rear surface of the coil housing must fit into the recess "B" on the compressor cover.
We press the pulley onto the landing neck of the compressor front cover. Apply force to the inner race of the bearing.
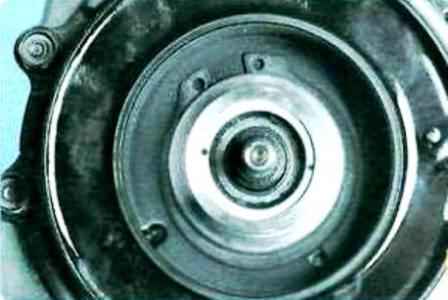
After pressing, check the rotation of the pulley.
Install the compressor and other parts in reverse order.
Fill the system with refrigerant.


