It is advisable to remove and clean the throttle assembly after 15,000 km of the car’s run, or when malfunctions are detected
Main malfunctions of the throttle assembly:
- - incorrect definition of the extreme positions of the damper;
- - incorrect programming of the damper initial position;
- - damper actuator malfunction (jamming);
- - discrepancy between the set and current damper positions;
- - inconsistency between the set and current damper positions after the latter rebounds from the lower limiter (causes a transition to the backup mode)
Removing and cleaning the throttle body
We will show dismantling and cleaning using the example of a 2.0l engine.
On engines of other power, the process is not particularly different.
To repair, we need a slotted screwdriver, a 10 socket wrench, flushing fluid.
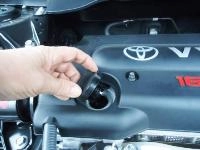
Preparing the car for repair. Remove the negative terminal from the battery.

Use a slotted screwdriver to loosen the clamp securing the air duct to the throttle assembly

Loosen the clamp securing the air duct to the air filter housing.

Remove the duct.

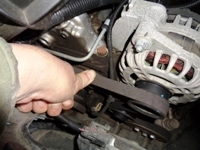
Using a 10 key, we unscrew the four bolts securing the throttle assembly

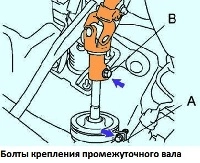
Disconnecting the recirculation tube

Press the latch with a thin screwdriver and remove the throttle control connector

Remove the throttle assembly for cleaning

Clean the throttle assembly with carburetor cleaner.
Blow out the throttle assembly with compressed air

Install the throttle assembly in reverse order
When installing, check the rubber sealing ring.
")
")
")
")
")
")