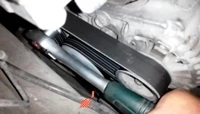
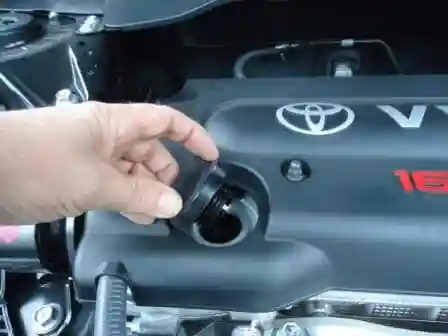
Remove the oil filler cap
The lid turns counterclockwise
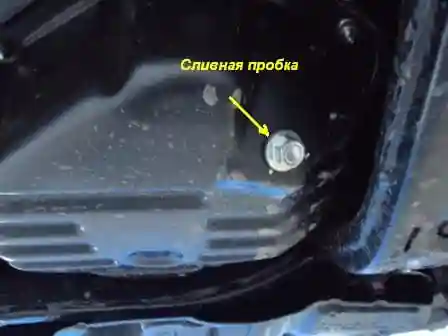
Remove the oil drain plug and drain the oil into a container.
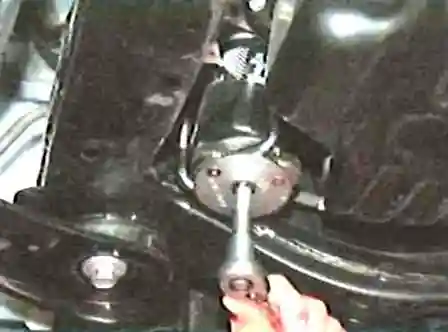
Using the special tool 09228-06501, remove the oil filter (Fig. 3).
Check and clean the oil filter mounting surface.
Apply clean engine oil to the new oil filter gasket.
Lightly screw the oil filter into place, and tighten it until it touches the gasket on the seating surface.
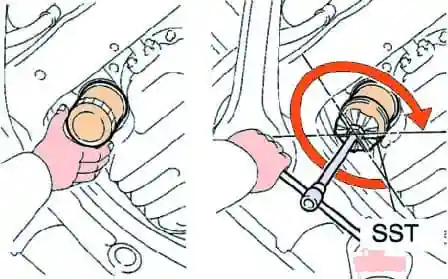
Using the special tool 09228-06501, tighten the filter an additional 3/4 turn (fig. 4).
Clean and replace the oil drain plug with a new gasket.
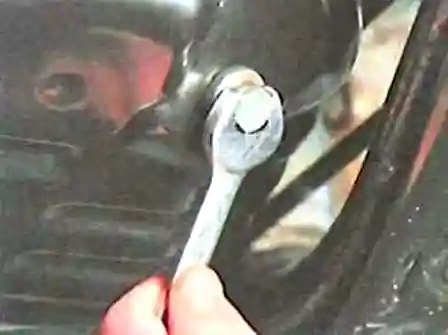
Tightening torque: 25 Nm (255 kgf cm).
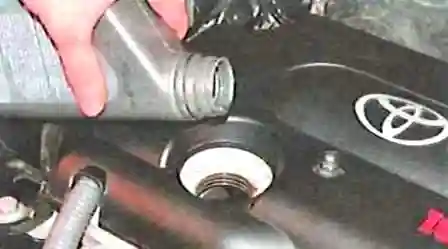
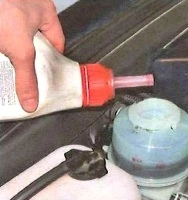
Fill with fresh engine oil.
Install the oil filler cap.
Check for oil leaks.
Prolonged and repeated contact with mineral oil leads to the removal of natural oils from the surface of the skin, which leads to dry skin, irritation and dermatitis.
In addition, used engine oil contains potentially harmful substances that can cause skin cancer.
- Take care to minimize the length and frequency of your skin contact with used oil.
Wear protective clothing and gloves.
Wash skin thoroughly with soap and water, or use a waterless hand cleaner to remove used engine oil.
Do not use gasoline, thinners or thinners.
To protect the environment, used oil and a used oil filter should only be taken to designated recycling centers.


