Signs of a throttle that is not fully closing may be increased idling speed and fuel consumption, and not fully opening - the engine does not develop full power, insufficient engine response, jerks and dips in engine operation when the car is moving.
In case of these malfunctions, first try to adjust the throttle actuator or replace the cable (see "Adjusting and replacing the Niva Chevrolet throttle cable").
If this does not work, replace the throttle assembly.
You will need: socket wrench (head) "13", a screwdriver with a Phillips blade, pliers.
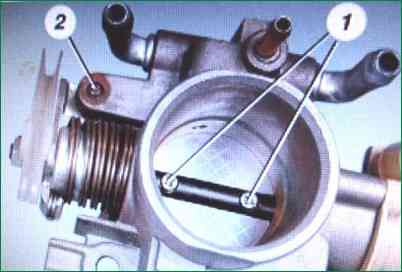
It is forbidden to unscrew the screws 1 (fig. 1) fastening the throttle valve.
If they are then poorly screwed in and locked out, a loose screw can get into the engine cylinder and disable it.
The throttle position is set at the factory, so it is not recommended to touch the throttle adjusting screw 2.
Drain the liquid from the engine cooling system (see "Changing the Niva Chevrolet coolant").
With a known skill, the coolant can not be drained.
Prepare suitable plugs with which to plug the hoses immediately after disconnecting them.
Loss of coolant with this method will be negligible.
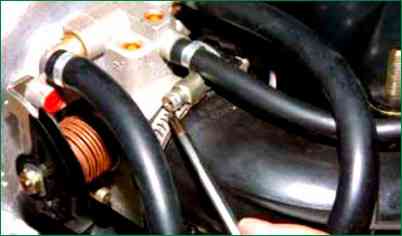
Using a Phillips screwdriver, we loosen the clamp of the air supply pipe
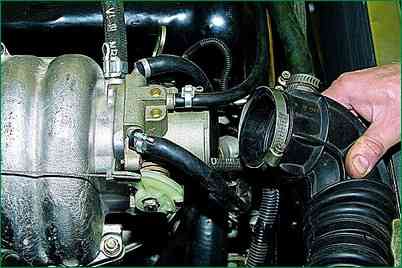
Disconnecting the air supply hose
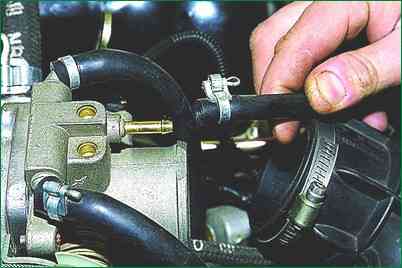
Loosen the clamp and disconnect the hose of the small branch of the crankcase ventilation system
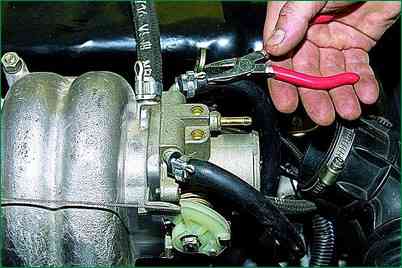
Loosen the clamps attaching the coolant inlet and outlet hoses to the nozzles of the throttle assembly
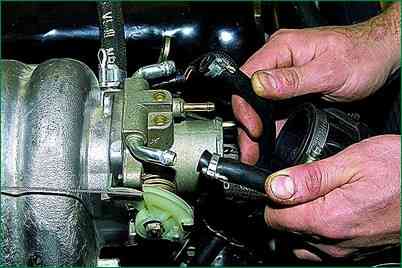
Remove the coolant outlet and inlet hoses
Tape clamps installed on the car are inconvenient to use.
They are very difficult to loosen and often do not provide a strong connection when re-tightened.
Therefore, we recommend disassembling them for the first time in the manner shown and replacing them with worm-drive clamps when assembling the assembly.
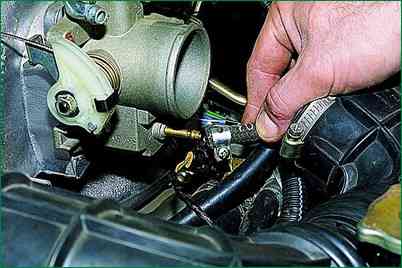
Loosen the fastening clamp and disconnect the canister purge hose from the nozzle of the throttle assembly.
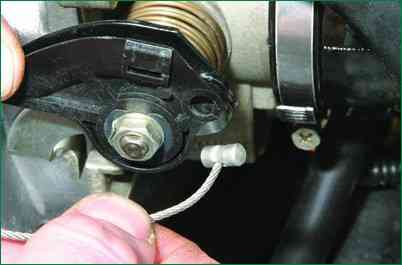
Disconnect the throttle cable from the throttle body sector
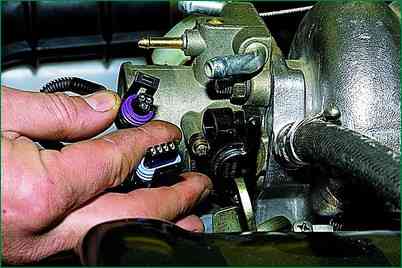
Disconnect the harness connectors from the throttle position sensor
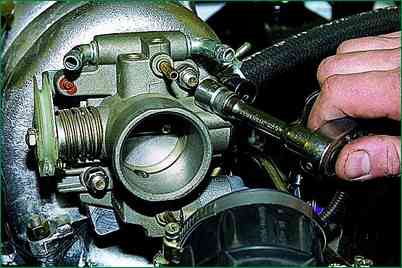
With a 13 head, unscrew the two nuts securing the throttle assembly to the receiver
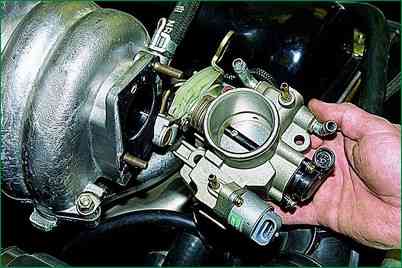
Remove the throttle assembly from the studs on the receiver.
Please note that there are two washers (one flat and one spring) under each nut.
When replacing the throttle assembly, if the throttle position sensor and idle air control are not installed on the new assembly, rearrange them from the old assembly.
To do this, unscrew the two screws each.
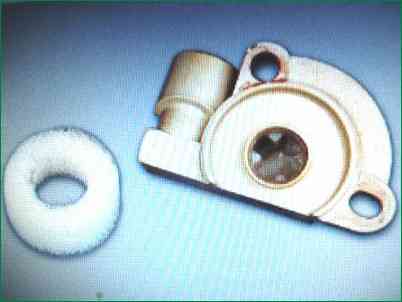
Replace the damaged foam ring under the throttle position sensor.
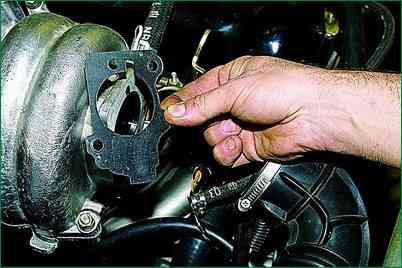
A gasket is installed between the receiver and the throttle assembly
Clean the dirty throttle assembly with carburetor cleaner, after removing the sensor and regulator from it.
Clean also the dirty regulator and sensor (do not use solvents to clean them).
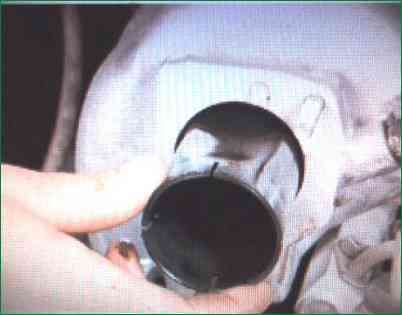
Remove the plastic airflow diffuser from the receiver for inspection.
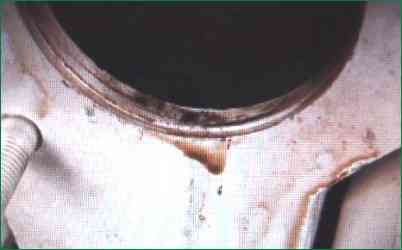
Remove oil and other contaminants from the diffuser and receiver.
Install the diffuser and throttle assembly in the reverse order of removal.
The throttle assembly gasket is disposable and must be replaced.
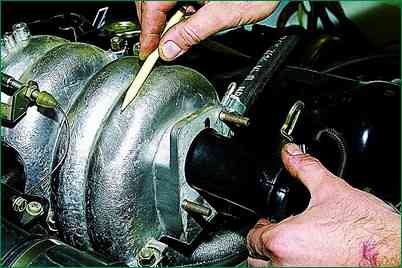
The flat on the diffuser should face the flat surface of the receiver.
Adjust the throttle actuator


