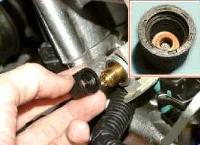
Thermostat failure is due to a stuck thermal valve
Thermal valve can jam as if in the open position, while the engine will warm up for a long time
The thermal valve may get stuck in the closed position, causing the engine to overheat.
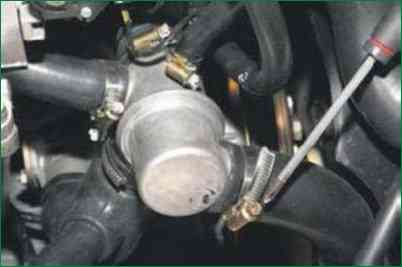
Use a screwdriver to loosen the clamp of the radiator outlet hose
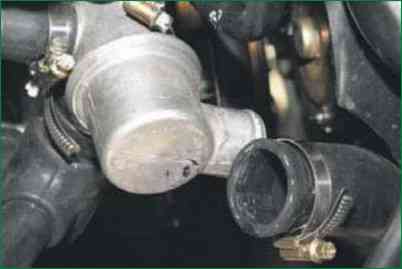
Remove the hose from the thermostat nozzle
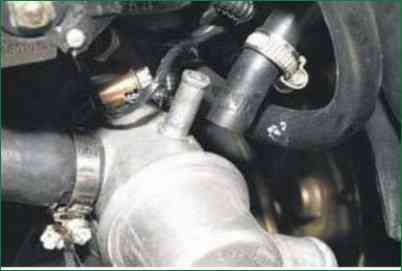
Loosen the clamp of the outlet hose of the throttle assembly heating unit, and remove the hose from the thermostat nozzle.
Depending on the engine configuration, the thermostat design may differ.
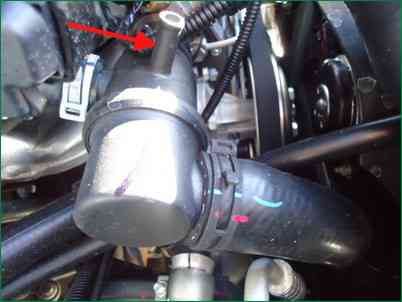
If the throttle assembly with an electronic damper actuator, the nozzle for heating the throttle assembly is closed. And the hose for heating the throttle assembly does not depart from it (Fig. 4).
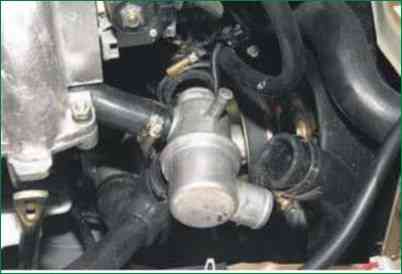
Loosen the bypass hose clamp and remove it from the thermostat nozzle.
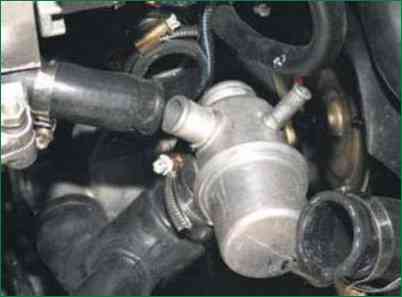
Loosen the clamp securing the heater radiator outlet hose to the thermostat nozzle and remove the hose.
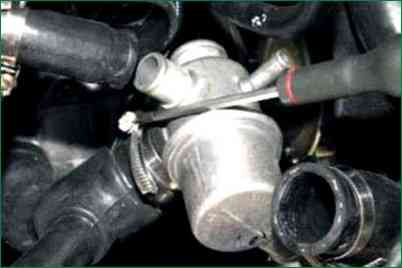
Loosen the clamp securing the coolant supply hose to the pump
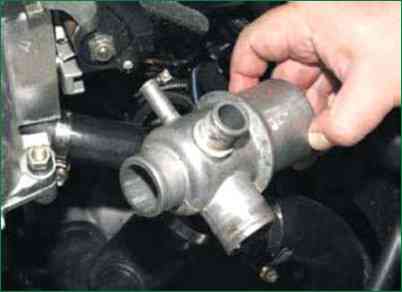
Remove the thermostat
Checking the thermostat
At the thermostat, check the temperature at which the main valve opens and the valve stroke.
To do this, install the thermostat on the stand, lowering it into a tank with water or coolant.
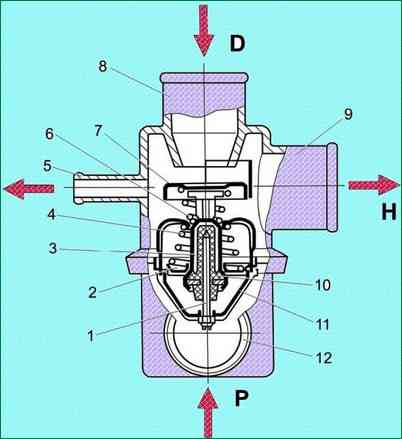
Thermostat: 1 - piston; 2. - main valve; 3 - solid thermosensitive filler; 4 - main valve spring; 5 - outlet pipe to the throttle pipe; 6 - bypass valve spring; 7 - bypass valve; 8 - inlet pipe from the engine; 9 - outlet pipe to the pump; 10 - rubber insert; 11- piston holder; 12 - inlet pipe from the radiator; D - fluid inlet from the engine; P - fluid inlet from the radiator; H - fluid outlet to the pump.
In the main valve 2 (Fig. 9), install the indicator leg bracket from below.
The initial temperature of the liquid in the tank should be 73-75°C.
Gradually increase the temperature of the liquid by about 1 ° C per minute with constant stirring so that it is the same throughout the entire volume.
The temperature at which the main valve stroke is 0.1 mm is taken as the temperature at which the valve opens.
The thermostat must be replaced if the main valve opening start temperature is not within (80±2)°C or the main valve stroke is less than 6.0 mm.
The simplest thermostat test can be carried out by touch, directly on the car.
After starting a cold engine with a working thermostat, the lower radiator pipe should heat up when the needle of the fluid temperature gauge is approximately 3–4 mm from the red zone of the scale, which corresponds to 80–85 ° C.


