Depending on the vehicle configuration, various schemes and options for auxiliary unit drives can be used
Belts may vary in size, as auxiliary units such as power steering pump, alternator, air conditioning compressor may be from different manufacturers.
Therefore, before checking and replacing belts, you need to decide which option suits you.
On the outside of the belts, their size is indicated. You need to buy belts according to their size.
When replacing belts, be sure to check the condition of the tension and auxiliary rollers.
Be sure to carry spare belts with you, especially on a long trip.
Let's consider some options and belt replacement technology.
Checking the tension and adjusting the power steering pump drive belt
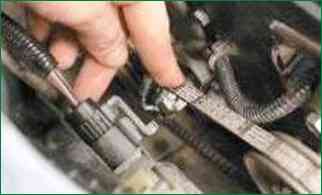
Check the belt tension by bending the branch between the pulleys of the hydraulic booster pump and the crankshaft.
The belt should fit snugly against the pulley, but the belt must not be overstretched so as not to increase the load on the pump bearings.
You will need: "13" (two) keys, a barb or a mounting blade.
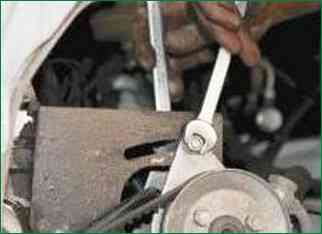
Loosen the nut securing the pump to the tension bar.
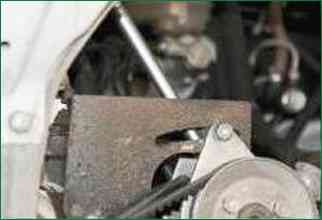
Using a barb or a mounting spatula, move the pump in the desired direction and achieve the required tension.
If the belt needs to be changed, move the pump towards the motor so that the pump pulley can be released and the belt replaced.
Notice the crankshaft position sensor wire. Do not damage it when moving the pump.
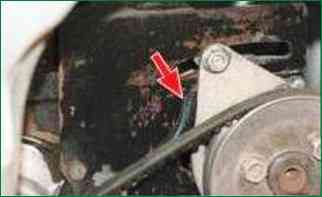
Tighten the nut securing the pump to the tension bar
Two-belt version with coolant pump, alternator, hydraulic booster and compressor drive belt
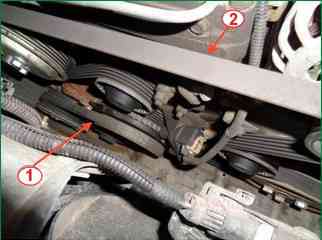
Work must be done on a viewing hole or on a lift.
Preparing the car.
Opening the hood.
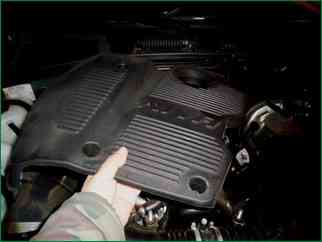
Remove the plastic engine protection (screen)
When belts are loose or the idler rollers are worn, there will be a characteristic "whistling" or noise when the engine is running in the area.
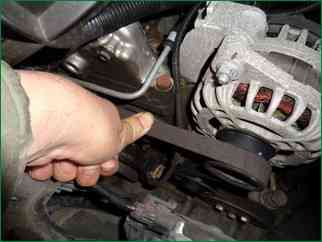
To check the tension of the accessory belt, press the belt with your finger in the middle between the alternator pulley and the coolant pump.
With a pressing force of about eight kilograms, the deflection of the belt should be 12 ± 1 mm.
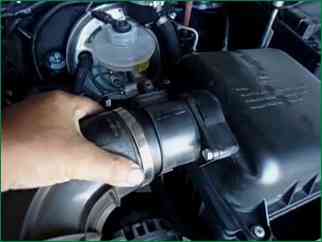
To adjust the belt tension, remove the rubber air supply pipe to the throttle assembly.
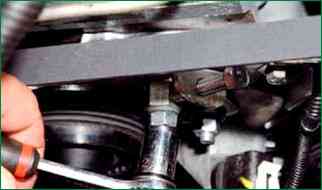
Head and 13 we loosen the tightening of the three nuts securing the tension roller bracket.
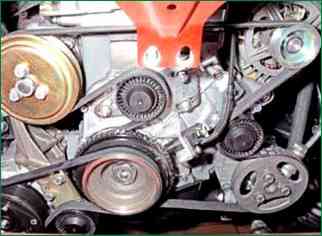
With a key or a 13 head, turn the adjusting bolt clockwise, tightening the belt.
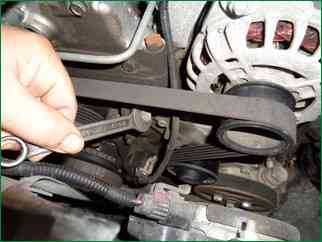
Tighten the nuts of the tension roller.
We start the engine, after five minutes we stop and check the belt tension.
Belts must not be overtightened, as the bearings of the units that they rotate from excessive load may fail.
We replace the belts of auxiliary units when cracks, tears and rubber peeling are detected.
First, remove the air conditioning compressor drive belt (see below).
After the air conditioning compressor drive belt has been removed, loosen the tension roller bracket and turn the adjusting bolt counterclockwise, loosening the belt tension.
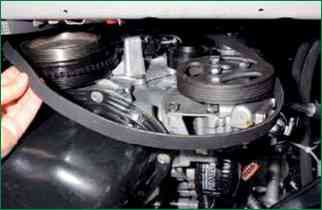
Remove the belt from the tension roller and other pulleys.
Install the new belt in reverse order.
First of all, we put the belt on the crankshaft pulley, and lastly on the tension roller.
After installation, adjust the belt tension.
Checking and removing the air conditioning compressor drive belt
To do this, remove the lower protection of the engine compartment and the mudguards of the engine compartment.
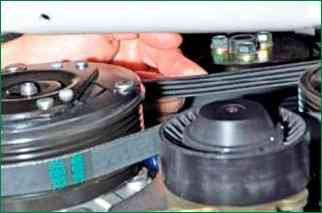
To simply check the tension of the air conditioning drive belt, press the belt with your finger in the middle between the compressor and crankshaft pulleys.
With a pressing force of about 10 kilograms, the deflection of the belt should be about 8 mm.
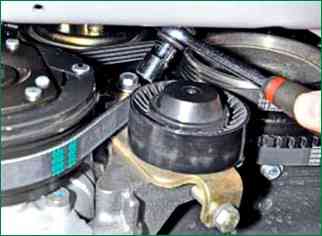
To adjust the belt tension with a 13 head, loosen the two bolts securing the tension roller bracket.
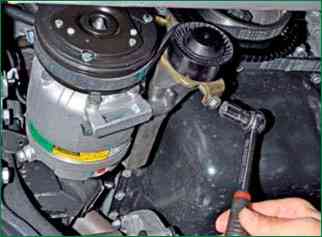
Turn the adjusting bolt clockwise with a 13 head, tightening the belt.
After tensioning the belt, we tighten the bolts of the tension roller bracket.
To remove the belt, loosen the bolts of the tension roller bracket and loosen the belt tension by turning the adjusting bolt counterclockwise.
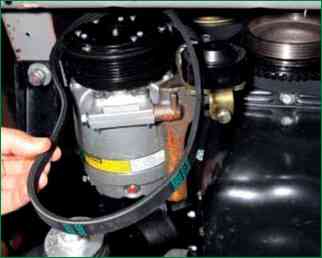
Remove the belt from the tension roller and pulleys of the crankshaft and compressor.
Install the new belt in reverse order.
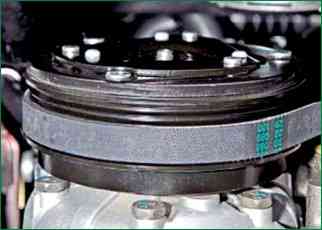
We put the belt on the compressor pulley so that it is located closer to the inner edge of the pulley.
And adjust the belt tension as mentioned above.
After a short run of the car, it is necessary to check the tension of the belts.
New straps stretch a little, so it's best to check and tighten.
PS. And in the end, after removing the belts, you need to decide what caused the breakage or defect of the belt.
Increased belt wear occurs due to oil from under the oil seals or other mating surfaces of the engine.
Premature wear also occurs from loosening the belt tension.
In this case, there is slippage of the pulleys and excessive heating, and wear of both the belt itself and the pulley of the unit.
You should also pay attention to the pulleys themselves and the units that are driven by these belts.
Assemblies that rotate with these belts must not be wedged due to bearing failure.
Pulleys should be free of nicks and sharp edges.
Check the play of the rotors of the generator, the coolant pump, the air conditioning compressor and the power steering pump by scrolling and staggering by hand.
When buying belts, you need to buy only from trusted and reliable manufacturers. Inspect the belt, bend and look at the quality of the product, the year of its manufacture.


