We remove the interior heater to replace the heater radiator, heater fan, repair the damper drive and to replace the evaporator if the car is air-conditioned
We prepare the car, remove the negative battery terminal
Drain the coolant of the engine cooling system (described in the article - Replacing the Niva Chevrolet coolant)

Under the hood, disconnect the heater radiator hoses
On a car with air conditioning - we discharge the air conditioning system
Remove the canister of the fuel vapor recovery system
Remove the outdoor air filter element

Using a Phillips screwdriver, unscrew the four screws securing the filter housing to the fan housing
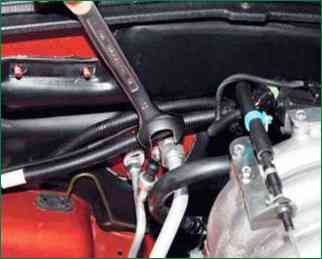
Using a 27 wrench, unscrew the union nut of the low-pressure pipeline of the air conditioner
Using a 19 wrench, unscrew the union nut of the high-pressure pipeline of the air conditioner
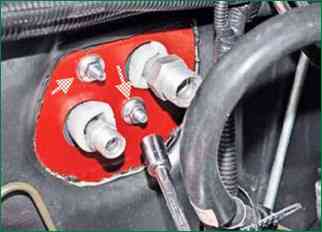
With a 10 head, unscrew the two nuts securing the heater
We remove the glove box (described in the article - How to remove the Niva Chevrolet glove box)
Removing the lining of the floor tunnel (How to remove the lining of the Niva Chevrolet floor tunnel)
Remove the relay and fuse for the air conditioning compressor (article - Fuses and relays VAZ-2123)
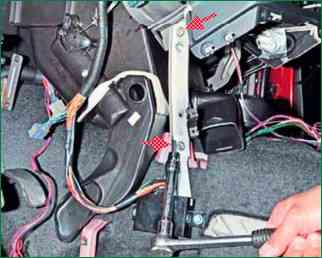
With a head of 13, we unscrew the two bolts securing the rack of the instrument panel cross member
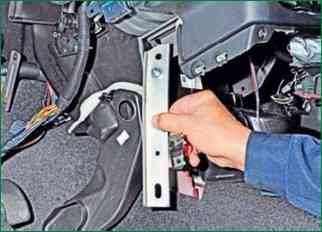
Remove the stand

Disconnect the green pads of the instrument panel wires
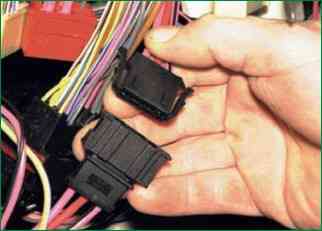
Disconnecting the three-pin pads of the instrument panel wiring harness
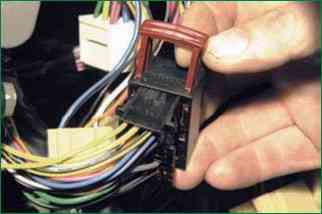
Pull out the lock on the multi-pin connector
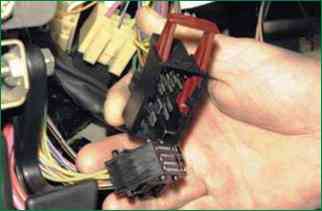
Disconnecting the black multi-pin connector of the instrument panel wires
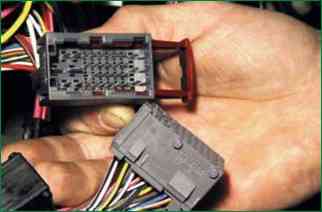
Disconnecting the gray multi-pin connector of the instrument panel wires
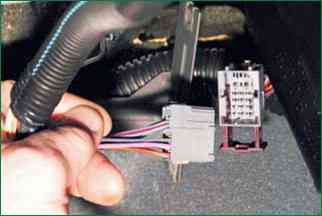
We also disconnect the instrument panel wiring harness blocks located next to the heater
Disconnect the wire blocks from the brake light switch
Remove the front seats
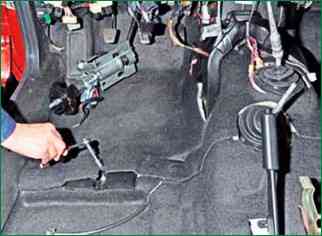
With a head of 10, unscrew the nut securing the left air duct for blowing the legs of the passenger in the rear seat
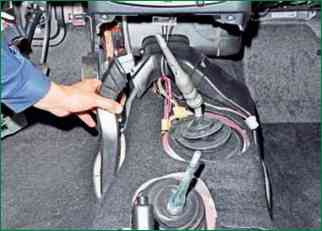
Having lifted the air duct, remove it from the stud and disconnect it from the front air duct for blowing the legs of the rear seat passengers
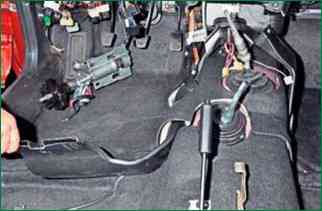
We remove the air duct from under the rug
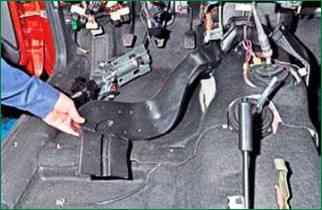
Removing the duct
We also remove the right air duct for blowing the legs of rear seat passengers
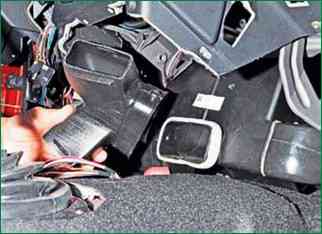
Remove the front air duct for blowing the legs of the rear seat passengers
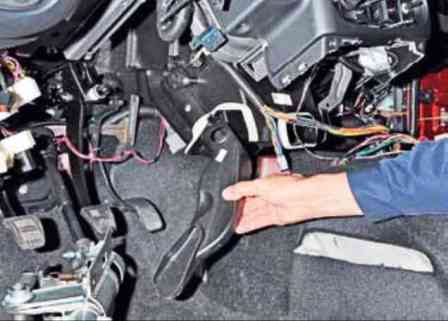
Remove the air duct for blowing the driver's legs
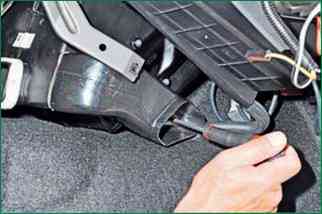
Using a Phillips screwdriver, unscrew the screw securing the air duct for blowing the legs of the front seat passenger
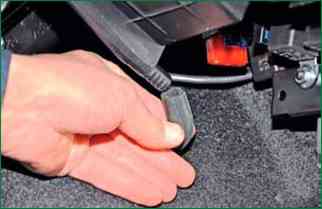
On a car with air conditioning, disconnect the condensate drain hose
Removing the instrument panel (described in the article - removing the instrument panel)
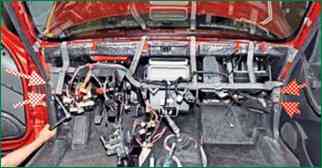
With a 13 head, we unscrew the four bolts of the lower fastening of the instrument panel cross member
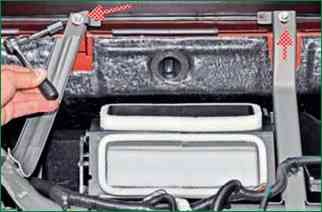
With a head of 10, unscrew the four bolts of the upper fastening of the cross member of the instrument panel
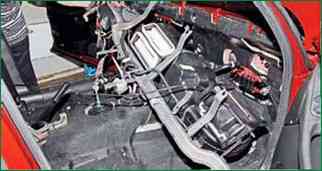
Remove the heater assembly with the cross member of the instrument panel
Install the heater in reverse order


