The Gazelle car heater consists of a plastic casing in which a radiator is installed, two fans mounted on the motor shaft, upper, central and lower dampers and a control panel with three levers and switches
An additional resistor is installed on the left side of the heater, which provides reduced fan speeds
Drain the coolant (see Replacing the coolant).
Having removed the protective shield of the main heater hoses, and having disconnected the hoses from the radiator, we take it out of the main heater body (see Removing the main heater radiator).
Remove the instrument panel (see Removing the instrument panel).

Remembering or writing down the connection order, disconnect the wires from the central light switch.

Disconnect the plug from the main heater switch

Disconnect the plug of the auxiliary heater switch.
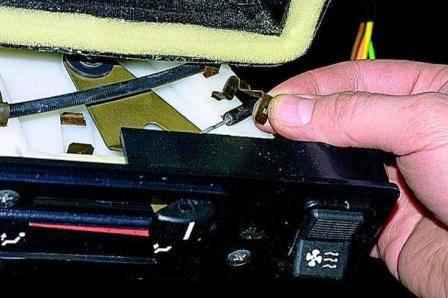
We pry off the spring clip of the heater tap rod with a screwdriver
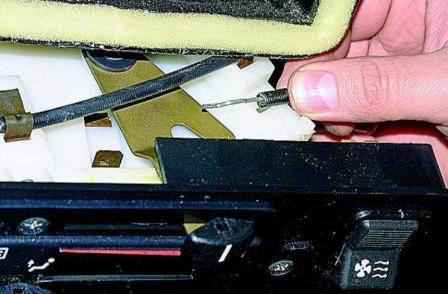
Disconnect the heater tap rod from the control panel.
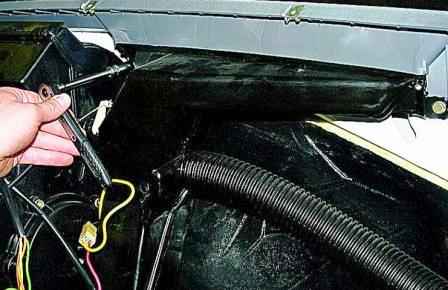
Using a key or a “10” head, unscrew the two bolts securing the windshield blower pipe.
It is enough to unscrew the bolt closest to the heater by 2–3 turns.
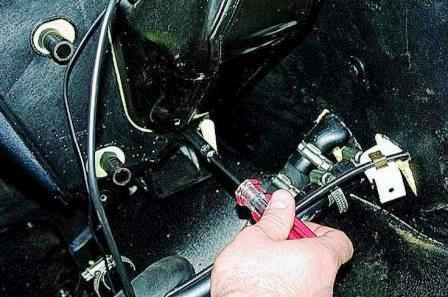
Using the “8” head, we unscrew the self-tapping screw of the lower fastening of the windshield blower pipe

Remove the right blower pipe with a hose. We also remove the second heater pipe
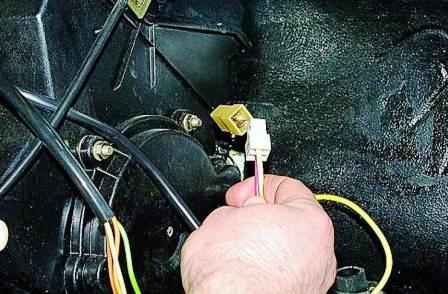
Disconnect the connector from the heater motor.
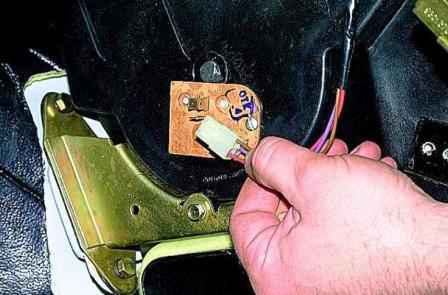
Remove the plug from the resistor leads.
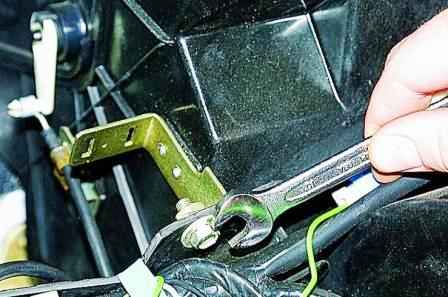
Using the “10” key, we unscrew the bolt securing the plastic gutter of the wiring harness.
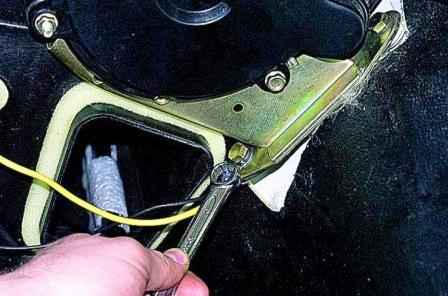
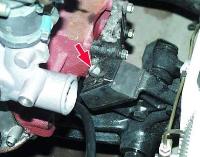
Using the “12” key, unscrew the four mounting bolts heater to the body.
Under the lower bolt there is a tip of the "mass" wire.
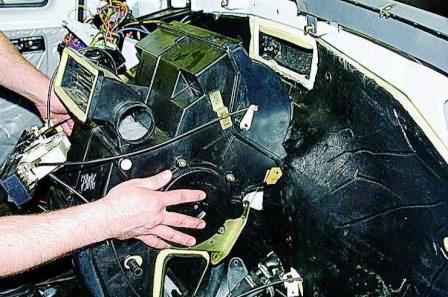
Slightly raising the heater, remove it together with the brackets
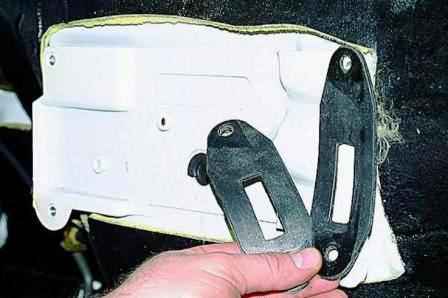
Sealing gaskets are installed between the heater brackets and the body
The second way to remove the heater is without brackets
To do this, remove the electric fan and unscrew the two bolts securing the brackets to the heater.
Having lifted the heater by 1-2 cm, remove it from the brackets by removing the tip of the "mass" wire from the bracket bolt.
Install the heater in the specified sequence:
- install the heater brackets with gaskets on the motor shield and wrap the bolts of their fastening.
We "dress" the heater on the brackets, at the same time winding the loop of its attachment to the body bracket.
We wrap the bolts of the brackets to the heater and connect the wires and hoses.


