Removing the instrument panel is necessary for removing and repairing the interior heater, as well as for other repairs.
Shows work on removing and installing an old-style instrument panel (until 2003)
The panel of the new sample is removed and installed in almost the same way, the difference lies in the location and number of wires and air ducts of the heating and ventilation system.
The panel must be removed with an assistant, as the instrument panel is quite heavy.
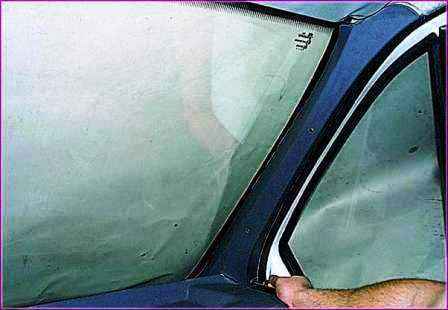
Use a Phillips screwdriver to unscrew the three upholstery fastening screws
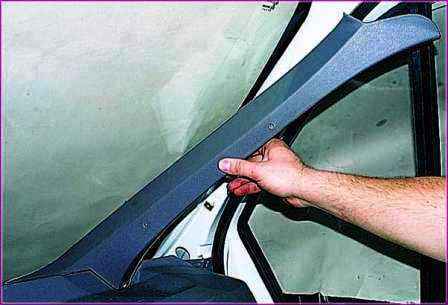
Remove the upholstery of the windshield pillar.
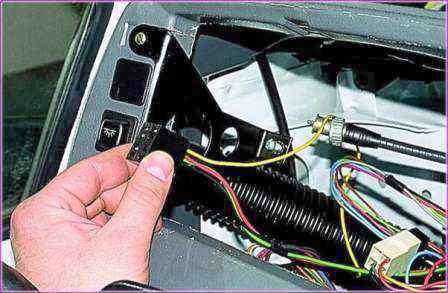
Removing the steering column (see Removing and disassembling the steering column columns).
Removing the instrument cluster (see Removing the instrument cluster) .
Disconnect the plug blocks from the switch for the cab lights and the rear fog lamp.
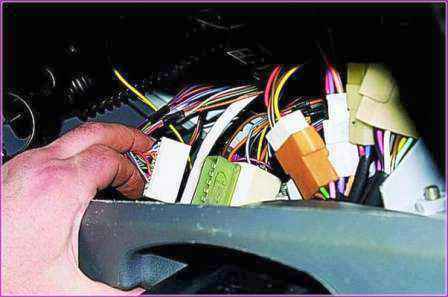
Disconnect the plug from the headlight corrector.
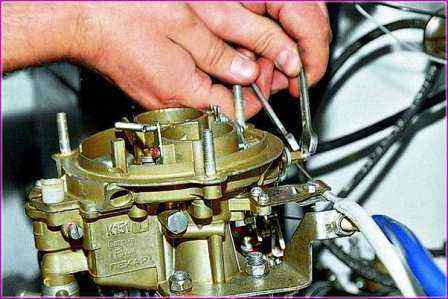
With the keys "7" and "8" we unscrew the bolt securing the air damper control cable.
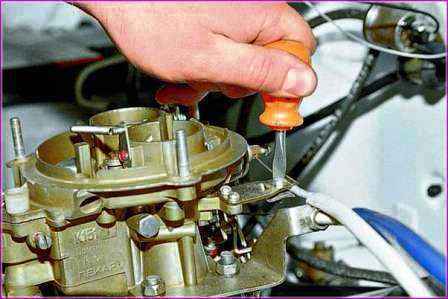
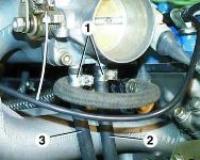
Use a screwdriver to unscrew the screw securing the cable sheath and disconnect the cable from the carburetor.
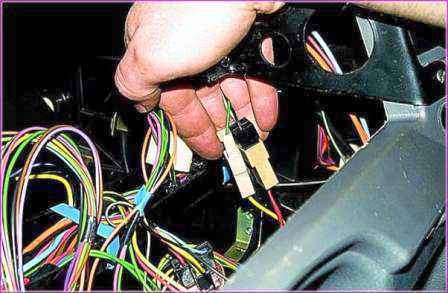
Disconnect the hazard switch connector.
Disconnect the two cigarette lighter plugs.
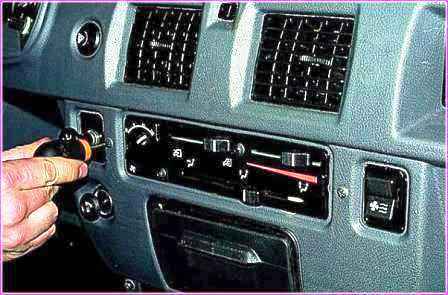
Use a Phillips screwdriver to unscrew the two screws securing the heater control panel.
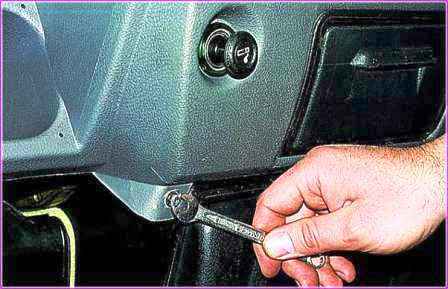
Using the “8” key, we unscrew 10 self-tapping screws along the panel contour.
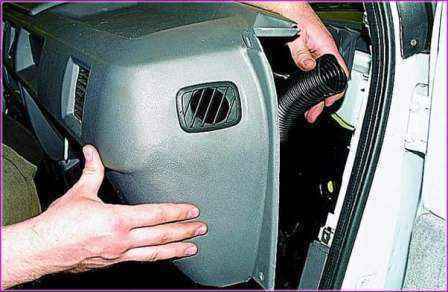
Slightly pushing the panel towards ourselves, disconnect the air duct hoses from the deflectors
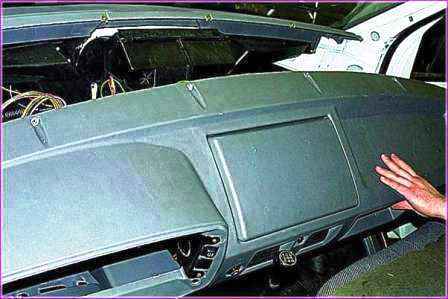
Remove the panel by pulling out the carburetor air damper rod.
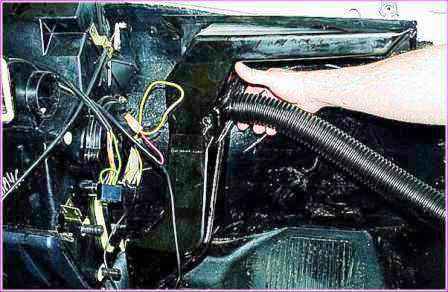
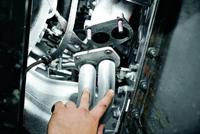
Remove the right and left heater ducts.
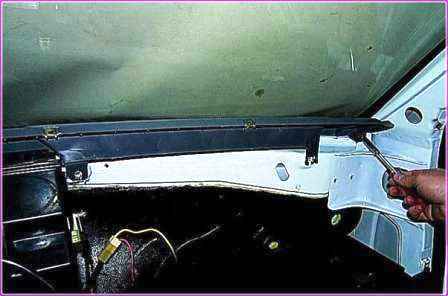
Using the “8” head, we unscrew the two self-tapping screws for fastening the front panel lining
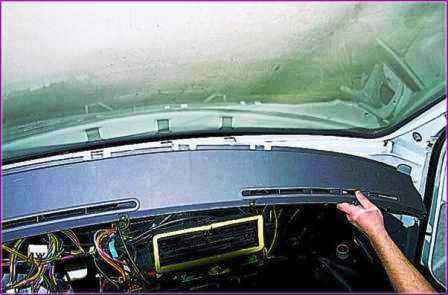
Remove the overlay
Install the panel in the following order.
Having installed the panel extension, we connect it to the heater and tighten the bolts securing the right and left air ducts for blowing the windshield.
We wrap the bolts of their fastening.
We install the panel and wrap one self-tapping screw of its fastening on the right and left sides of the panel.
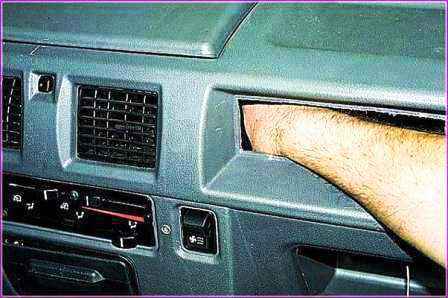
Hand through the opening for the radio, connect the hard air duct of the right deflector to the heater.
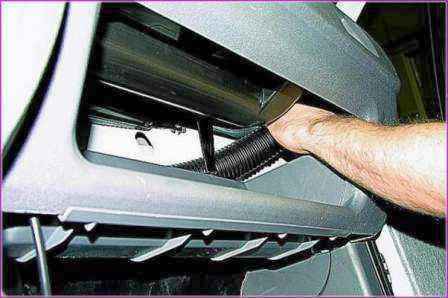
Connect the corrugated air duct hoses to the door glass deflectors.
It is more convenient to do this through the opening of the instrument cluster and the cutout in the lower part on the right side of the panel
Install the panel in reverse order.


