The instrument panel is a non-separable structure consisting of a steel frame filled with polymer foam and covered with a polymer film
With the help of removable elements, control instruments, controls for the car and the heating, air conditioning and ventilation system, linings covering the nodes located under the instrument panel, or used to install instruments, controls, nozzles of the heating and air conditioning system, are attached to the instrument panel, glove box.
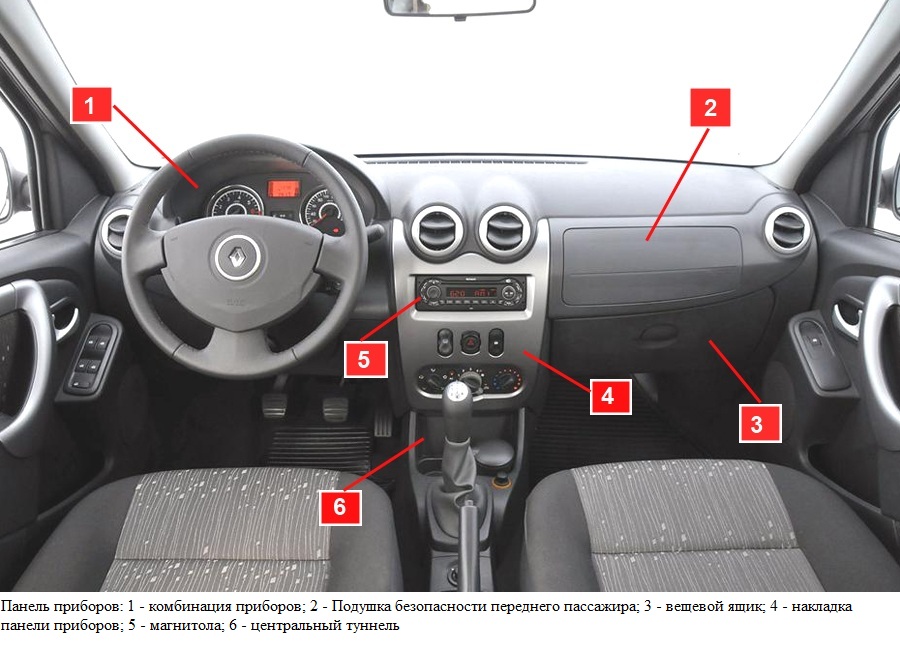
All components located on the instrument panel and below it can be dismantled without removing the panel.
After removing the overlays, access to the nodes located under the instrument panel opens.
The removal of these elements is described in the relevant subsections
In area a of the instrument panel, a front passenger airbag can be installed.
Incorrect removal of the instrument panel or repair of its individual components may cause unexpected deployment of the airbag, which, in turn, may lead to injury.
Removing and installing the instrument panel
You will need: T20 TORX wrench, flat blade screwdriver.
Disconnect the wire from the negative terminal of the battery.
Remove the steering wheel (see "Renault Logan Steering Wheel Replacement).
Remove the stalk assembly with connector.
Remove the instrument cluster (see "Replacing the Renault Logan instrument cluster).
Remove the lining of the floor tunnel.
Remove the A-pillar trims.
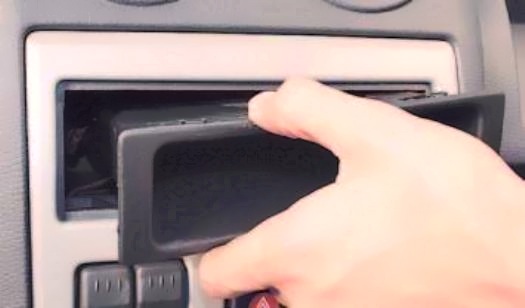
Remove the plug for the radio socket from the instrument panel trim.
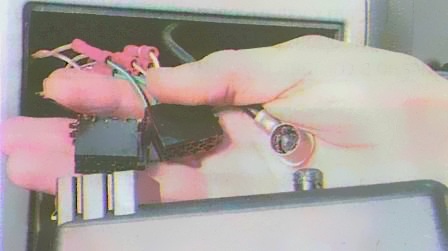
disconnect the wiring harness blocks and antenna cable from the plug and remove the plug
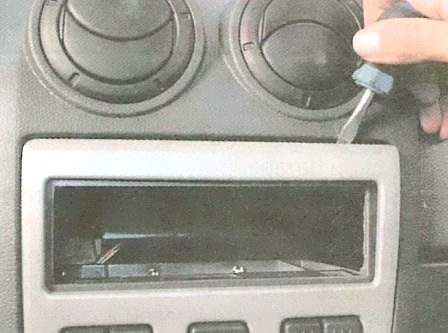
Carefully pry off the edge of the instrument panel central trim with a screwdriver and, overcoming the resistance of its spring clips, disconnect the trim from the instrument panel

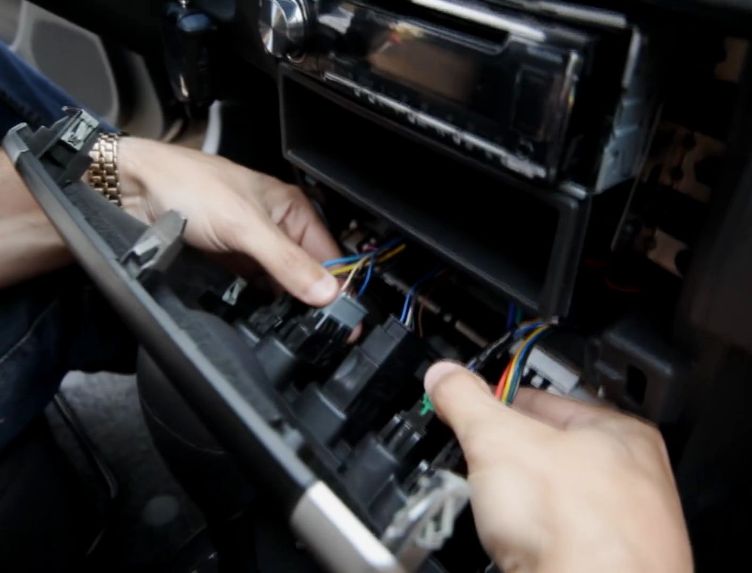
Proceed with care as the retainers are very stiff and can damage the appearance of the trim or dashboard
Squeezing the latches, disconnect the wiring harness blocks from the front door power window switches, central locking, tailgate glass heating, alarm and remove the instrument panel center trim.
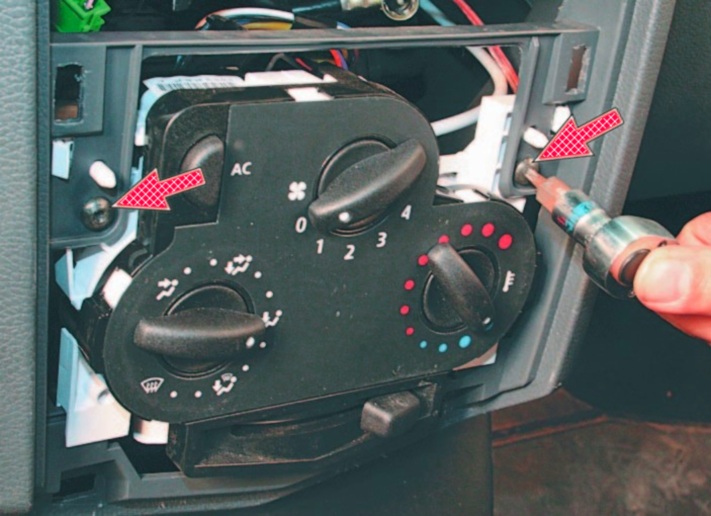
Remove the two screws securing the heating, air conditioning and ventilation control unit to the instrument panel
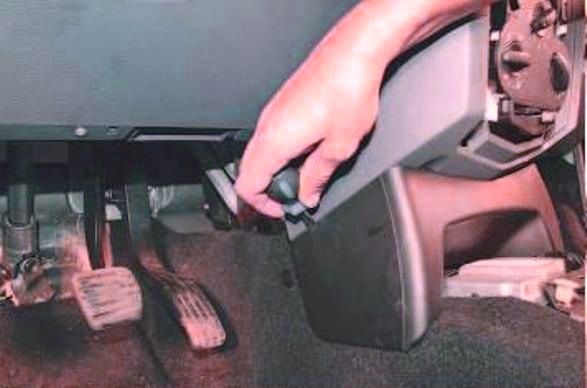
Having prying off the edges of the lower trim of the instrument panel with a screwdriver, disconnect the spring fasteners and remove the trim
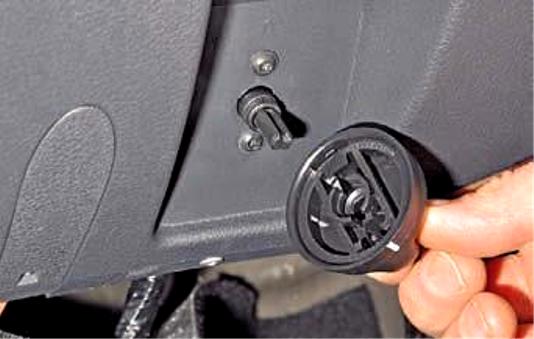
Pull out and remove the headlight range control knob
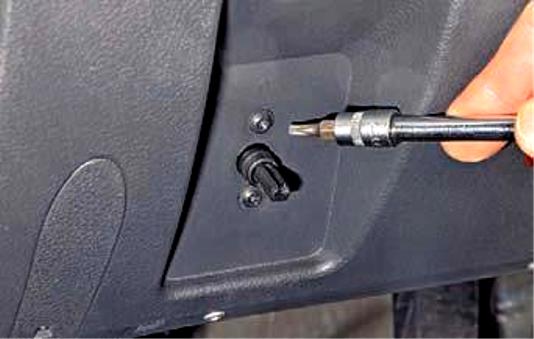
Remove the two screws securing the headlight range control switch and push the switch under the instrument panel
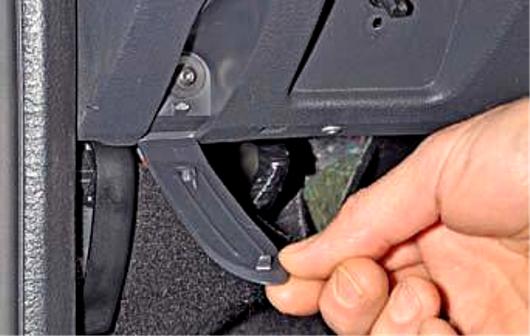
Prying off with a screwdriver, open the decorative plugs of the screws on the lower instrument panel mounting on the left and right.
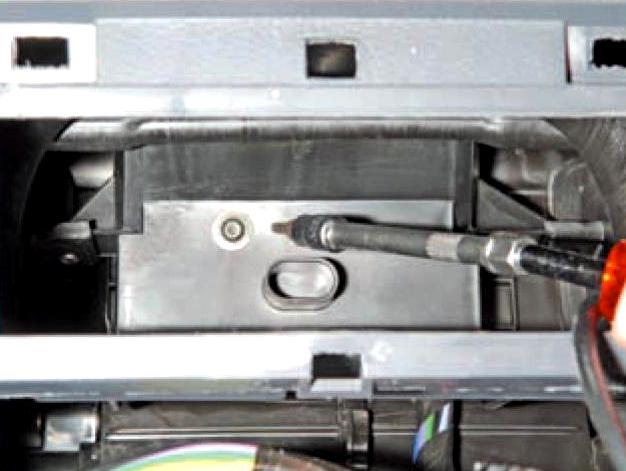
Remove the screw securing the instrument panel in its central part (the screw is accessible through the window in the panel that opened after removing the center trim)
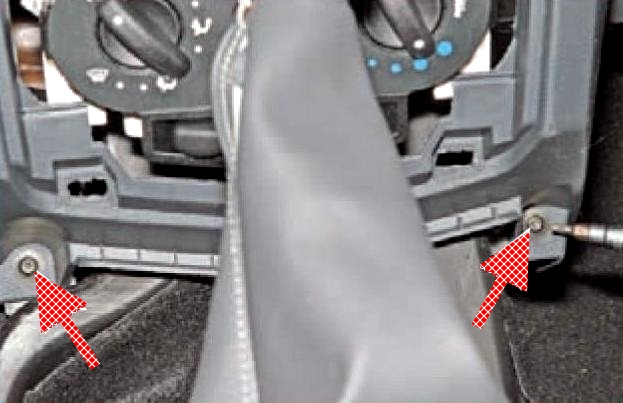
Remove the two screws securing to the bracket on the base of the body
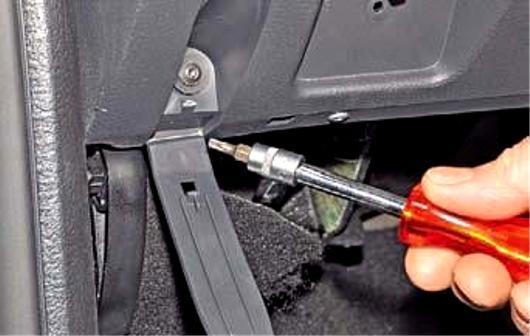
We unscrew the two lower screws of the side mounts located on the left and right
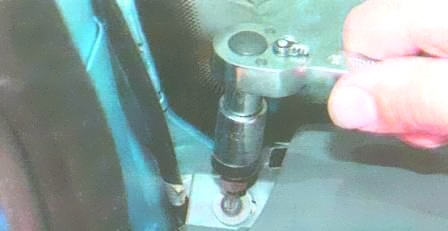
We unscrew the two upper screws of the side mounts located on the left and right
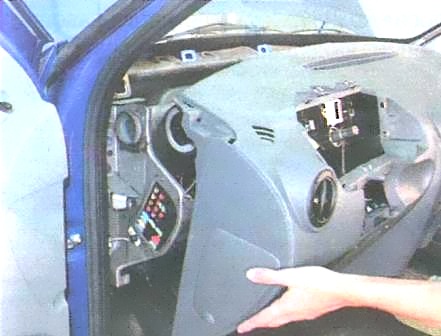
remove the instrument panel by removing the diagnostic connector from the glove box during removal
Install the instrument panel and all removed parts and assemblies in the reverse order of removal.


