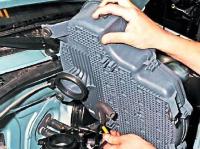
The vacuum booster can be checked on a car with the engine off, press the brake pedal 4-5 times.
Holding the pedal down, start the engine
If the booster is working properly, the pedal should “fall through” a little when the engine starts.
The non-return valve, which is located in the tip of the vacuum hose, is designed to be able to brake the car with sufficient efficiency when the engine suddenly stalls.
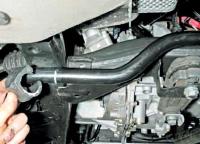
To replace the vacuum booster, remove the check valve.
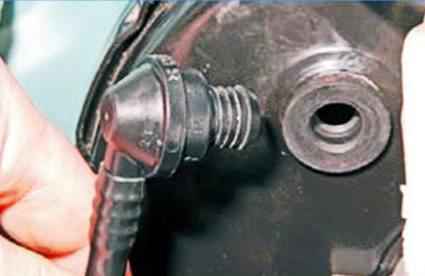
Pry off with a screwdriver and take it out of the vacuum booster housing. The valve is sealed with a rubber bushing.
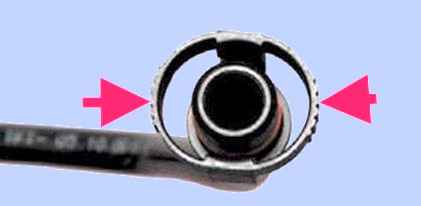
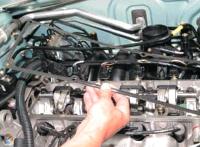
To check the valve, disconnect the tube from the receiver, press the latches (shown by arrows in Figure 2)
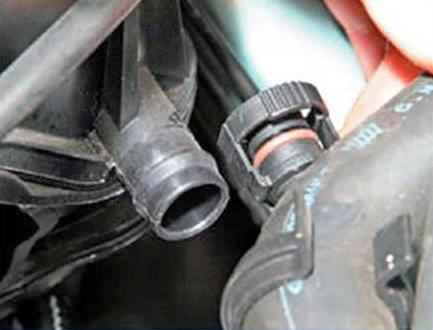
Disconnect from the receiver (Fig. 3)
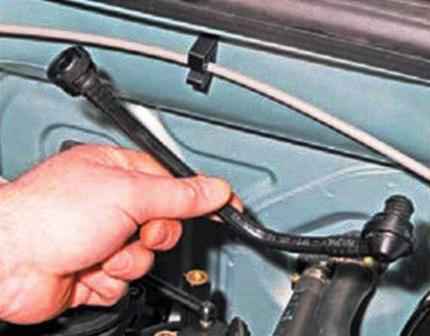
Remove the check valve together with the tube
You can check its condition by pressurizing the hose with a suitable rubber bulb.
Air must pass from the vacuum booster, but not in the opposite direction.
A leaking valve must be replaced.
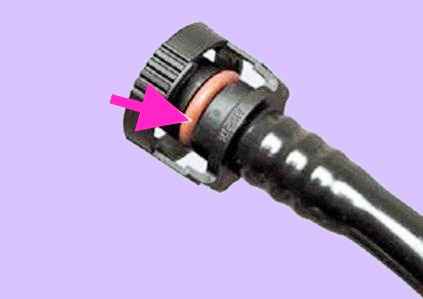
Checking the condition of the O-ring of the tube tip (Fig. 6)
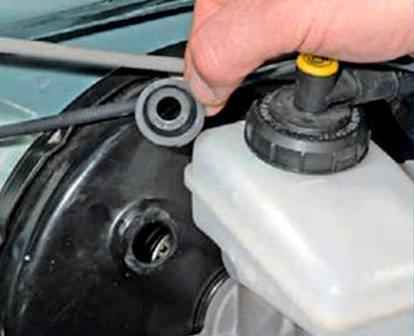
Remove and inspect the rubber bushing.
Tears, cracks are not allowed on the sleeve.
After that, unscrew the two nuts securing the brake master cylinder.
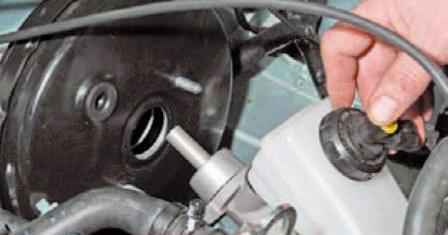
Without unscrewing the tubes, carefully remove the main cylinder from the studs, and slightly bending the tubes, take it to the side.
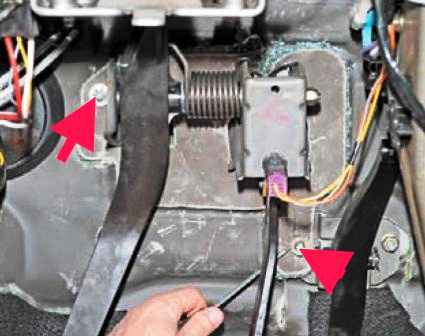
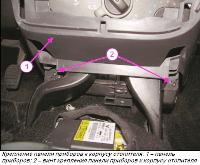
Using a screwdriver, pry off the soundproofing holders
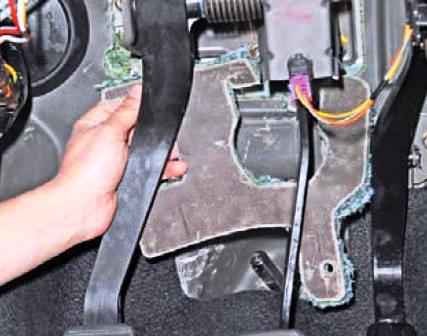
Removing soundproofing
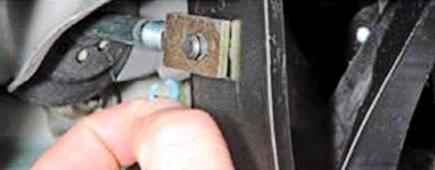
Remove the plastic stopper from the pusher mounting pin
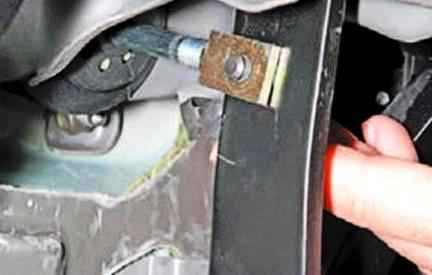
Remove the spring clip
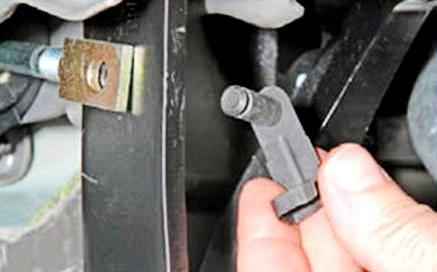
Pull out the finger
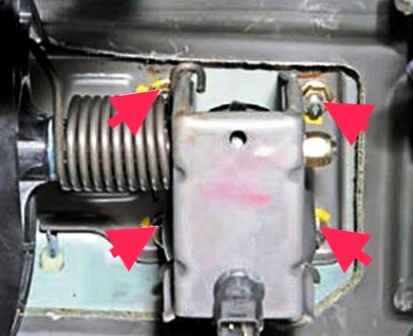
Unscrew the four nuts securing the vacuum booster
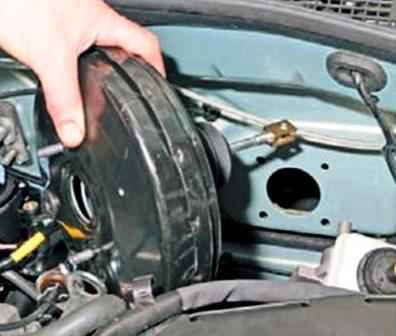
We take out the vacuum booster.
Install
Before installing the booster, you need to check the condition of the gasket between the vacuum booster and the bulkhead.
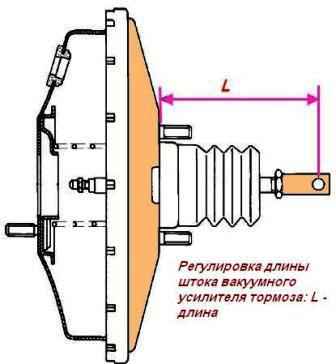
Before installing the amplifier, you need to check the dimension L = 145.8±0.5 mm, adjust if necessary.
We install the vacuum booster and tighten it with a 13 head to the front panel. Nut tightening torque 21 Nm (2.1 kgf.m).
Connect the vacuum booster to the brake pedal, to do this, install a new connecting axle into the holes of the pusher of the booster and the brake pedal and snap the axle flag onto the pusher rod.
The axis is set only by movement from right to left and from top to bottom.
Apply 1 g of Molycote-33m to the axle before mounting.
Install the soundproofing pad and secure it with two spring washers (technological tube).
Reinstall the brake booster check valve.
Reinstall the brake master cylinder.
Bleed the brake system and hydraulic clutch.
Adjust the brake light switch.
Check the effectiveness of the service brake system


