Camry rear wheel disc brakes are shown in Figure 1
Rear wheel brake pads have wear indicators
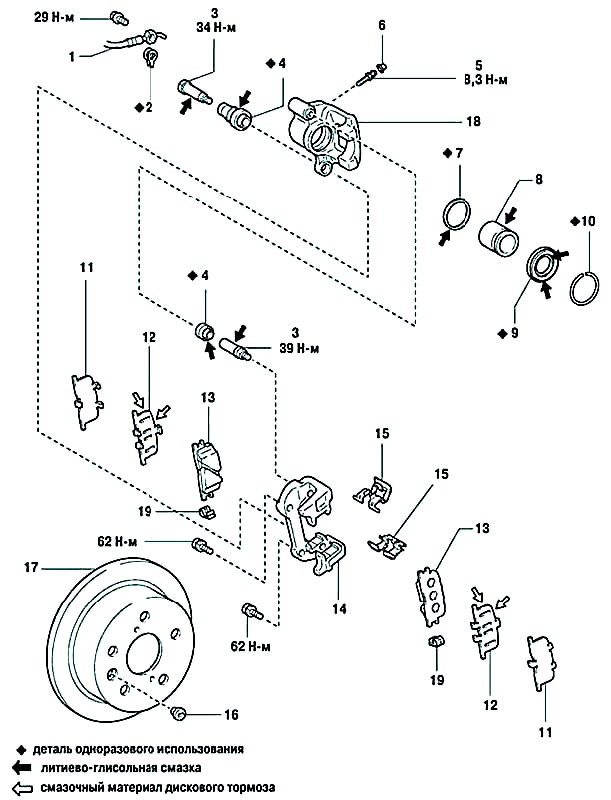
When the minimum allowable lining thickness is reached, the brake wear indicator contacts the brake disc, causing a squeaking signal that the brake pad wear limit has been reached
Replacing the brake pads of the rear wheels
Brake pads need to be replaced only as a set - 4 pcs. (two on each side)
We prepare the car and check the level of brake fluid in the reservoir of the main brake cylinder
If the level approaches the MAX mark, you need to pump out part of the liquid (with a medical syringe or a rubber bulb), after replacing worn pads, the level will rise
Remove the rear wheel from the side of the pads to be replaced
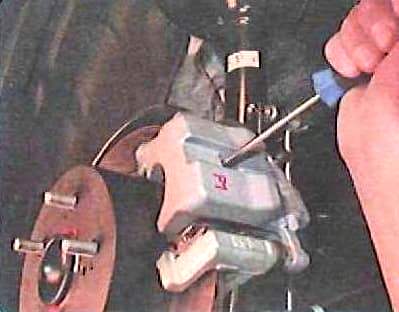
We insert a large screwdriver between the outer brake pad and the caliper, move the caliper outward, thereby drowning the piston into the working cylinder
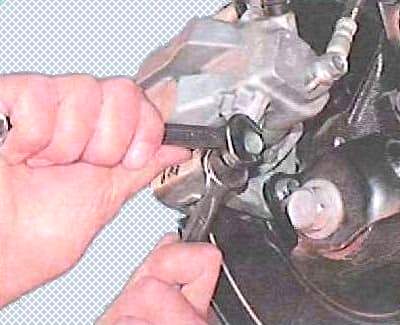
We unscrew the bolt of the lower guide pin of the caliper, holding the finger from turning with the second key
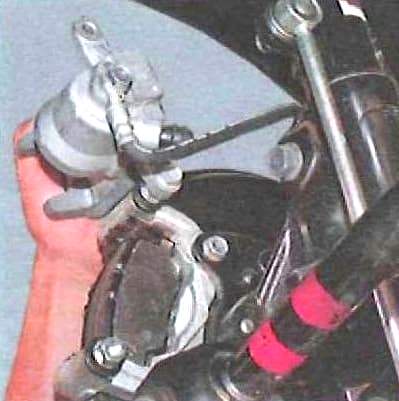
Raise the caliper up
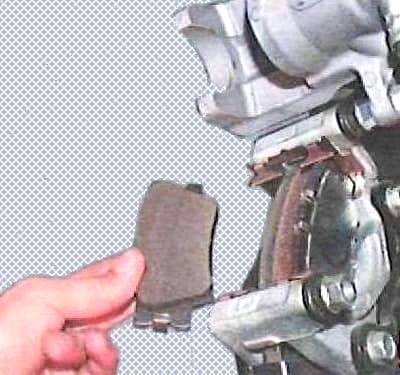
Remove the inner and outer brake pads from the shoe guide
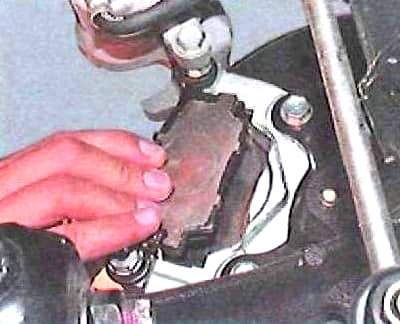
Remove both pad support plates
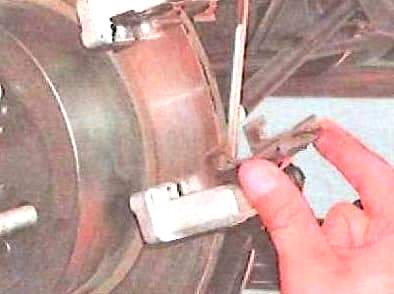
Check the condition of the protective rubber boots, guide pins and the movement of the caliper relative to the guide of the brake pads
If movement is difficult, grease the guide pins of the caliper with grease, for this:
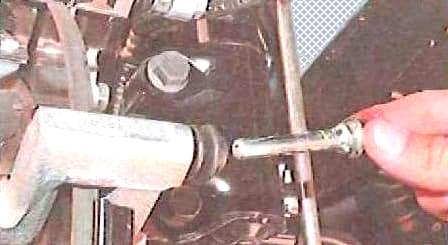
Remove the guide pin and lubricate it with grease
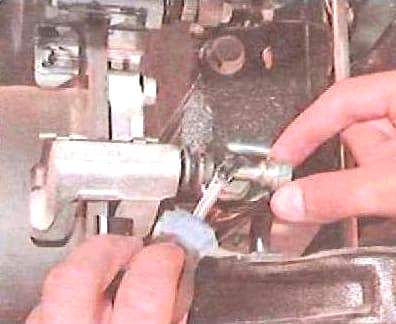
Put the lubricant in the protective cover of the finger
Lubricate the second finger and the case in the same way.
Replace protective covers if they are torn, hardened, deformed
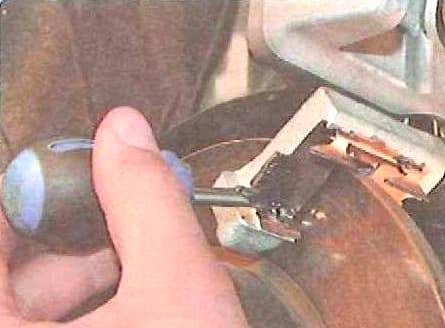
Install the base plates of the brake pads and apply on their surface grease
Install the brake pads in reverse order
To prevent self-loosening of the caliper guide pin bolts, lubricate their threads with an anaerobic thread locker before installation
We press the brake pedal several times to bring the pads to the disc
Installing the wheel
Check and, if necessary, restore the brake fluid level in the reservoir of the master brake cylinder
In the same way, we replace the brake pads on the other side of the car
Replacing the rear wheel brake caliper
Remove the wheel from the side of the caliper to be replaced
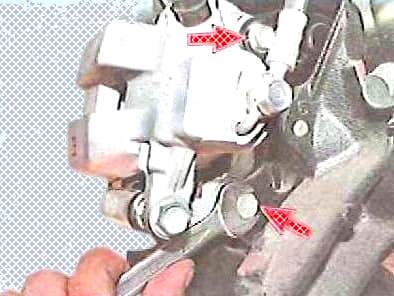
Loosen the two bolts securing the guide pads to the steering knuckle
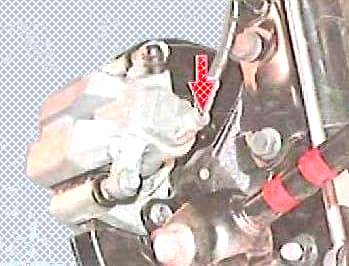
Unscrew the bolt-fitting and disconnect the brake hose from the caliper
We substitute a container to drain the rest of the brake fluid from the hose and cylinder
We finally unscrew the two bolts securing the guide pads to the steering knuckle and remove the caliper assembly
Install the caliper in reverse order
Before installing the bolts for fastening the guide pads to the steering knuckle, we apply an anaerobic thread locker to the thread
When installing the brake hose, we replace the aluminum washers
After installation, we restore the level of the brake fluid and pump the hydraulic brakes
Repair of the rear wheel caliper
Remove the left front wheel
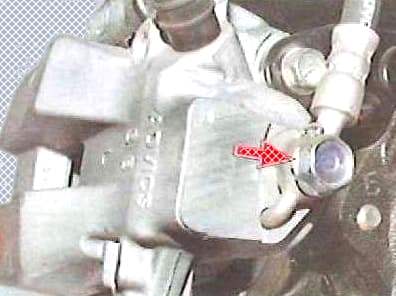
Loosen the bolt-fitting of the brake hose to the caliper
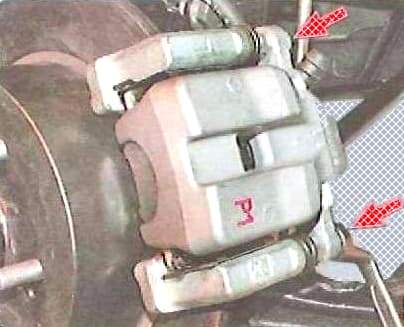
We unscrew the two bolts securing the caliper to the pad guide
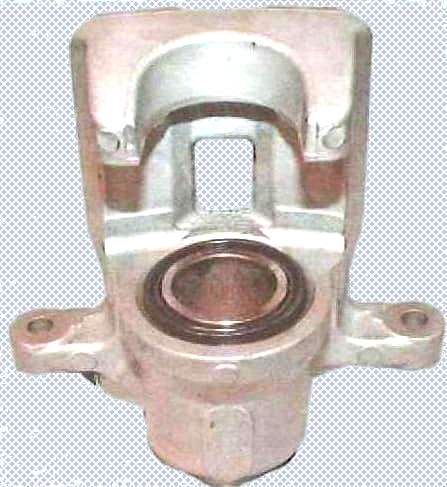
Finally unscrew the bolt fitting of the brake hose and remove the caliper from the car
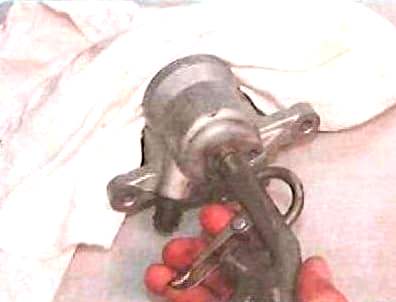
Slowly supplying compressed air through the brake fluid inlet, we push the piston out of the cylinder, but not completely
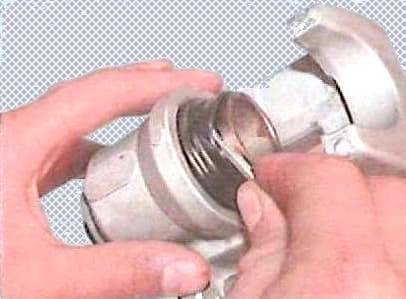
Pry with a screwdriver carefully so as not to tear the protective cover, remove the retaining ring
Remove the piston from the cylinder
Carefully, so as not to damage the cylinder mirror, remove the sealing ring
We carefully examine the mirror of the cylinder and piston. If they show signs of wear, damage or severe corrosion, we replace the cylinder and piston
Replacing the O-ring, regardless of its condition
We install a new sealing ring in the groove, after lubricating it with fresh brake fluid
Insert the edge of the protective cap into the groove of the piston
Lubricate the cylinder mirror and piston working surface with brake fluid
Insert the piston into the cylinder and install the outer edge of the protective cap into the groove of the cylinder
Installing the retaining ring
Install the caliper in the reverse order as described above
Replacing the brake disc of the rear wheels
If there are scratches, deep scratches or other defects on the working surface of the disc that increase brake pad wear and reduce braking efficiency, as well as in case of increased lateral runout, you causing vibration when braking, replace the disc
Of course, you can pierce the disk and grind it on both sides to the same depth, but after processing, the thickness of the disk must not be less than the minimum allowable
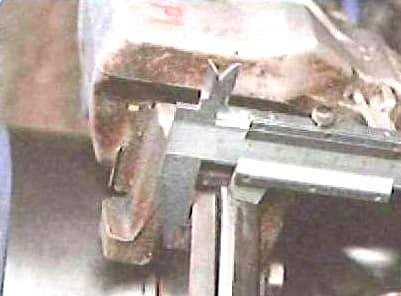
The minimum allowable thickness of the rear wheel brake disc is 8.5 mm. If the thickness of one of the discs is less than specified, replace both discs
When replacing brake discs, it is imperative to replace the brake pads
Remove the wheel from the side of the disk to be replaced
Remove the car from the parking brake
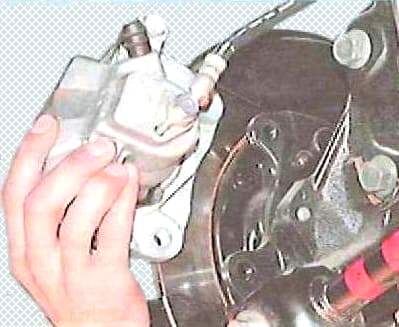
Remove the caliper assembly as above, but do not disconnect the brake hose from it
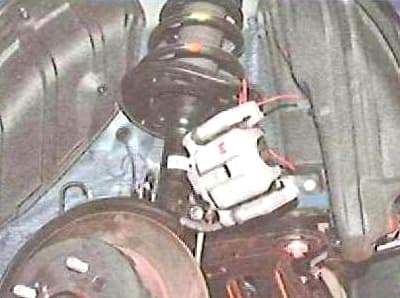
We fix the caliper to the shock absorber strut with a wire or a hook, preventing the hose from twisting
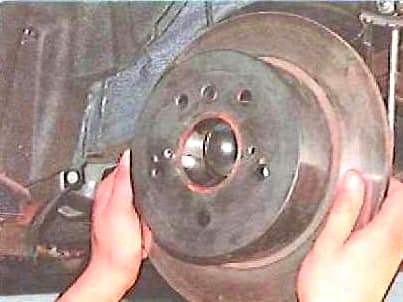
Remove the brake disc from the hub studs
If the disc is difficult to remove, we reduce the pads of the parking brake mechanism
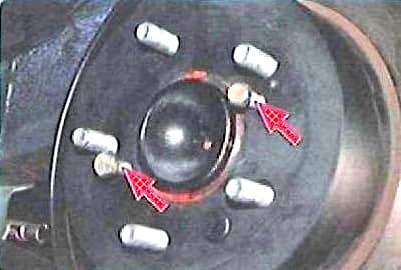
If the disk cannot be removed by hand, we screw two M8 bolts into the threaded holes of the disk and, evenly tightening them, press the disk from the hub
Install parts in reverse order
Before installing the disc, carefully clean the mating surfaces of the hub and disc from rust and scale
If we install the old disk, we remove the beads on the working surfaces of the disk with a file, formed as a result of wear on the disk on both sides
In the same way, remove and install the disc on the other side of the car
After assembly, adjust the parking brake drive


