")
")
")
")
")
")
Starter check and replacement
Make sure the battery is fully charged.
Crank the crankshaft with the starter and make sure that the starter runs evenly, without extraneous noise
If the operation is not as described, check the voltage between terminals S and B when the ignition switch is in the START position.
Rated voltage: more than 8 V.
If the voltage does not correspond to the rated voltage, remove the starter and check the traction relay and the starter motor.
If the traction relay and starter motor are OK, check the wiring, ignition switch and start inhibit switch (for models with automatic transmission).
Checking the starter without load
Make sure the battery is fully charged.
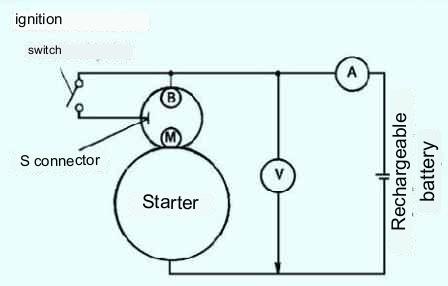
Connect a voltmeter and an ammeter to the starter as shown in Figure 1.
Run the starter and make sure it runs evenly.
Measure the voltage and current while the starter is running.
Rated voltage: 11 V.
Rated current: no more than 60 A.
If voltage or current is not as described, repair or replace starter components.
Removing and installing the starter
Disconnect the cable from the negative battery terminal.
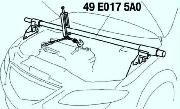
Remove the intake duct.
Remove the intake manifold bracket.
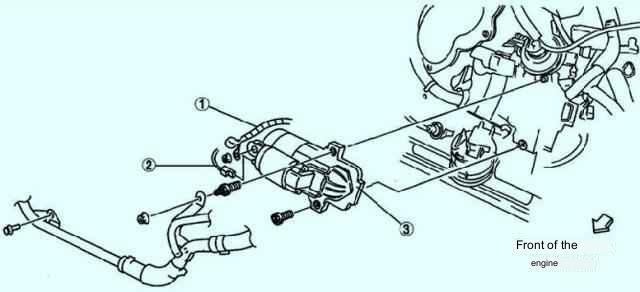
Remove the starter in the sequence shown in figure 2.
Install in the reverse order of removal.