Mazda 3 exterior mirrors
The driver's mirror provides a wide field of view and consists of two zones (external and internal) with different curvature of the reflective surface.
The outer and outer zones are separated by a vertical line.

The inner zone is a conventional convex mirror, while the outer zone provides the driver with an increased field of view to the rear.
This combination allows you to better assess the traffic situation behind when changing lanes.
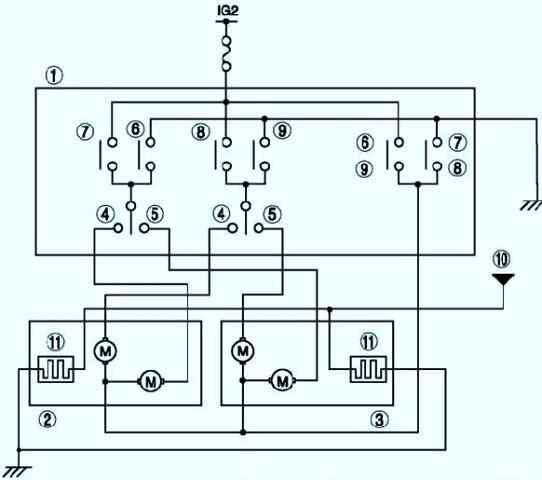
Mazda can be equipped with an outside rear view mirror with an additional field of view.
Removing and installing electric exterior mirror
Disconnect the negative battery cable.
Remove the interior trim.
Remove the front door trim.
Disconnect the power door mirror connector.
Remove the screws and retaining clips of the mirror.
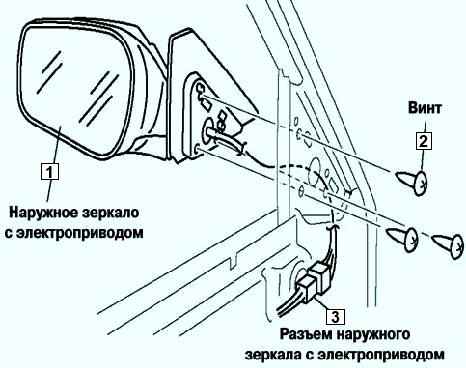
Remove the power outside mirror (fig. 3).
Install in the reverse order of removal.
Disassembling and assembling the electric exterior mirror
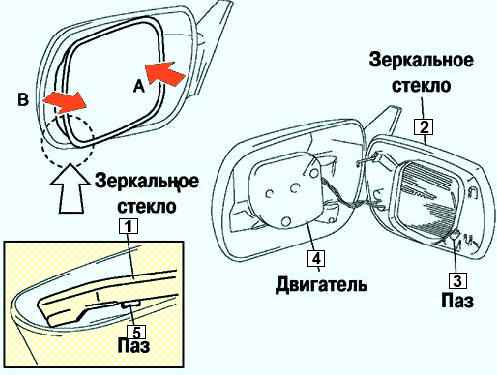
Press on area A of the mirror so that area B moves towards you (Fig. 4).
Insert a screwdriver into the slot and pry the glass out of the mirror base.
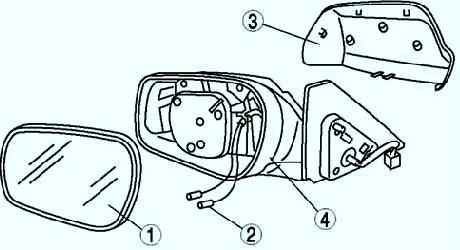
Remove the remaining components in the order shown in Figure 5.
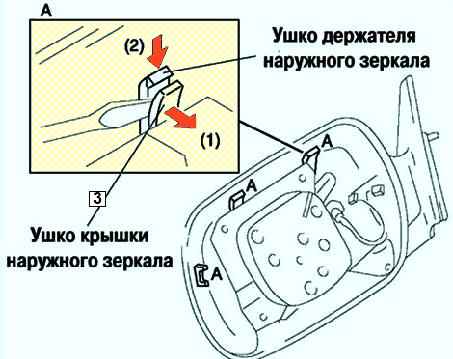
Bend the tab of the mirror holder with a screwdriver, press the tab of the holder down and disassemble the body (Fig. 6).
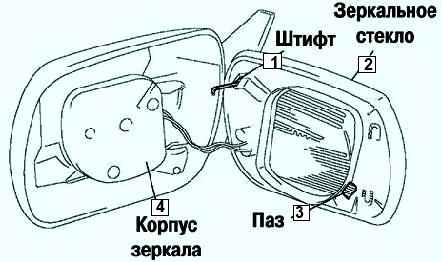
Press the mirror into the body so that the pin does not move (Fig. 7).
Finally assemble in the reverse order of disassembly.


