The evaporator of the air conditioner is the same radiator
In the Chevrolet Niva car, as in many other cars, it is located under the instrument panel in place of intermediate air ducts, between the heater and its fan.
Its main function is heat exchange between the air entering the car interior and the refrigerant circulating in the air conditioning system.
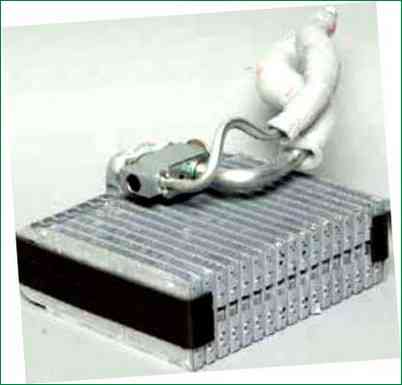
The refrigerant moves through the evaporator tubes due to the pressure that the air conditioner compressor creates.
As it moves through the evaporator, the refrigerant turns into vapor.
The process proceeds with heat absorption, the evaporator fins are cooled.
The heater fan directs the air through the evaporator into the car interior, thereby cooling the temperature in the cabin.
We remove the air conditioner evaporator if it is damaged or during repair.
To remove the evaporator, you need to bleed the refrigerant pressure from the air conditioning system. Remove the heater.
After this:
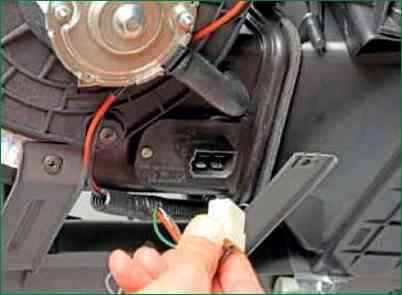
Disconnect the wire block from the additional resistor of the heater fan.
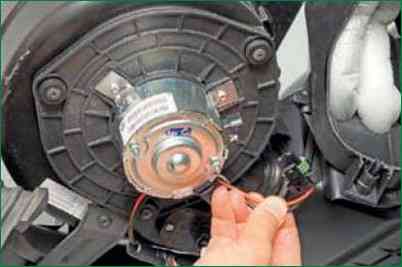
Disconnect the wire connector from the fan motor.
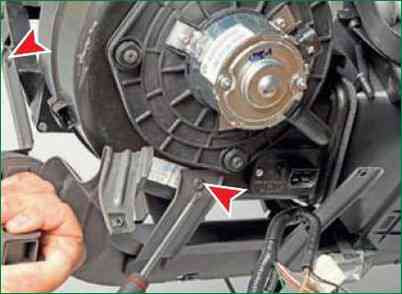
Using a screwdriver, unscrew the two screws securing the heater fan housing to the instrument panel crossbar
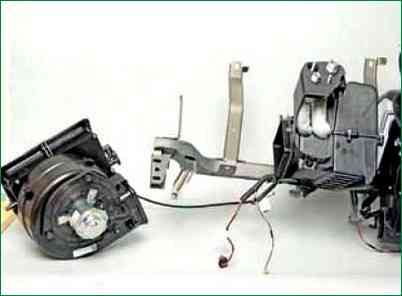
Separate the heater fan housing from the evaporator housing.
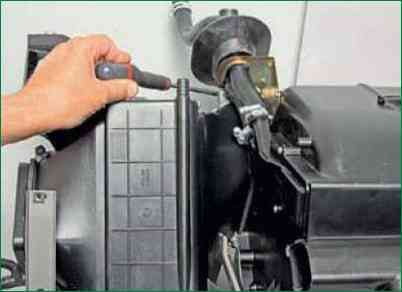
Using a Phillips screwdriver, unscrew the self-tapping screw securing the evaporator housing to the bracket of the heater housing
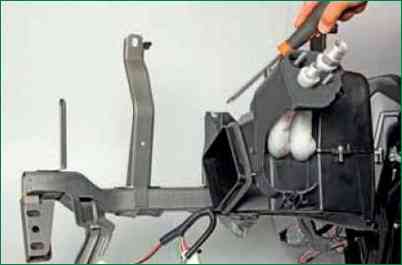
We unscrew the screw securing the evaporator housing to the cross member of the instrument panel
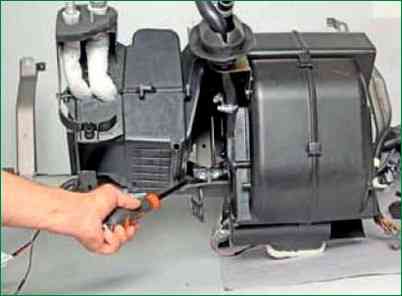
We unscrew the screw of the lower fastening of the evaporator housing to the cross member of the instrument panel.
Disconnect the evaporator and heater housings.
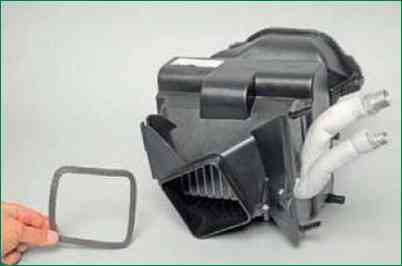
The evaporator housing is connected to the heater and fan housings through foam seals.
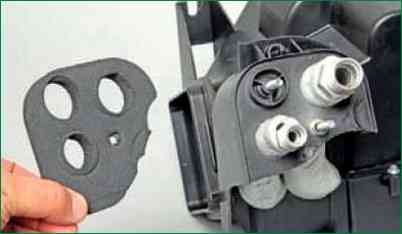
Remove the foam seal from the evaporator nozzles
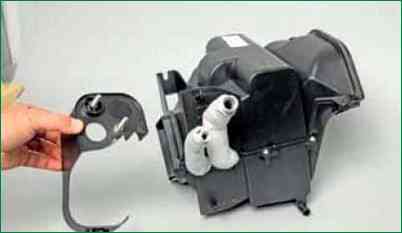
Remove the plastic bracket
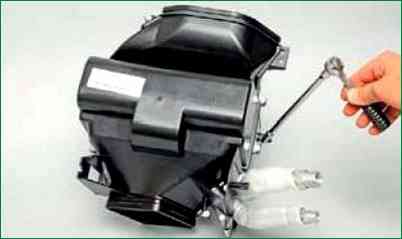
With a 5.5 head, we unscrew the seven bolts connecting the parts of the evaporator body
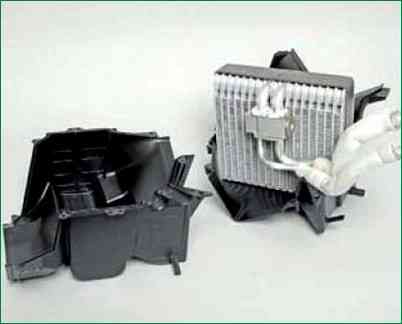
Disconnecting the parts of the evaporator body
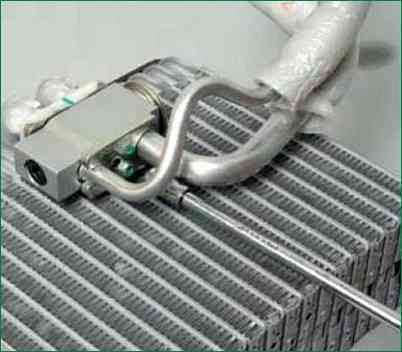
With a head of 8, we unscrew the two bolts securing the gearbox to the evaporator.
The connections of the reducer with the evaporator and the reducer with nozzles are sealed with rubber rings.
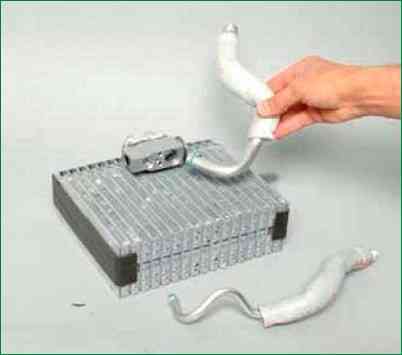
Remove the clamping bar and carefully disconnect the inlet and outlet pipes of the evaporator
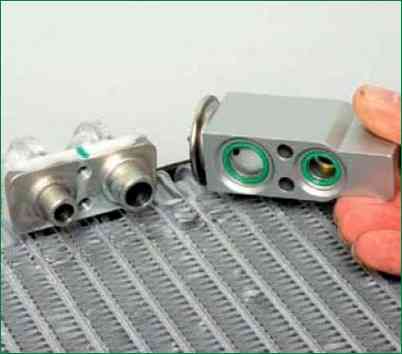
Disconnecting the reducer
We assemble and install in the reverse order. We replace the sealing rings with new ones


