Removing and installing the clutch master cylinder
Remove the master cylinder for replacement or repair in case of fluid leakage, incomplete clutch disengagement (may be caused by fluid leakage or worn cuffs), and also if the clutch is not fully engaged (due to clogging of the compensation hole or its blockage by a swollen cuff)
You will need: a "13" wrench (a socket head with an extension), pliers, a rubber pear.
Pull the liquid out of the tank with a rubber bulb.
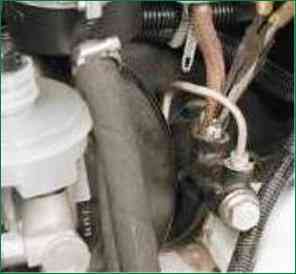
Loosen the hose clamp and disconnect it from the master cylinder.
Pull the hose aside.
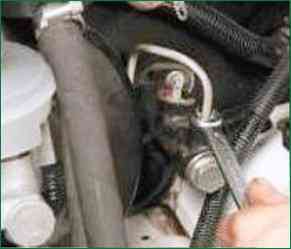
Remove the pipe nut from the master cylinder.
Remove the piping from the master cylinder bore and lay it aside
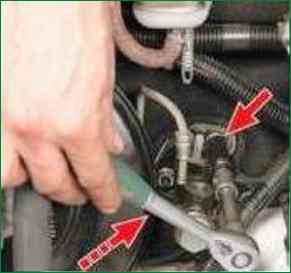
Remove the two nuts securing the cylinder and remove it from the vehicle
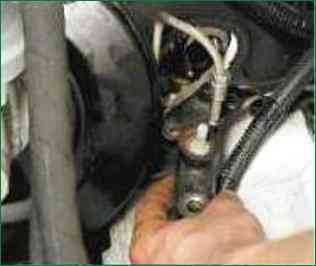
Install the cylinder in the reverse order of removal.
Bleed the clutch hydraulics (see "Bleeding the clutch hydraulics").
Removing and installing the clutch slave cylinder
Remove the slave cylinder for replacement or repair if the clutch is not fully disengaged due to fluid leakage.
You will need: keys "for 13", "for 17".
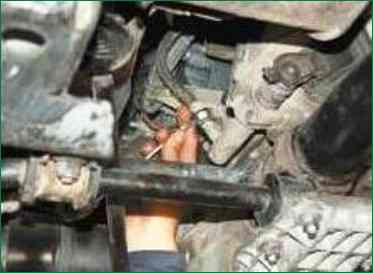
Loosen the tip of the slave cylinder hose.
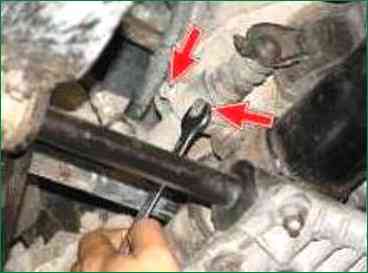
Remove the two bolts of the bracket that secures the slave cylinder to the clutch housing.
Remove the bracket.
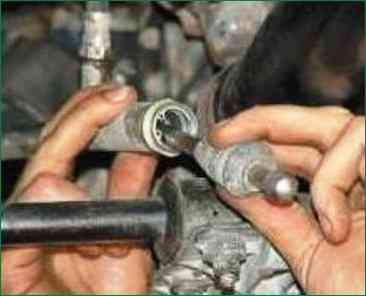
Remove the slave cylinder pusher from the clutch release fork and remove the protective cap together with the pusher
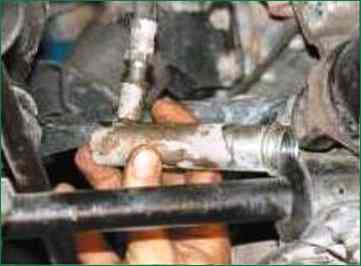
Hold the hose tip from turning and rotate the cylinder to separate them.
Drain the fluid from the drive and cylinder into a previously prepared container.
Install the new slave cylinder in the reverse order of removal.
Bleed the clutch hydraulics (see "Bleeding the clutch hydraulics").


