In the article, we will consider disassembling the tailgate of a Niva Chevrolet car
To complete the task, you need keys: a TORX T20, T40 key, a set of screwdrivers, a key for 8, 10, 13, heads for 8, 13.
Removing tailgate upholstery
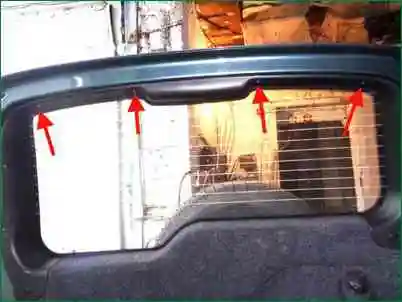
Using a Phillips screwdriver, unscrew the four screws securing the upper door trim
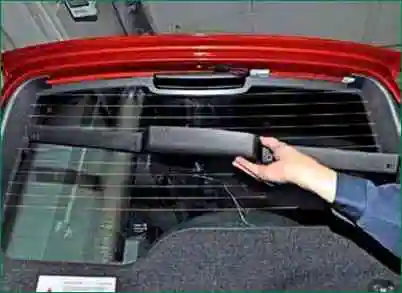
Remove the top door trim
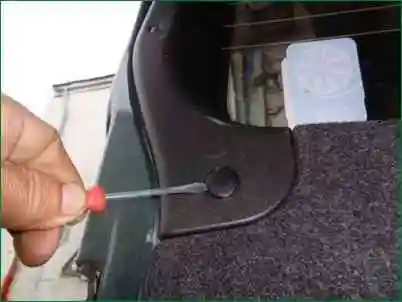
Remove the plug from the right lining by prying with a flat screwdriver
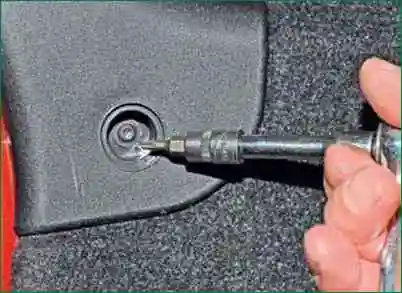
We unscrew the screw securing the right lining with a TORX T20 key.
We also unscrew the screw of the left lining
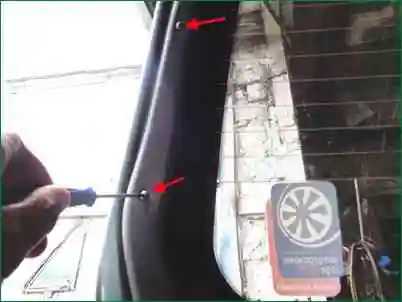
We unscrew the two screws securing the right trim with a Phillips screwdriver
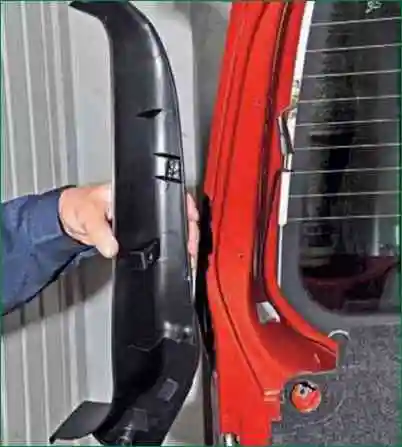
Remove the right door trim
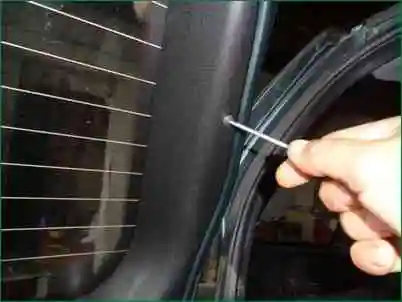
Use a Phillips screwdriver to unscrew the screw securing the left lining
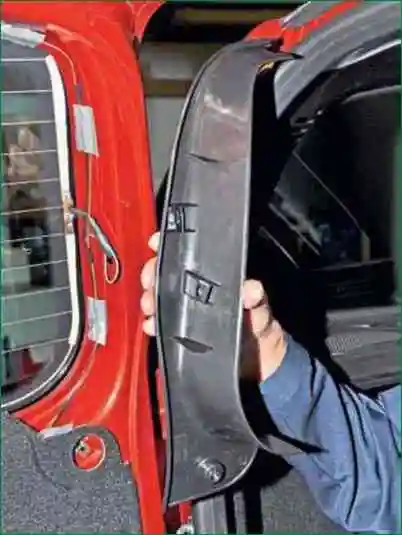
Remove the left door trim
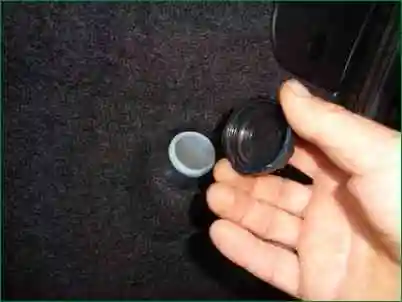
Unscrew the tailgate glass washer reservoir cap
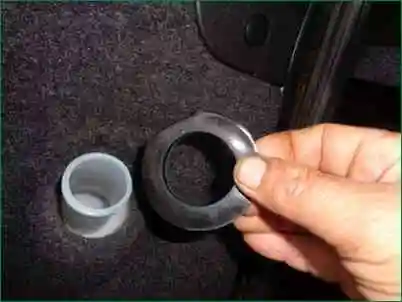
Remove the rubber lining of the tank neck
Pry off with a screwdriver and separate the door upholstery from the inner door panel
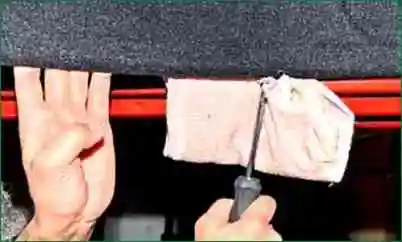
We put a piece of rag under the screwdriver so as not to damage the paint.
Separate the upholstery, starting from the door lock and further, moving along the perimeter.
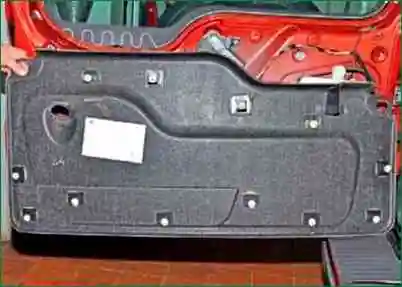
Remove the upholstery. There are 12 clips on the upholstery.
If the caps are damaged, replace them with new ones.
Removing and installing the tailgate lock
Disconnect the negative battery terminal.
Remove the tailgate trim as described above.
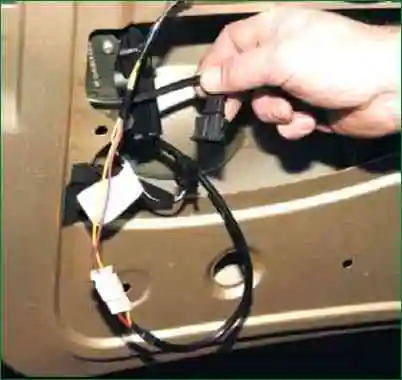
Disconnect the wire blocks of the trunk light switch and electric drive
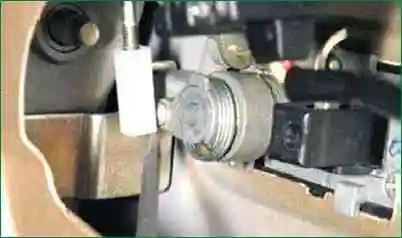
We pry off with a flat screwdriver and disconnect the tip of the lock switch rod from the door handle
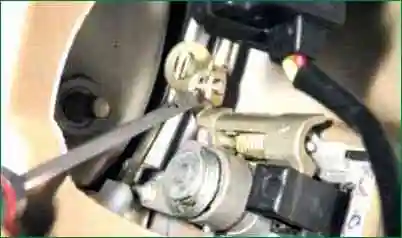
Pry off with a screwdriver and disconnect the door handle rod from the lock lever
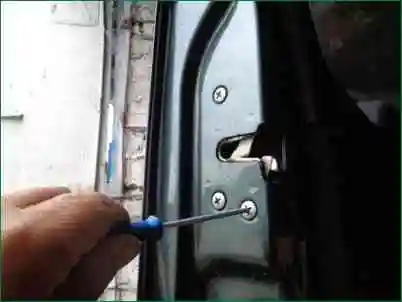
Use a Phillips screwdriver to unscrew the three screws securing the lock to the door
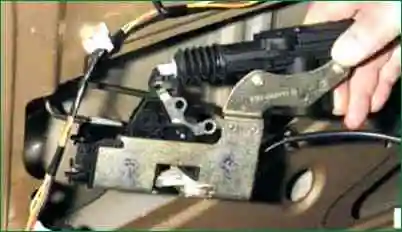
Retrieving the lock
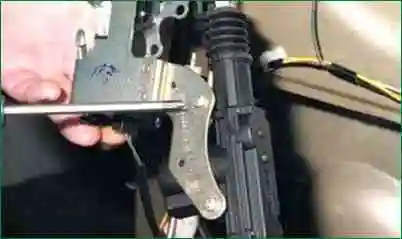
Use a Phillips screwdriver to unscrew the two screws
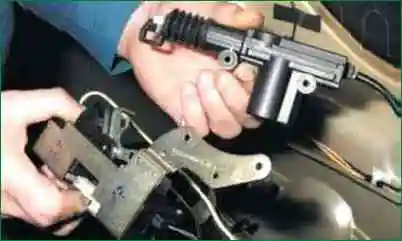
Remove the electric lock lock
Install the lock in reverse order
Removing the outer tailgate handle
Remove the door upholstery as described above.
Disconnect the lock switch and door handle rods, described above
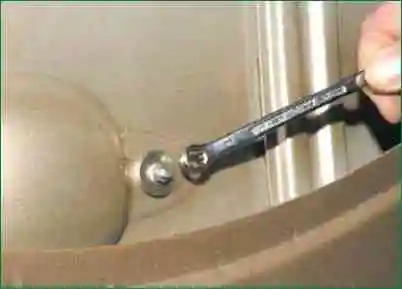
Using an 8 wrench, unscrew the outer handle fastening nut
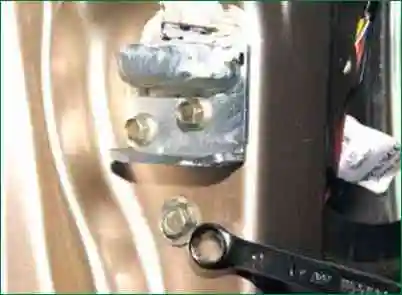
Use a 10 key to unscrew the bolt securing the outer handle
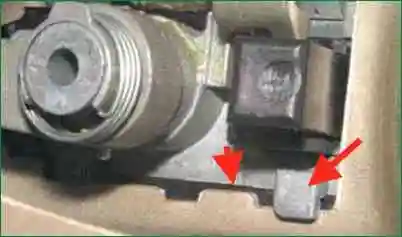
We shift the outer handle to the left until it stops, in this position the locking protrusions of the handle disengage from the reciprocal protrusions on the tailgate panel
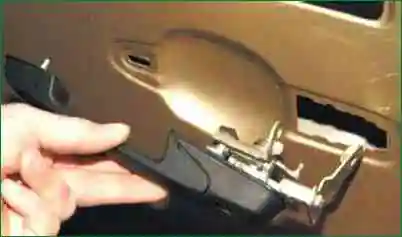
Move the handle all the way up and remove it from the holes in the door panel.
Install the handle in reverse order
Removing the tailgate stud and stud socket (old version)
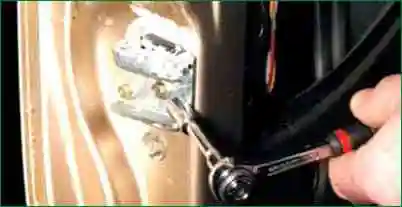
With an 8 head, unscrew the two bolts securing the spike to the door
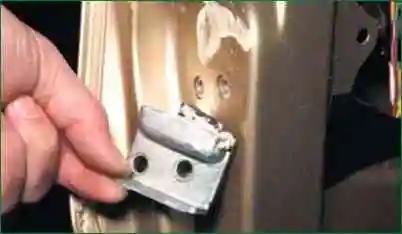
Remove the spike
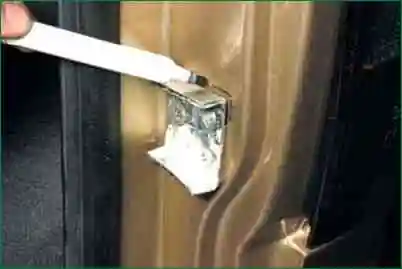
To remove the tailgate stud, mark the position of the stud socket relative to the body
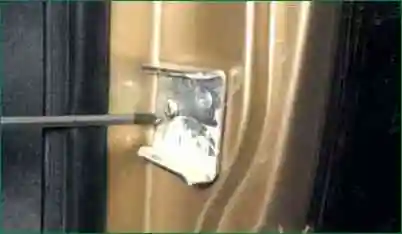
Using a Phillips screwdriver, unscrew the three screws securing the spike socket
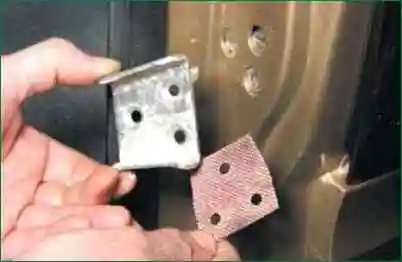
Remove the stud socket along with the gasket
Removing the tailgate stud and stud socket (new version)
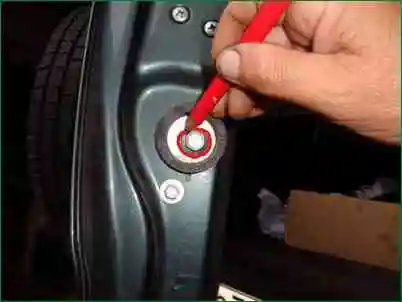
Marking the position of the spike
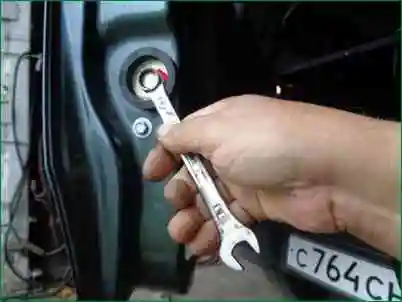
Use the 13 key to unscrew the spike
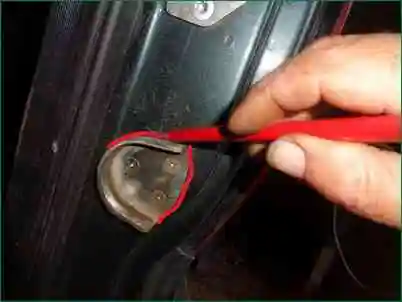
Marking the position of the spike socket
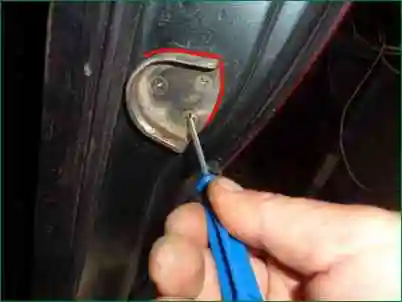
Use a Phillips screwdriver to unscrew the three screws securing the socket (you can use an impact screwdriver)
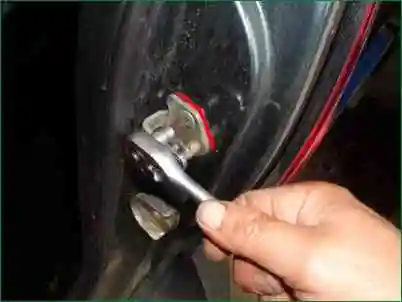
We mark the position of the tailgate lock latch and use a TORX T40 impact screwdriver to unscrew the two latch screws.
Install the parts in reverse order. We set the details according to the established marks.


