If, with a good tensioner and its shoe, as well as with unworn drive sprockets, it is not possible to restore the tension of the chain, then the chain has stretched excessively and must be replaced
You will need: wrenches "for 10", "for 13", "for 17", a special wrench for the crankshaft pulley nut, a screwdriver, a mounting spatula, a hammer, a beard.
Remove the cylinder head cover
Remove the accessory drive pulley
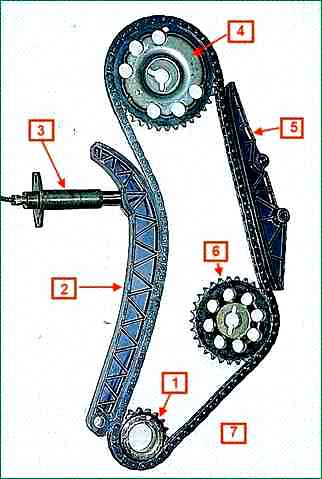
Remove the sprocket with chain from the camshaft
Remove the chain from the sprocket
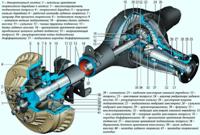
Operations shown on removed engine
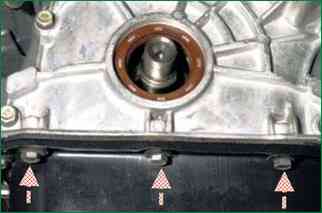
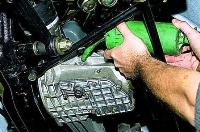
We unscrew the three bolts securing the oil pan to the timing cover.
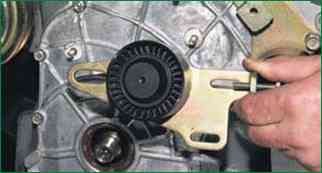
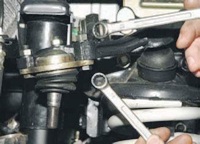
Having unscrewed the three nuts securing the tension roller bracket, remove the bracket assembly with the roller.
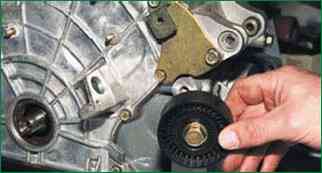
We unscrew the bolt of the support roller, remove the roller.
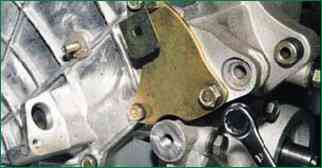
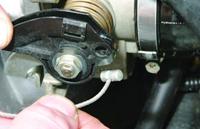
Using a 13 key, we unscrew the bolt securing the plate to the generator bracket.
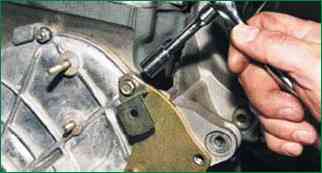
With a head of 10, we unscrew the upper bolt of the plate
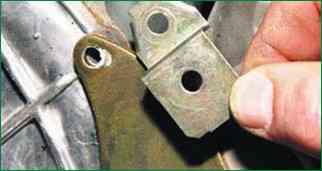
Remove the crankshaft position sensor wire holder bracket
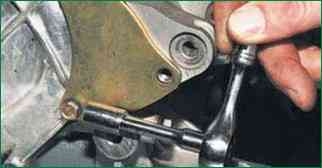
Using a 10 head, unscrew the lower plate mounting bolt.
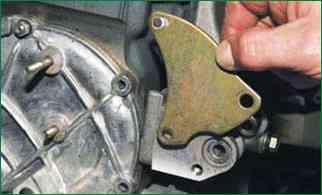
Remove the plate.
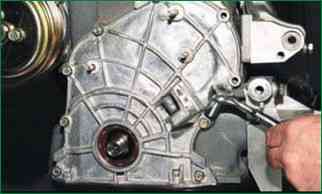
With a 10 head, we unscrew five bolts and two nuts securing the timing cover to the cylinder block
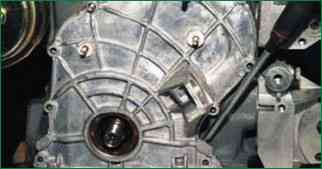
Use a slotted screwdriver to pry off the tides of the cover.
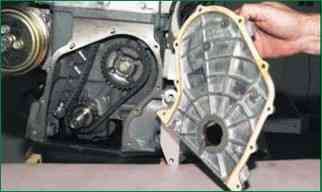
Remove the front timing cover.
The lid mating is sealed with a cardboard gasket
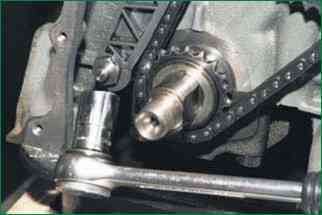
Using a 17 head, we unscrew the axle of the chain tensioner shoe.
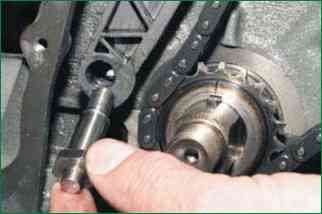
Remove the axle of the shoe
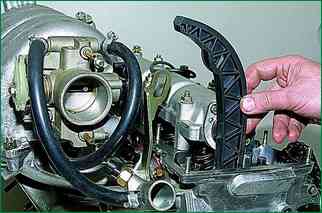
Remove the tensioner shoe.
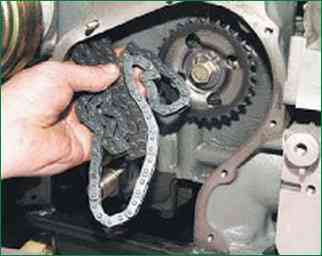
Remove the chain from the crankshaft sprockets and the oil pump drive shaft and remove the chain
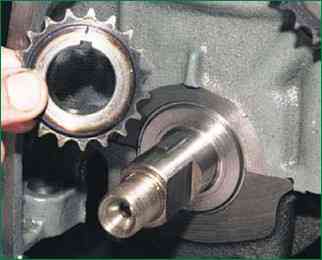
Remove the sprocket from the toe of the crankshaft
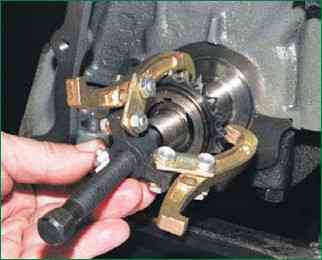
If the sprocket is tight, press it with a three-jaw puller
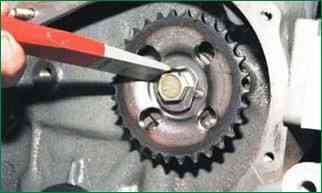
Using a chisel or screwdriver, we bend the edge of the locking plate from the head of the bolt securing the sprocket of the oil pump drive shaft.
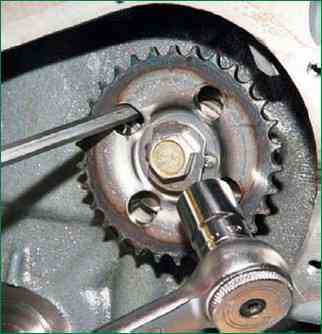
With a 17 head, unscrew the sprocket mounting bolt.
To prevent the sprocket from scrolling, hold it with a screwdriver through the hole in the sprocket, leaning on the head of the bolt that secures the roller thrust flange.
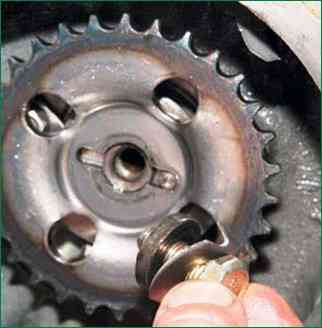
Remove the bolt with washers
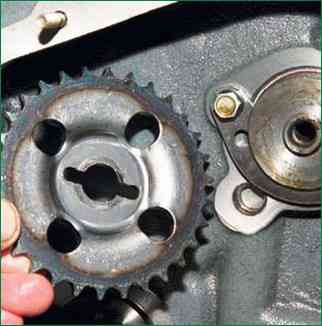
Remove the oil pump drive roller sprocket.
Asterisk on the roller is fixed with a pin
Install parts in reverse order.
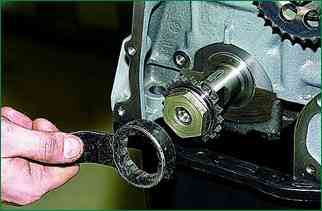
In case of a tight fit of the sprocket on the shaft, press it onto the shaft by screwing the pulley fastening nut.
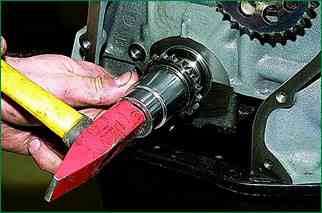
Having unscrewed the nut, we press the sprocket with a suitable head.
When installing the chain, it is necessary to ensure the tension of its left branch.
Sagging of the chain between the sprockets of the crankshaft, the oil pump drive shaft and the camshaft is not allowed.
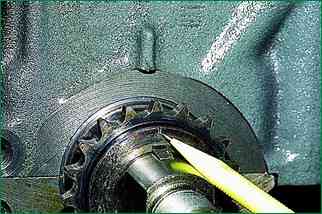
Having installed the chain and the hydraulic tensioner, turn the crankshaft clockwise two turns and check that the alignment marks match.
Make sure that the marks on the sprockets match the marks on the engine at the same time
If the marks do not match, reinstall the circuit.
If the marks match, shift into gear, tighten the camshaft sprocket bolt and lock it.
Install the removed parts in the reverse order of removal.


