Removing the sliding door and disassembling the mechanism for moving it
We work with two or three people, as the door is heavy
Removing the upholstery (see article - Removing the upholstery of a sliding door)
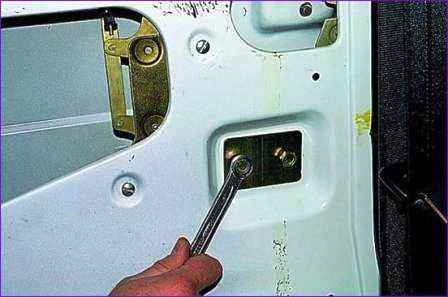
Using a key or a “14” head, unscrew the two bolts securing the middle rail door opening mechanism.
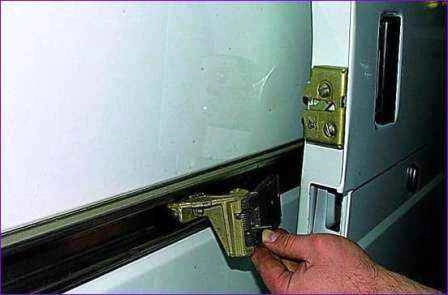
Remove the bolts together with the plate.
Holding the door on the weight, we take out the middle door opening mechanism from it.
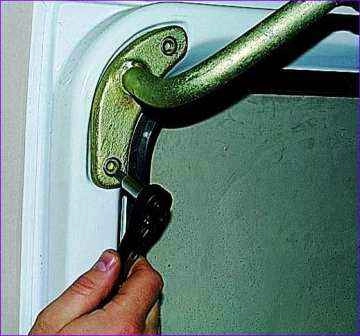
Using a 6" hex wrench, we unscrew the two bolts securing the door to the upper support.
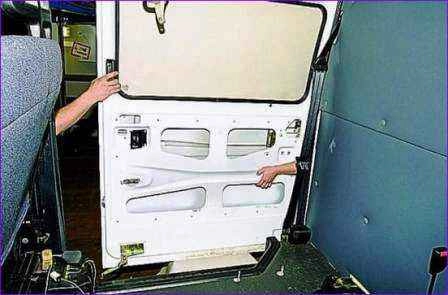
Slightly lowering the door (by 2–3 cm), we remove the lever of the lower door opening mechanism from engagement with the lower guide
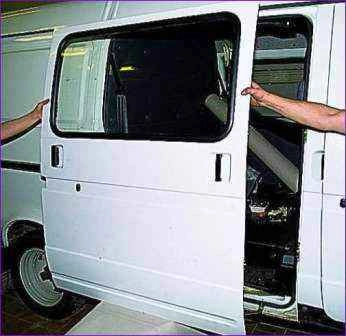
Remove the door
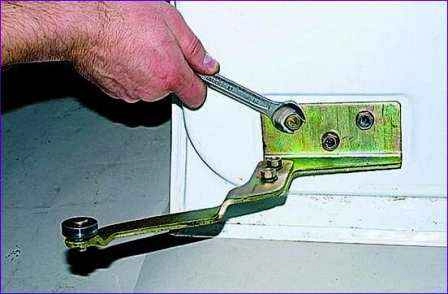
Using the “14” key, we unscrew the three bolts securing the lever
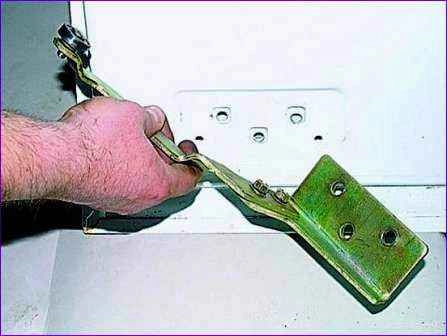
Remove the lever of the lower mechanism from the door.
Install the door in the following sequence.
First, we fix the upper support on the door. Then we install the mechanism of the middle guide on the door.
We install the lever of the lower mechanism on the door, having previously brought the lever roller into engagement with the lower guide.
After installation, we adjust the position of the door.
Sliding door adjustment
It is more convenient to work together.
We adjust the door if the door was removed, as well as in case of violation of its correct position during operation.
It is more convenient to carry out adjustment with the lock latches removed.
Height adjustment of the door
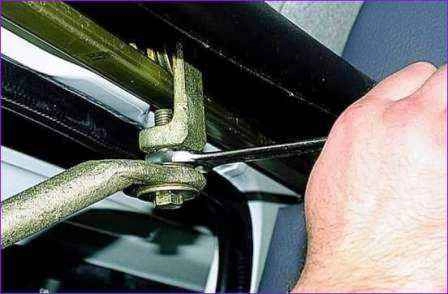
Weaken the locknut with the “17” key
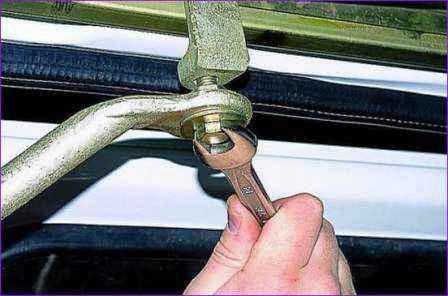
By rotating the adjusting bolt of the upper support, with the “14” key, we raise or lower the front edge of the door, achieving a uniform gap between it and the middle pillar
Having set the door to the required position, tighten the locknut of the adjusting bolt.
Remove the door upholstery (see the article - Removing the sliding door upholstery)
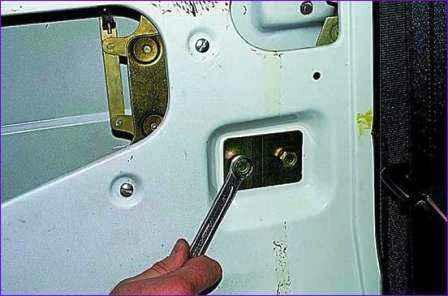
Using the “14” key, loosening the two bolts securing the middle rail door opening mechanism, we raise or lower the rear edge of the door, achieving a uniform gap between the door and the side of the body.
Holding I put the door in the required position, tighten the bolts of the mechanism.
Adjusting the position of the door “in depth”
Loosening the locknut of the adjusting bolt of the upper door support and moving the support within the adjustment slot, we shift the upper edge in the horizontal plane, and then tighten the locknut.
Having loosened the two bolts of the lower lever with the roller with the “12” key and moving the lever within the slot, we adjust the position of the lower edge of the door in the horizontal plane, and then tighten the bolts.
If the described adjustments are not enough, we make additional adjustments.
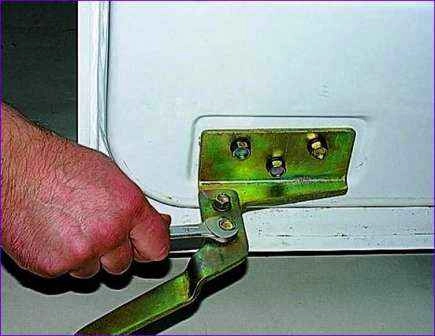
With the “14” key, loosening the three bolts securing the lower support to the door, move the support within the slots along the door, adjust the position of the lower edge of the door in the horizontal plane.
In addition, it is allowed to place washers under the bolts of the upper rail support, or between the upper rail and its support.


