Remove the door (how to remove the door, you can see the article - Removing and adjusting the sliding door)
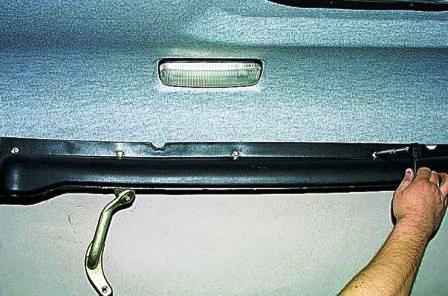
Using a key or an “8” head, unscrew the four bolts securing the upper rail casing.
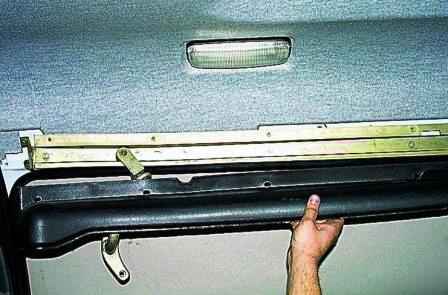
Remove the cover.
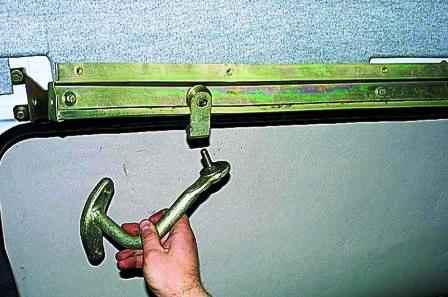
Having loosened the lock nut, unscrew the bolt securing the upper support to the roller carriage (see the article - Adjusting the sliding door).
Disconnect the support from the carriage.
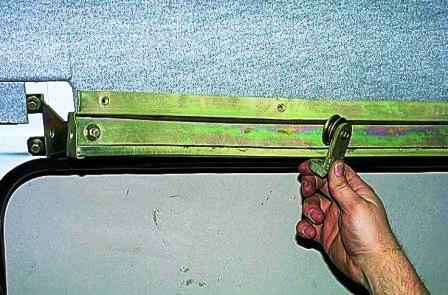
Remove the carriage with the roller from the top rail.
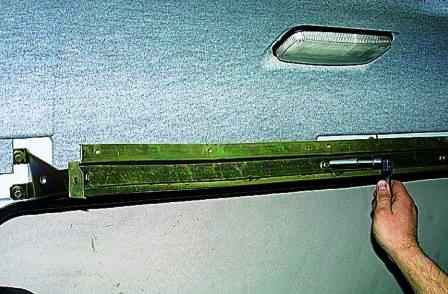
With a “10” head, we unscrew the four bolts securing the upper guide.
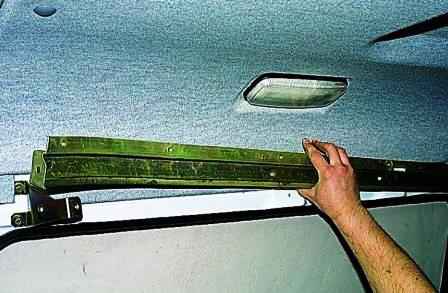
Remove the top guide.
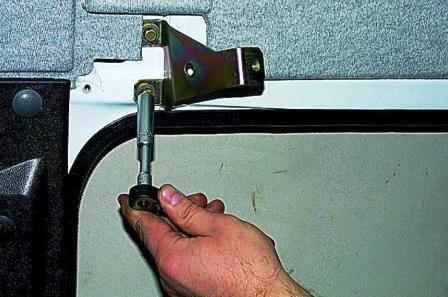
With the same wrench, unscrew the two bolts securing the upper rail support to the body
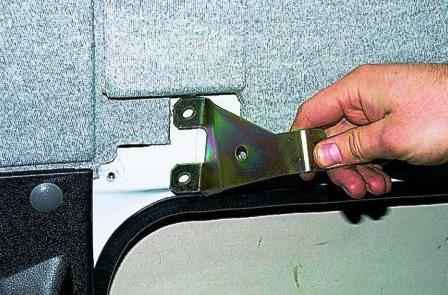
Remove the support
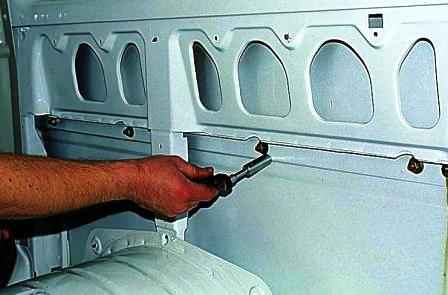
With a “13” head, we unscrew the four nuts of the studs securing the middle rail.
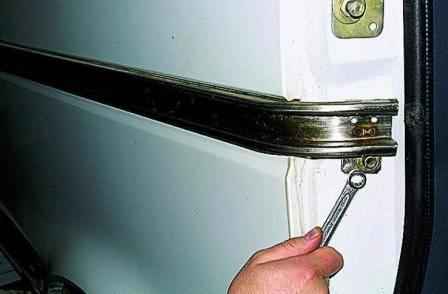
Using the “12” key, we unscrew the bolt of the external fastening of the guide.
Remove the middle guide.
A rubber seal is installed between the guide and the body.
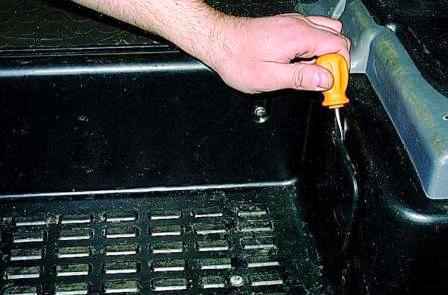
Using a screwdriver, pry off and remove the hatch in the trim of the body steps.
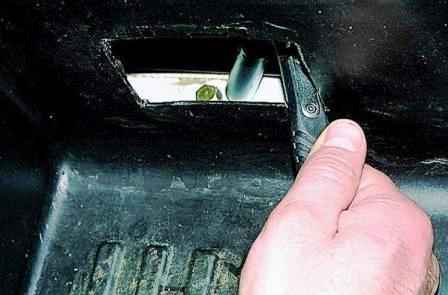
In the opened niche, with the “12” head, unscrew the bolt securing the lower guide
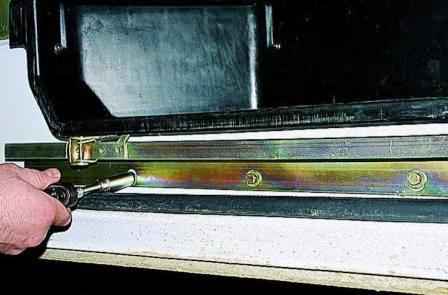
With a “10” head, unscrew the other three bolts securing the lower rail
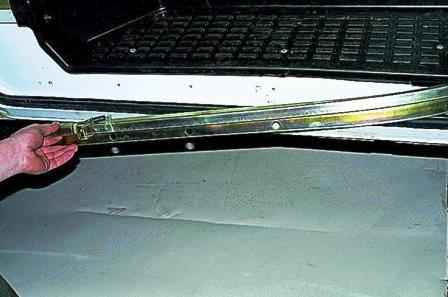
Remove the bottom guide.
Set We fix all the guides in the reverse order, after which we cover their working surfaces with Litol-24 or ShRB-4 grease.


