We bleed the brake system when air gets into it or the brake circuits are depressurized, when brake cylinders, hoses, tubes, etc. are replaced, as well as when fluid is changed
An assistant is needed to bleed the brakes.
This operation does not require an inspection ditch, a fairly clean, level area.
Change the brake fluid every 2 years.
The system must be filled with DOT-4 glycol brake fluids or similar.
Before changing the brake fluid, check the tightness of the brake hydraulic drive.
For this operation, you will need spanners for 10, 12 and preferably a special key for bleeding the brakes, as well as brake fluid, a transparent hose, a transparent vessel (you can use a plastic bottle).
The valves for venting air from the working cylinders of the rear wheels are turnkey for 10, the front wheels are turnkey for 12.
The sequence of fluid replacement in the brake mechanisms:
- - right back;
- - left front;
- - left back;
- - right front.
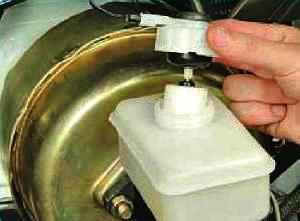
Remove the cap of the reservoir of the brake master cylinder
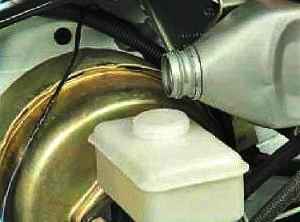
Pour clean brake fluid into the reservoir up to the lower edge of the filler neck.
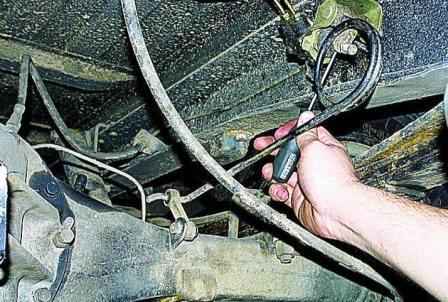
We brake the car with a handbrake and install shoes under the rear wheels.
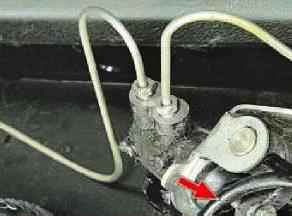
If the rear wheels are suspended, first unlock the rear brake pressure regulator by inserting a screwdriver between the plate and the piston.
Don't forget to take it out after finishing work.
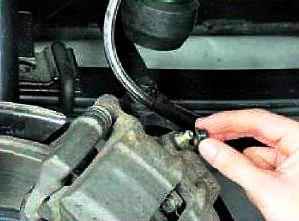
We clean the air release valves from dirt and remove the protective caps of the valves of the working cylinders of the front brake cylinders
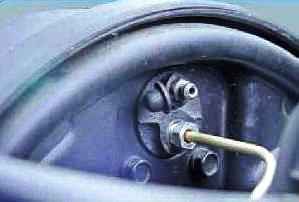
Remove the protective air outlet caps from the rear working cylinders.
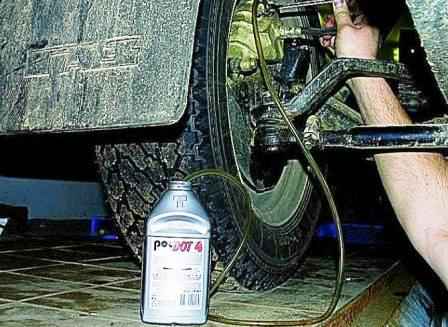
We put a rubber hose on the air release valve of the right rear brake mechanism and immerse the end of the hose in a clean vessel.
We bleed air from the hydraulic brake system with the engine running (so that the vacuum brake booster works).
The assistant should sharply press the brake pedal four to five times (with an interval between pressing 1 - 2 seconds), and then keep the pedal depressed
Unscrew the air release valve ½ - ¾ turn.
Old (dirty) brake fluid will start to flow out of the hose.
The brake pedal at this time should move smoothly to the stop.
As soon as the liquid stops flowing, close the air release valve.
You need to monitor the liquid level in the tank, preventing it from dropping to the bottom mark on the tank wall.
If necessary, add new brake fluid to prevent air from entering the hydraulic drive.
This is how the old brake fluid is replaced with a new one without draining the hydraulic system.
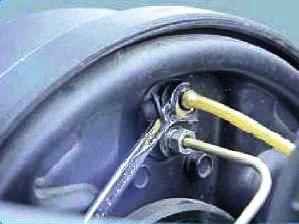
Next, we change the brake fluid in the left front brake, and then in the second circuit (first in the left rear brake, and then in the right front).
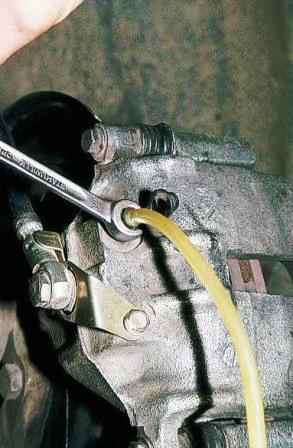
Repeat these steps until the fluid in the drive is completely replaced (clean fluid without air bubbles should flow from the hose).
After changing the brake fluid, put on the protective caps on the air release valves.
Add brake fluid, its level should be between the maximum and minimum marks.
Checking the brakes.
Install the parts in reverse order.


