The injector of the multiport injection system is an electromagnetic device that doses the supply of fuel under pressure into the engine intake pipe
The injectors are fixed to the ramp with spring clips. The upper and lower ends of the injectors are sealed with O-rings, which must always be replaced with new ones when removing and installing the injectors.
The controller controls the injector solenoid valve, which allows fuel to pass through the guide plate to atomize the fuel.
The guide plate has holes that direct the fuel to form a conical flame.
The fuel jet is aimed at the intake valve. Before the fuel enters the combustion chamber, it evaporates and mixes with air.
An injector that has a stuck valve in a partially open state causes a loss of pressure in the injector rail after the electric fuel pump is turned off, so some engines will experience an increase in cranking time.
In addition, a nozzle with a stuck valve can cause pre-ignition, as some fuel will enter the engine after it is turned off.
Signs of malfunctioning injectors can be:
- -difficulty starting the engine;
- – unstable engine operation;
- – the engine stalls at idle;
- - increased idle speed of the crankshaft;
- - the engine does not develop full power, insufficient engine acceleration;
- - jerks and dips in the engine when the car is moving;
- – increased fuel consumption;
- - increased content of CO and CH in the exhaust gases;
- - glow ignition due to leakage of nozzles.
You will need the same tools as for removing the fuel rail.
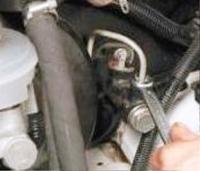
Remove the fuel rail (see "Removing and installing the Niva Chevrolet fuel rail") and reattach the fuel lines to it.
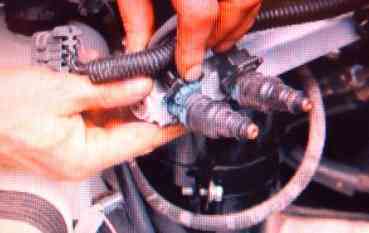
Pressing on the spring clips, disconnect the blocks with wires from the injectors.
To remove the injector, compress the spring clip of the wire block and disconnect it from the injector.
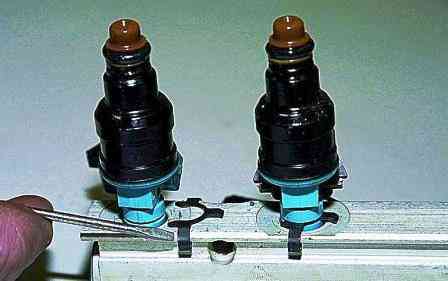
Use a screwdriver to move the nozzle lock along the ramp.
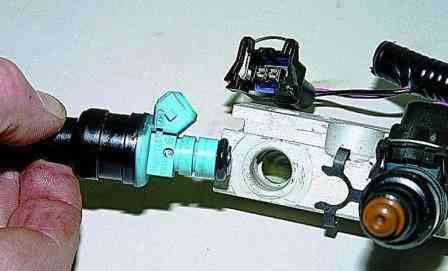
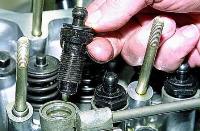
Swinging the nozzle, we take it out of the ramp.
When removing the nozzles, be careful not to damage the nozzles. The nozzle is not disassembled.
It is not allowed to immerse the nozzles in washing liquids, because nozzles contain electrical components.
It is not allowed to get engine oil inside the nozzle.
Production models since 2009 are slightly different, but the principle is the same
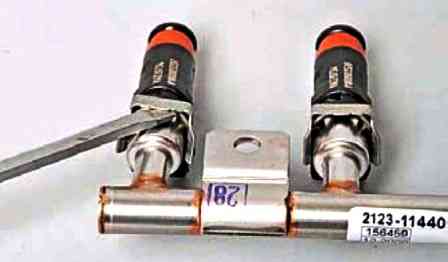
Use a screwdriver to move the nozzle lock
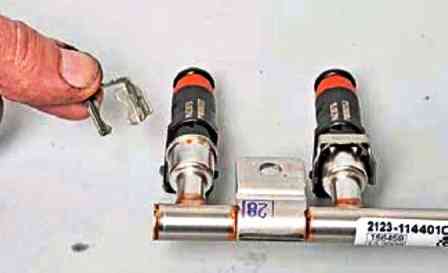
Remove the retainer
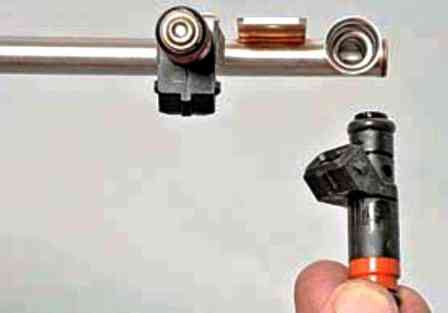
Swinging the nozzle, we take it out of the ramp
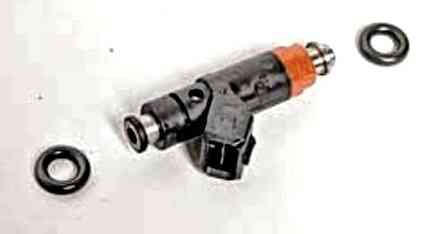
Prying off with a thin-blade screwdriver, remove the O-rings from the nozzle and sprayer body
O-rings of the injector are the same
We also dismantle the remaining nozzles
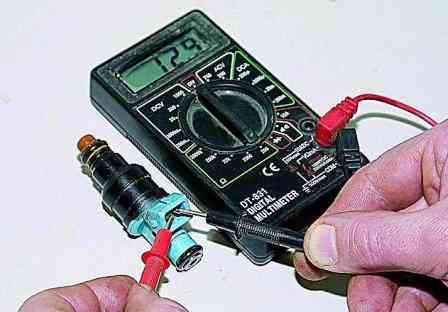
We check the resistance of the injector winding with a tester.
Resistance should be between 11-15 ohms.
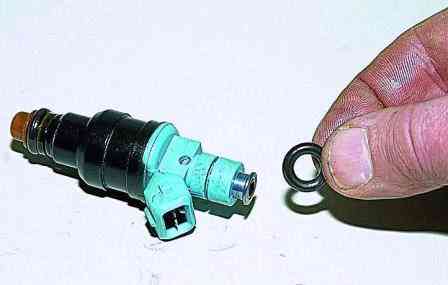
To replace the O-rings of the injectors, pry off with a thin-blade screwdriver and remove the O-rings from the injector and atomizer body
Similarly, we dismantle other nozzles.
We install the nozzles on the ramp in the reverse order.
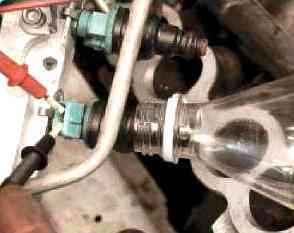
To check the injectors, we connect the block of their wiring harness to the block of the wiring harness of the engine control system, and fuel hoses to the tubes of the ramp and pressure regulator.
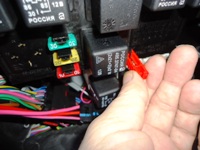
We install the fuse of the electric fuel pump in the block of the relay and fuse block of the engine management system.
Having placed transparent flasks on the inlet pipe under the nozzles (you can use plastic bottles), we turn the engine crankshaft with the starter.
The shapes of the spray jets, as well as the amount of fuel injected by each nozzle over a certain period of time, should not differ noticeably.
We separately check each nozzle by placing a transparent flask under it and disconnecting the wire block from it.
We supply 12V voltage from the battery with two wires to the nozzle and turn on the ignition.
A characteristic type of jet should flow from the holes of the spray nozzle, forming a conical torch.
Turning off the power from the nozzle, we check if fuel is leaking through the nozzle holes.
If the electrical resistance of the nozzle is not correct, the output and spray pattern are very different from those of other nozzles, or if the nozzle is leaking, then it must be replaced.


