Replace the spring if it has mechanical damage or significant settlement.
Signs of settling: deterioration in ride smoothness, frequent breakdowns of the suspension; visible skew of the front of the car or a significant difference in height between the front and rear that appeared during operation; strongly pronounced traces of the collision of the coils of the spring.
You will need: wrenches "for 13" (two), "for 17" (two), "for 24", support (screw or hydraulic jack), wrench for wheel nuts.
The springs are divided into two groups along the length under a load of 6276 N (640 kgf): group "A" - the length is more than 192 mm; group "B" - length equal to or less than 192 mm.
Springs are marked with paint on the outer side of the coils:
- -group "A" - white paint or no markings;
- -group "B" - black.
The springs of the same class must be installed on the front and rear suspensions.
If group "A" springs are installed on the rear suspension, then the installation of group "B" springs on the front suspension is not allowed.
It is possible (but highly undesirable) to install group "A" springs on the front suspension if group "B" springs are installed on the rear. Install springs of the same group on the left and right of the car.
Change springs in pairs and together with gaskets.
Remove and install springs with the utmost care to avoid "shooting" the spring from the suspension assembly and injury.
The proposed method of removing the spring without special tools requires certain skills.
When removing and installing springs, it is best to use any universal spring ties available on the market.
If you install the ties on the spring, without hooking them on the last turns, and tighten the spring as much as possible, its installation will be much easier.
Remove the wheel.
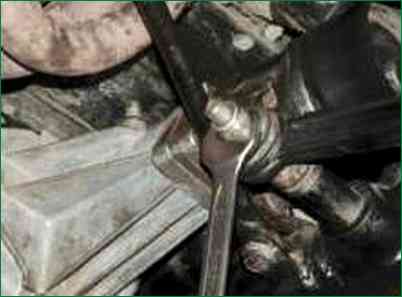
Loosen the lower arm axle nut.
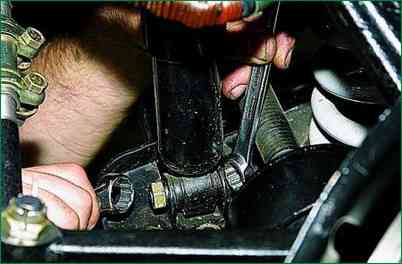
Remove the shock absorber lower bolt nut
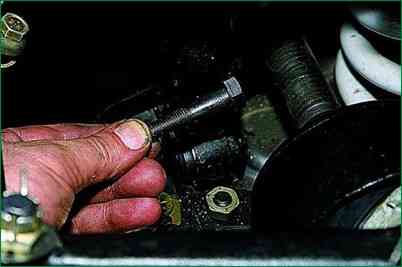
Remove the lower shock absorber mounting bolt
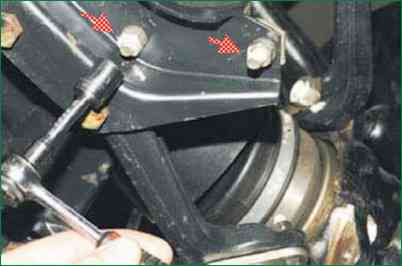
Unscrew the two nuts of the stabilizer pad bracket and remove the bracket
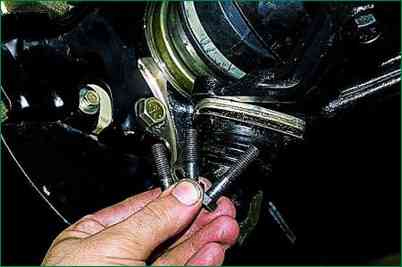
Having jacked up the suspension until the compression stop is released, unscrew the three nuts of the ball joint bolts and remove the bolts
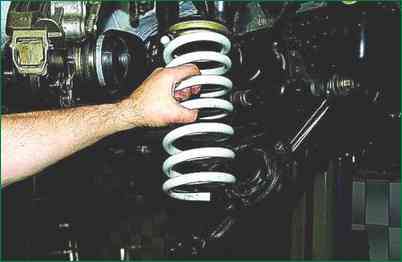
Slowly lowering the lever, release the spring and remove it.
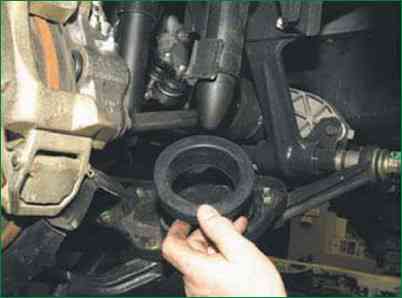
Remove the top spring spacer
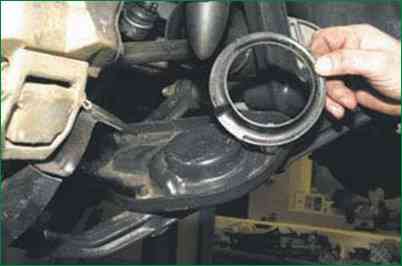
Remove the lower spring spacer.
Remove the compression stop if necessary
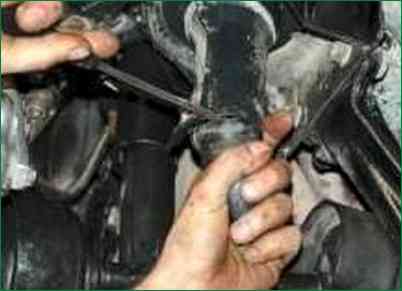
Renew the removed parts in the reverse order of removal
Tighten the lower arm axle nut when the suspension is loaded with the mass of the vehicle (on a viewing ditch or overpass).
When working on a lift, place a support under the lower arm and lower the vehicle slightly (if working on a platform, raise the arm with a jack) so that the position of the arms approximately corresponds to their position under load.
After replacing the spring, check and, if necessary, adjust the wheel alignment, article - "Checking and adjusting the wheel angles"


