During operation, sometimes you have to remove the bumper
Let's see how it's done:
You will need: wrenches "for 8", "for 10", "for 13", a wrench for wheel nuts, a screwdriver.
Niva Chevrolet front bumper replacement
Remove the front wheels.
Remove the front fender liner.
Open the hood.
Disconnect the wire from the negative terminal of the battery.
Remove the grille.
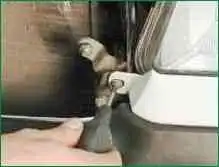
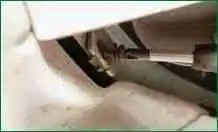
Remove the front and side screws securing the headlight trim and remove the trim.
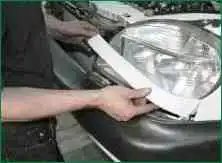
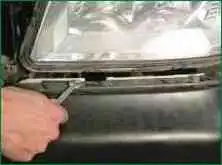
Remove the upper screws securing the buffer pad.
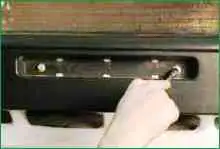
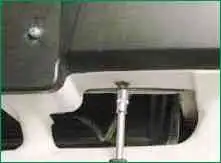
Remove the screws behind the license plate and at the bottom of the buffer
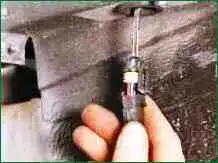
Disconnect the fog lamp harness connectors.
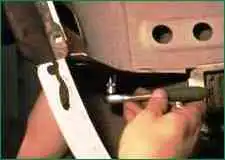
Remove the bolt securing the lining to the body.
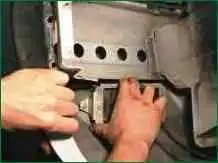
Disengage the fog lamp from the buffer beam and remove the buffer trim.
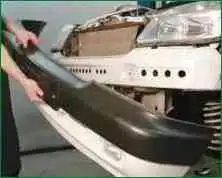
Remove the screw securing the buffer beam and the front fender.
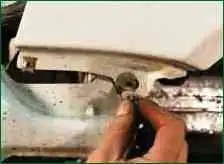
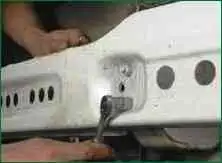
Remove the nuts securing the beam to the body
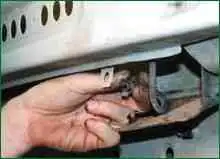
Remove the outside temperature sensor from the beam bracket
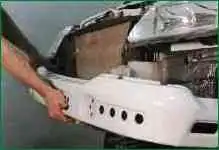
Remove the beam
Install the beam, buffer pad and all removed parts in the reverse order of removal
Removing and installing the front bumper of a Chevrolet Niva car from 2009
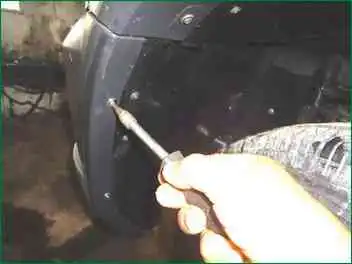
Using the T-20 key, unscrew the two screws on the right and left sides, and two screws each from the bottom.
Unscrew and remove the front license plate.
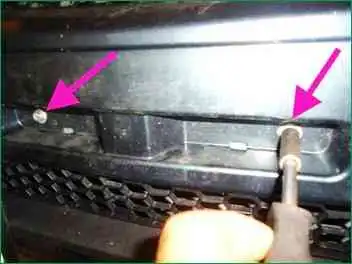
Under the license plate, unscrew the two bolts with a 10 head
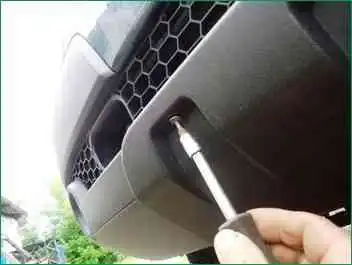
Using the T-20 key, unscrew the four screws securing the lower part of the bumper cover and remove it.
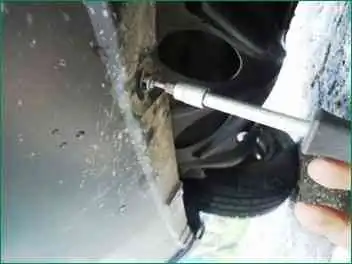
Under this overlay we unscrew three self-tapping screws
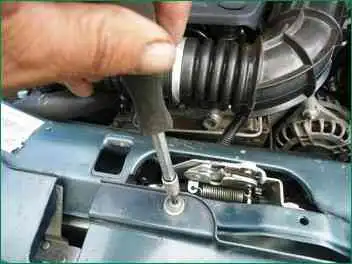
After that, using the torxT-30 wrench, unscrew the three screws that secure the upper part of the bumper
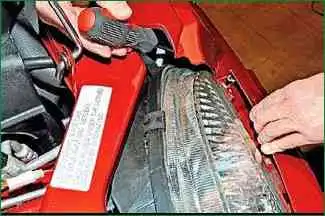
Now you need to press the upper part of the bumper a little forward and inserting a thin, long screwdriver into the gap, we squeeze the plastic tab of the decorative trim covering the lower part of the headlight
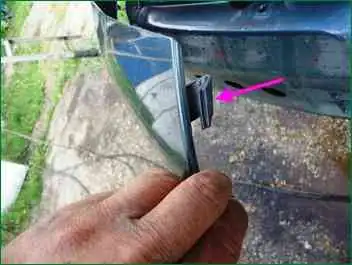
This decorative trim is also glued with double-sided tape, but in some cases it is attached at the factory with glue for gluing windshields.
This glue or tape is applied in the middle of this overlay.
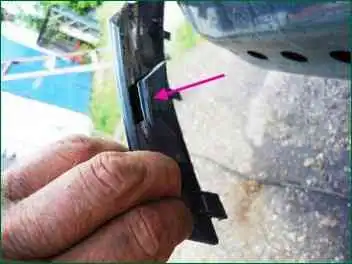
Pressing this pad, you can see two screws on one side and the other, which secure the bumper.
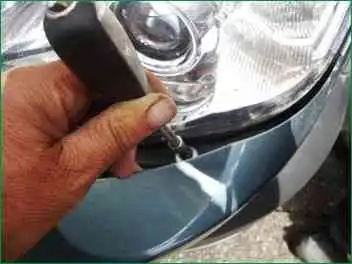
We unscrew these screws with the T-30 key
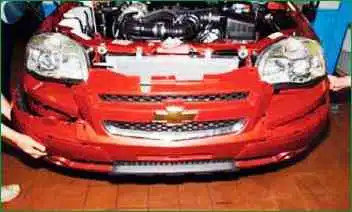
After that, carefully remove the bumper.
Install the bumper in reverse order.
When installing the decorative panels under the headlights, you need to make sure that the lower clips are in the appropriate holes.
When installing the bumper, you must first bait and secure the four screws under the headlights.
After that, the lower part of the bumper, you must first make all the screws, only then tighten them all.
Rear bumper replacement
You will need: 10 wrench, wheel nut wrench, screwdriver.
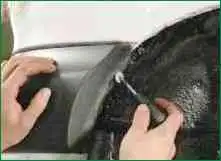
Disconnect the wire from the negative terminal of the battery.
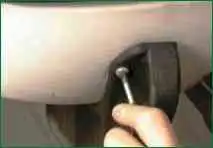
Remove the side screws securing the bumper pad to the body on both sides.
Remove the screws and nuts securing the mudguard and remove it.
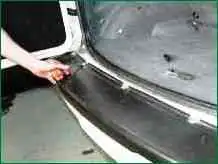
Remove the upper bolts of the lining.
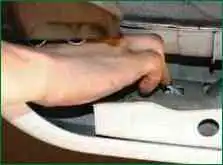
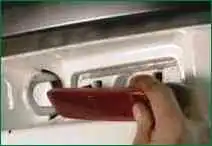
Squeeze the tabs with your fingers and remove the reflective elements.
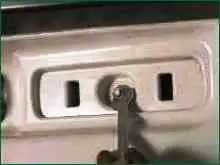
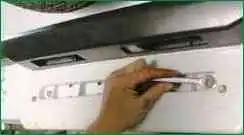
Remove the trim nuts located behind the reflective elements and behind the license plate
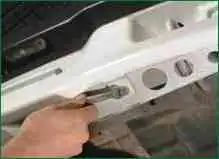
Remove the bottom nuts securing the lining.
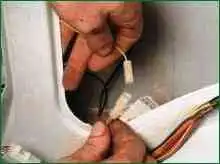
Disconnect the license plate light wire connector.
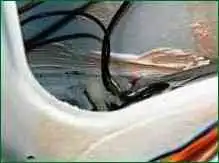
Remove the bolt securing the ground wire terminal.
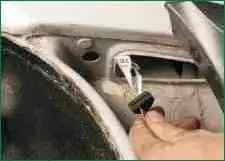
Pull aside the left side of the trim and remove the wiring harness from the hole in the body.
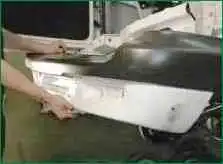
Remove the rear bumper cover.
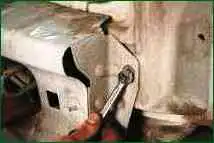
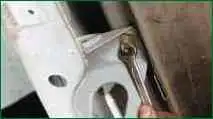
Remove the upper and lower bolts of the rear buffer beam and remove the beam.
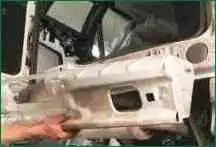
Install the rear buffer beam and trim, and all removed parts, in the reverse order of removal
Replacing the rear bumper of a car manufactured after 2009
You will need: 10 wrench, wheel nut wrench, screwdriver.
Disconnect the wire from the negative terminal of the battery.
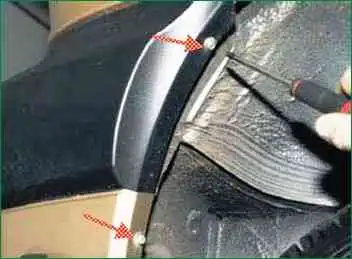
Remove the side screws securing the bumper pad to the body on both sides.
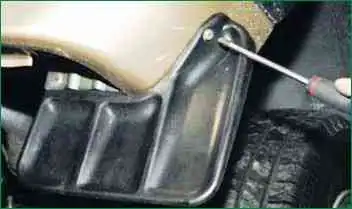
Remove the mudguard mounting screws
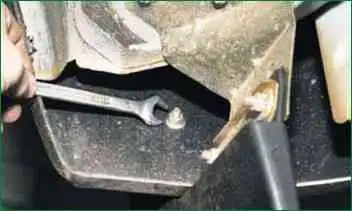
Unscrew the mudguard mounting nuts and remove it.
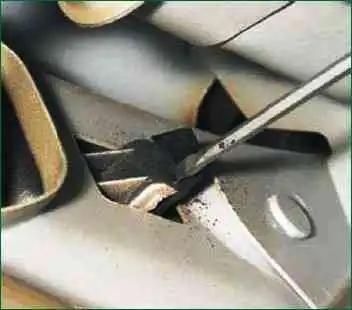
We pry off with a screwdriver and disengage the plastic retainer of the reflector
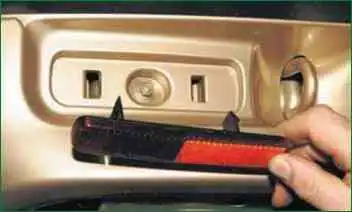
Remove the reflector, disengaging the second latch.
We also shoot the second reflector
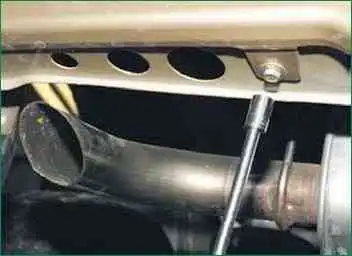
With a 10 head, unscrew the two bolts of the lower bumper mount
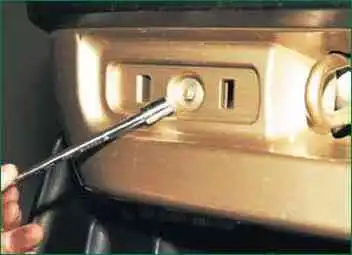
With a head of 10 on each side, unscrew one nut, located in a niche under the reflector
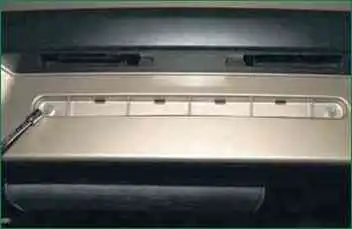
We unscrew the two nuts securing the bumper under the license plate
Opening the tailgate
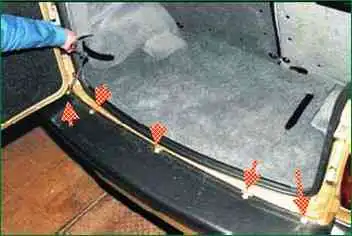
With a 10 head, unscrew the five bolts of the upper bumper mount
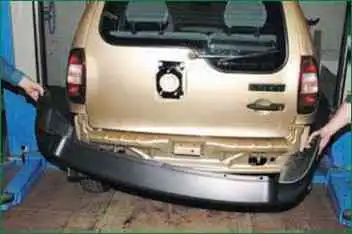
Remove the bumper from the seats and push the protective caps of the license plate lights with wires into the bumper holes
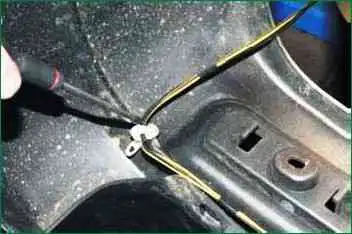
Using a Phillips screwdriver, unscrew the four screws securing the lamp wire holders and remove the bumper from the car
Install the bumpers in reverse order.


