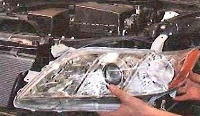
Toyota Camry rear bumper replacement
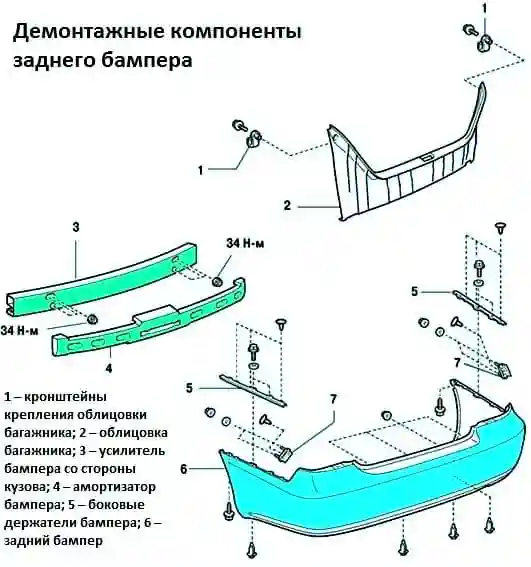
Rear bumper removal components are shown in fig. 1
Install in the reverse order of removal.
Remove the luggage compartment floor mat.
Remove the spare wheel assembly with mounting bracket.
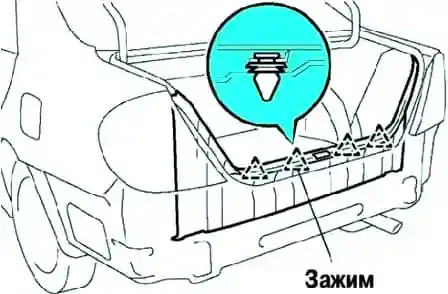
Disconnect the clips and remove the trunk lining (fig. 2).
Disconnect the two clips and remove the trunk interior trim.
Remove eight nuts, four bolts and disconnect the four clips of the rear bumper.
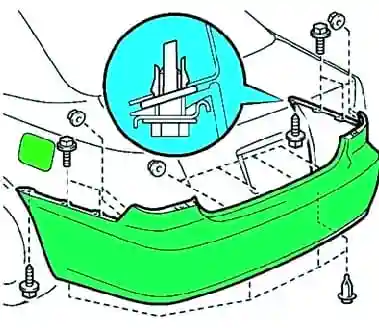
Unscrew the two screws, remove the side bumper holders and remove the rear bumper (fig. 3)
Remove the clips and remove the clips from the inside of the bumper.
Remove the bumper damper.
Remove the six mounting nuts and remove the bumper reinforcement from the body
More details:
We install the car on a lift or a viewing ditch
To complete the task, you will need tools: socket heads for 7 and 14, a wrench for 10 and screwdrivers
Remove the rear mudguards
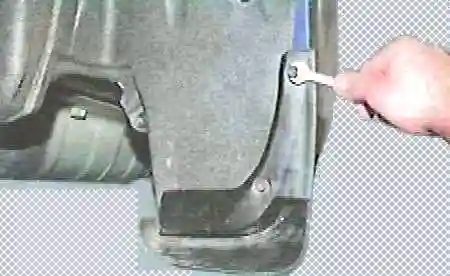
To do this, unscrew the upper screw securing the mudguard to the body
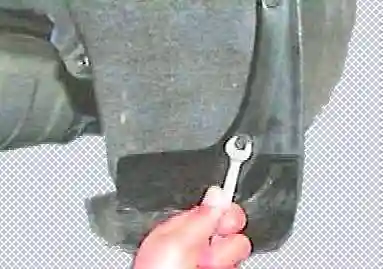
We unscrew the bottom screw, take out the holder, fixing the mudguard to the body panel and remove the mudguard
In the same way, remove the second mudguard
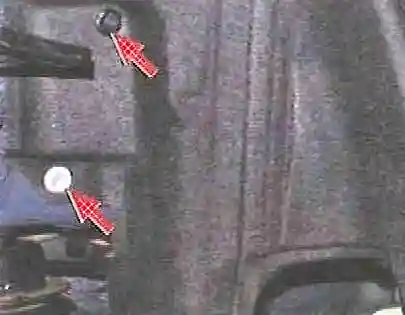
For a better approach, you can remove the rear fender liner. To do this, unscrew the bolts and screws
Let's start removing the rear bumper
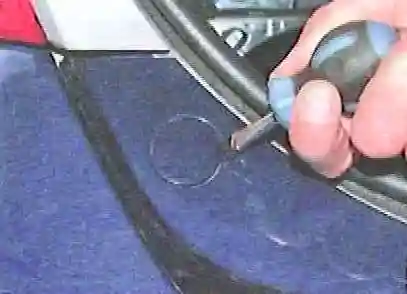
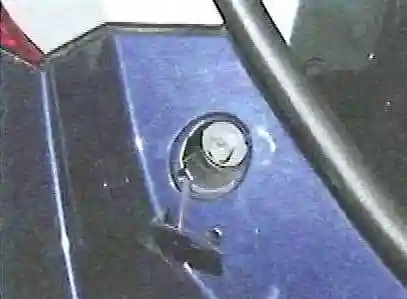
We pry off the decorative trim with a screwdriver and move the trim to the side
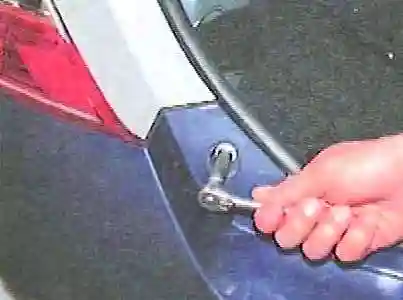
Unscrew the upper bolt securing the bumper to the trunk panel
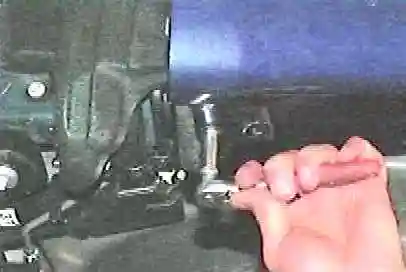
We unscrew the right and left one screw securing the rear fender liner to the bumper
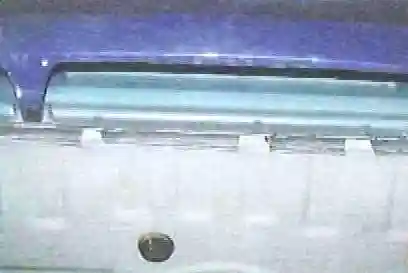
Here is the lower attachment of the rear bumper to the body panel
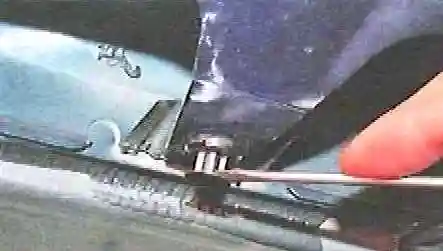
Having picked it up with a screwdriver, we take out the latches of the lower bumper mount and remove the piston us
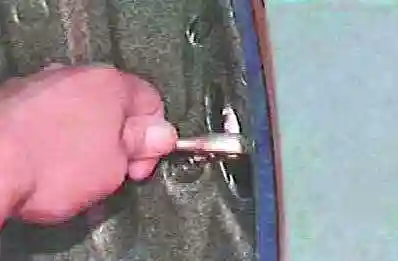
Through the hole in the rear wheel arch liners, we unscrew one bolt on the right and left of the bumper to the rear wings
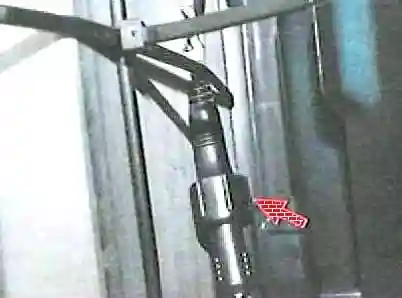
Press the latch and disconnect the wire blocks
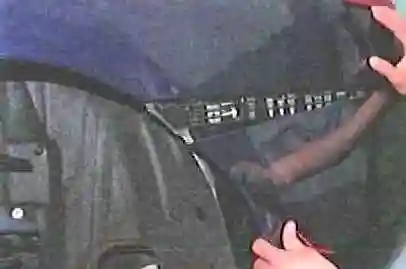
Remove the rear bumper, overcoming the resistance of the holders
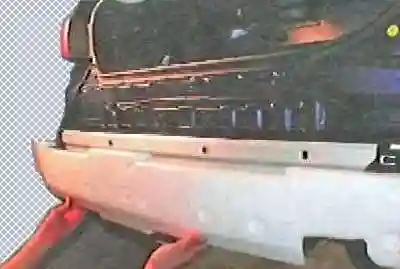
Remove the energy-absorbing element from the rear bumper amplifier
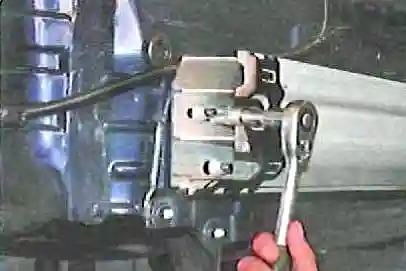
We unscrew the three fastening nuts on the left and right sides and remove the rear bumper amplifier
Install parts in reverse order


