")
")
")
")
")
")
Removing and installing the front bumper
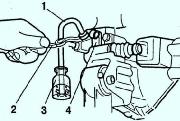
Disconnect the negative battery cable
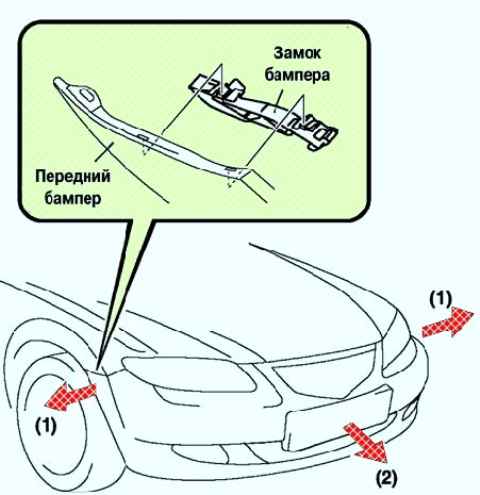
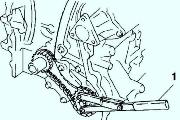
Pull the ends of the front bumper (wheel arch) outward to disengage the bumper lock (fig. 1).
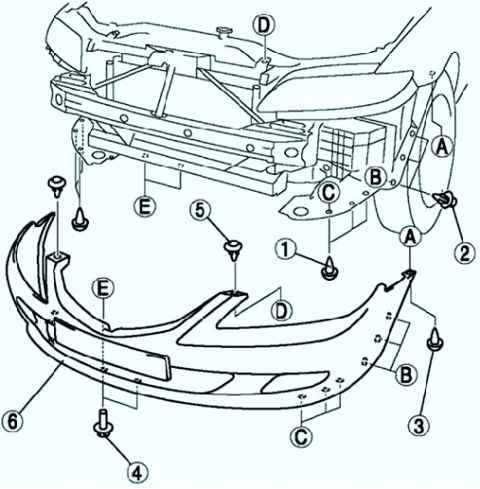
Remove in the order shown in Figure 2.
Remove the front bumper.
If the front bumper only releases on one side when the bumper falls, it may be damaged.
When releasing the front bumper lock, secure the bumper so that it does not fall.
Spread the ends of the front bumper (wheel housing).
Attach the front bumper to the body.
Push the connecting parts of the front bumper towards the body to insert them into the bumper locks.
Install in the reverse order of removal.
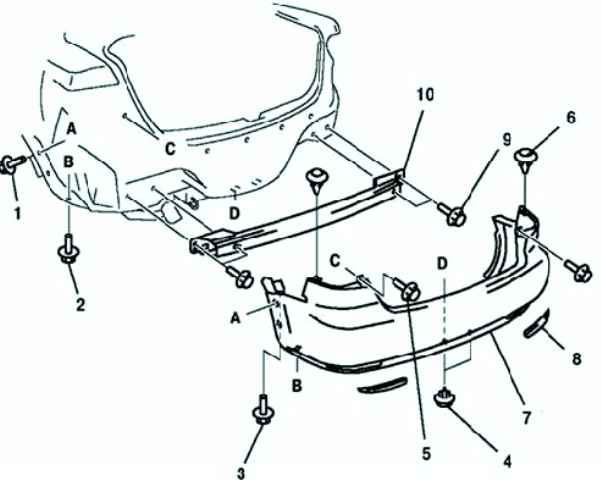
Removing and installing rear bumper
Disconnect the negative cable from the battery.
Remove the trunk lining.
Remove the fasteners and slightly bend the side trim of the trunk (right)
Remove the fasteners and slightly bend the trunk side trim (left) (4SD)
Remove service port cover (left) (5HB)
Remove the rear combination lamp.
Disconnect the license plate light connector.
Remove in the order shown in Figure 3.
Remove the rear bumper.
Pull the edges of the rear bumper (wheel housing) outward.
Attach the rear bumper to the body.
Push the connectors of the rear bumper towards the body to insert them into the bumper locks.
Install in the reverse order of removal.