We remove cardan gears for repair or when removing gearboxes and gearboxes
We install the car on a lift or a viewing ditch
During dismantling, you have to turn the driveshaft, so you need to put the car in neutral and lower the parking brake lever.
You can hang the car on one rack in front or behind, depending on which driveshaft you need to remove.
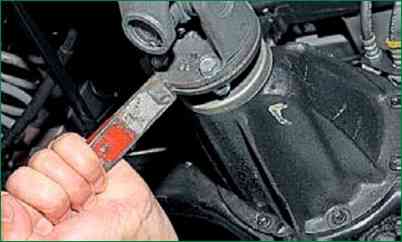
Before removing the cardan shaft, we make marks with a chisel on the ends of the flanges of the cardan shafts at the points of their connection in order to install the cardan shaft in the same position.
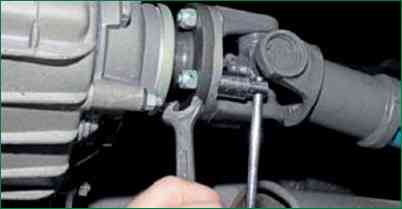
Using a 13 wrench, unscrew the nut of the cardan shaft mounting bolt, holding the bolt from turning with a head of the same size
Scrolling the driveshaft, unscrew the remaining nuts of the bolts in the same way
Nuts for cardan shafts with Teflon inserts (self-locking), must be replaced after repeated use.
We also unscrew the nuts on the second connection and remove the bolts
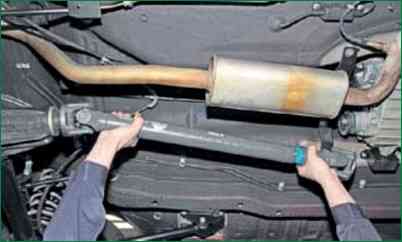
Remove the cardan shaft, slightly bringing both parts to the center along the splined connection
Removing the drive shaft with CV joints
We prepare the car, as well as when removing the cardan shafts
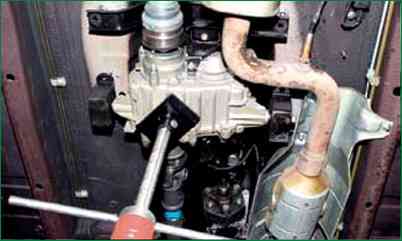
Installing an adjustable stop under the transfer case
Using a 13-head with an extension, unscrew the four nuts securing the side brackets of the transfer case suspension and two nuts of the cross member of the rear bracket of the transfer case
We lower the transfer case on the stop so that it comes off the mounting studs
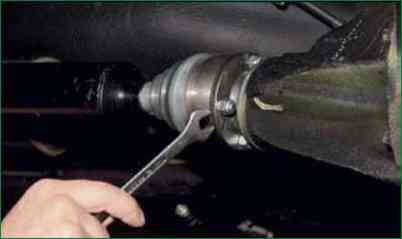
Turning the shaft with an open-end wrench by 13, in turn, unscrew the four nuts securing the shaft to the drive axle flange
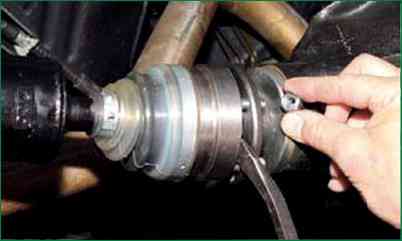
When removing the nuts, you need to insert the mounting blade into the gap between the CV joint and the flange, then press the CV joint so that it moves slightly along the splines of the shaft and allows you to remove the unscrewed nuts
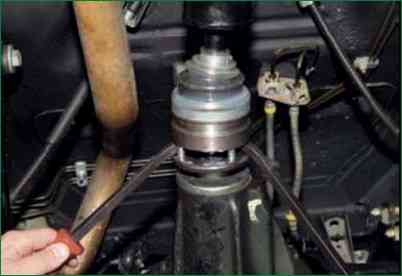
Then, with two mounting blades, we press the CV joint so that the mounting studs come out of the holes in the drive axle flange
The transfer case removed from the mounting studs allows this to be done.
If you do not release the transfer case, then the free play of the spline connections of both CV joints will not be enough.
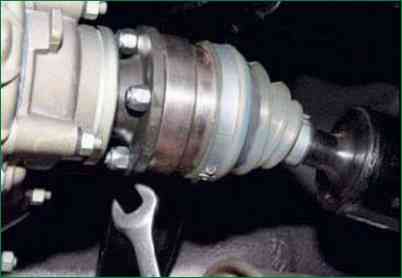
Holding the drive shaft with your free hand, unscrew the four nuts securing the shaft to the transfer case flange
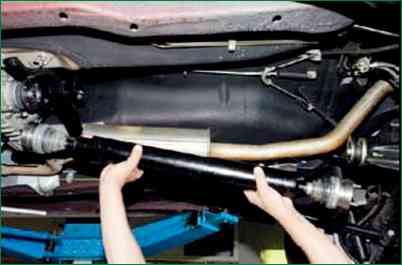
And remove the shaft
Install the drive shaft in reverse order.


