Inspection, check and lubrication of the driveline
First of all, inspect the driveshafts and forks - cracks, dents or other deformations are unacceptable
The polished surface of the sliding fork must be free of wear and tear.
The splines of the sliding fork, the output shaft of the gearbox, and the rear joint must not show signs of corrosion and wear.
Inspect the support - rubber peeling from the reinforcement, cracks and breaks are not allowed here.
The support bearing should rotate easily, without jamming or play.
On the removed driveline, you can assess the condition of the hinges without disassembling them.
Inspection and removal of the cardan shaft of the Gazelle car
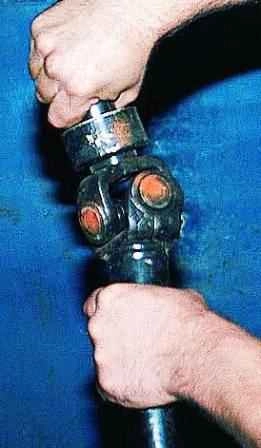
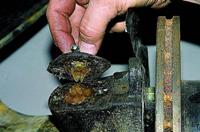
Shake each hinge in different planes. There should be no noticeable play along the axis of the spikes and jamming.
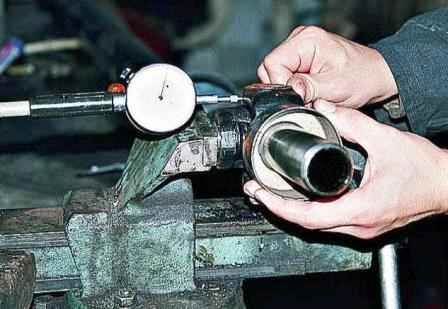
If necessary, you can measure the radial clearance in the bearings of the crosses with an indicator.
To do this, clamp one of the hinge forks in a vice on the bearings of the cross.
Pressing the indicator leg to the free eye of the other fork, swing it around the axis of the cardan shaft.
Play more than 0.1 mm is not allowed.
It indicates the wear of the hinge and the need to replace the bearings and the cross.
If the holes in the lugs themselves are worn out, the cardan shaft assembly must be replaced.
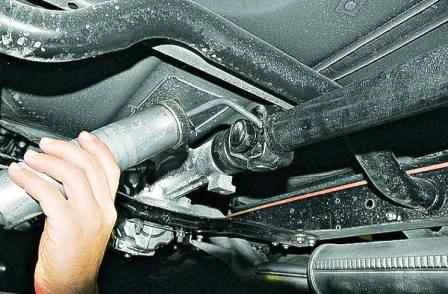
Having cleaned the grease fitting from dirt, we pump transmission oil into all joints with a syringe.
At the same time, its excess should come out from under the cuffs of all four bearings.
If the oil does not come out somewhere, then the hinge needs to be sorted out - the lubrication channel is clogged, the oiler valve is clogged, or a spring has come off one of the cuffs
Removing the driveline
If the movement of the car was not accompanied by vibrations caused by the driveline, then during subsequent assembly, the pre-existing position relative to the gearbox and rear axle should be maintained.
To do this, turn on any gear in the box.
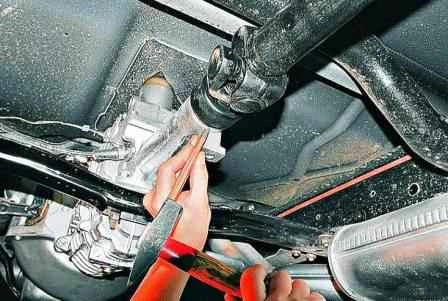
We mark with a chisel or file the position of the front fork (dirt deflector) of the cardan joint relative to the gearbox extension
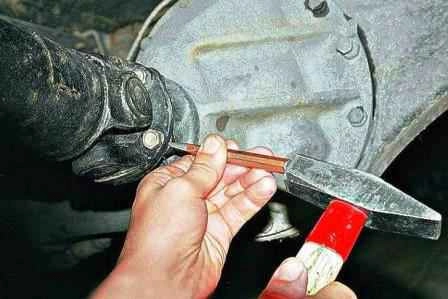
We mark with a chisel or file the position of the rear flange of the driveline relative to the flange of the rear axle.
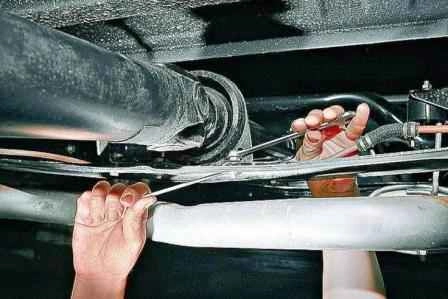
Using the “13” key, unscrew the nuts securing the intermediate support, holding the bolt with the “12” key.
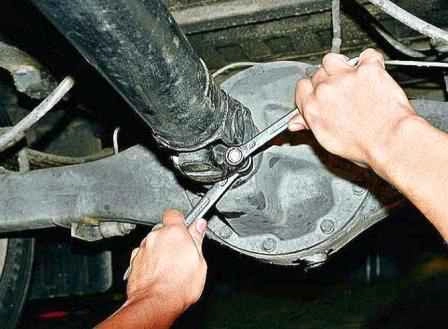
With the keys "14" and "17" we unscrew the bolts securing the driveline to the flange of the drive gear of the final drive.
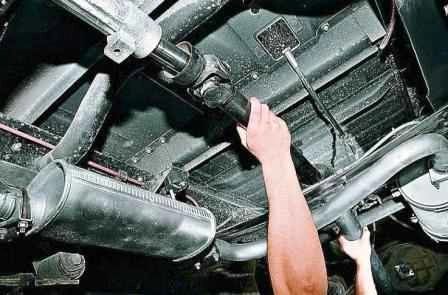
Sliding the driveline back, remove the sliding fork shank from the extension of the rear gearbox housing and remove the driveline.
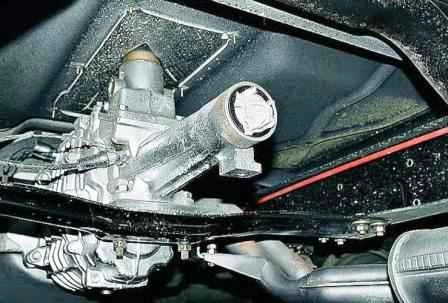
To exclude butt dust into the gearbox and oil leakage from it, plug the hole in the crankcase with a clean rag
Install the driveline in reverse order, matching the marks made.


