Remove the constant velocity joint when replacing or to replace the grease and the hinge cover
Remove the drive shaft, as described in the article - Removing the cardan drive Niva Chevrolet
We clean the shaft from the outside and clamp it in a vise with soft metal lining

Use pliers or special tongs to compress the small clamp securing the protective cover and use a screwdriver to disconnect it
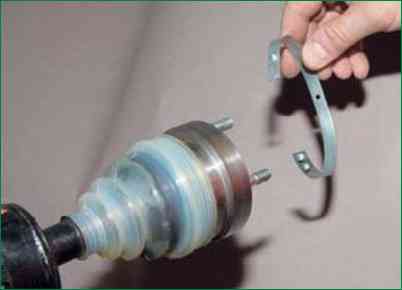
In the same way, remove the large clamp securing the protective cover
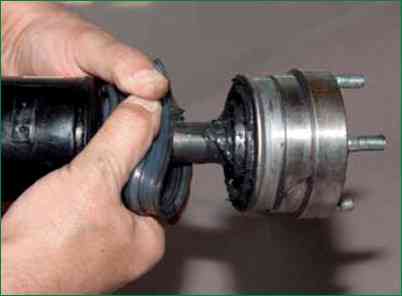
Move the protective cover to the side, releasing the hinge
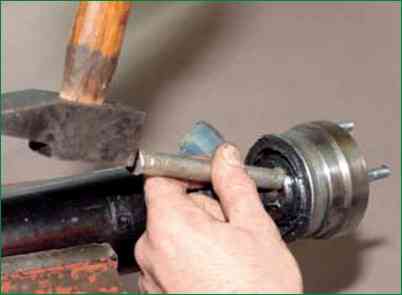
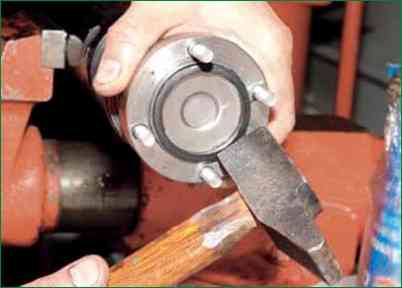
We strike the end of the inner race of the hinge through a soft metal drift, knock the CV joint off the shaft splines
In order not to damage the separator and balls, the punch must be exactly installed on the end of the inner cage.
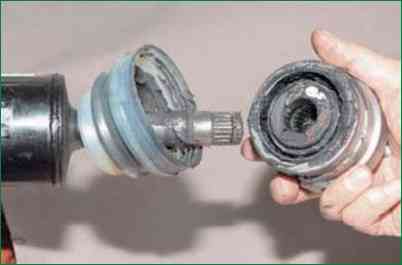
Remove the hinge
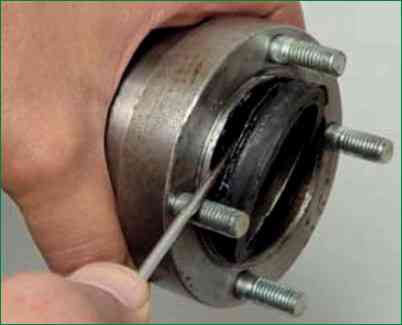
Pry off with a screwdriver and remove the plug with a rubber seal from the end of the hinge body
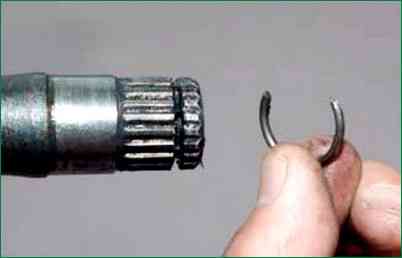
Pry off the retaining ring with a screwdriver and remove it
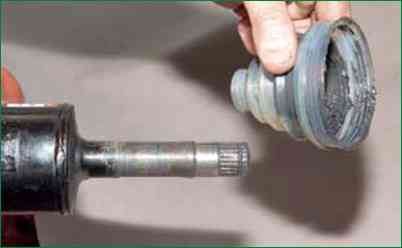
Remove the protective cover of the hinge
Before assembling the assembly, we first remove the old grease.
We apply a new SHRUS-4 grease in a thin layer on the working part of the shaft before installing the protective cover
Install parts in reverse order
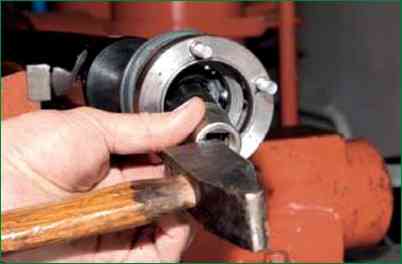
To install the hinge in place, use a piece of pipe or a head of a suitable diameter
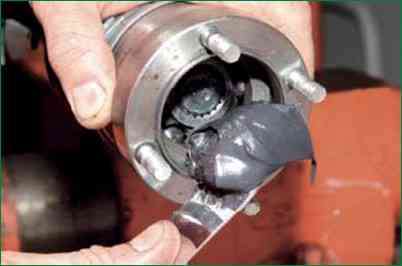
Approximately 60 cm 3 of grease into the inner cavity of the hinge
After assembly and lubrication, we close the CV joint cavity with a plug with a rubber seal


