You will need: a key "for 13", "for 19" (two), a beard, a hammer
Using a 13 wrench, unscrew the four nuts securing the intermediate shaft hinge housing to the flange of the transfer case drive shaft
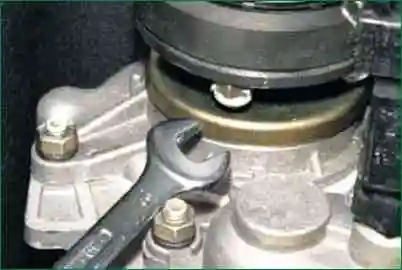
We put a worm-type clamp on an elastic coupling.
Clamp diameter must be 150 mm.
You can use two clamps with a diameter of about 80 mm, connected to each other
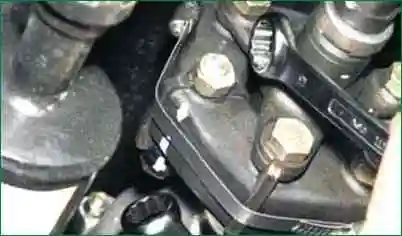
Using a 19 wrench, unscrew the nut of the bolt securing the clutch to the flange of the output shaft of the gearbox, holding the bolt head from turning with a 19 wrench
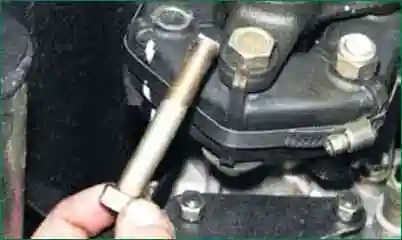
Remove the bolt
Turning the intermediate shaft, we also unscrew the nuts of the two coupling bolts and remove the bolts
Sliding the intermediate shaft in the direction of the gearbox, we remove the studs of the hinge housing from the holes in the flange of the transfer case shaft
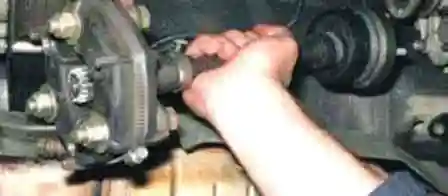
Remove the intermediate shaft
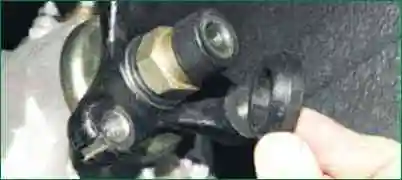
To replace the sealing ring, remove it from the belt of the nut securing the gearbox output shaft flange
Install the intermediate shaft in reverse order
Replacing the flexible coupling
We change the elastic shaft coupling if there are delaminations or rubber cracks on it.
Remove the intermediate shaft as described above
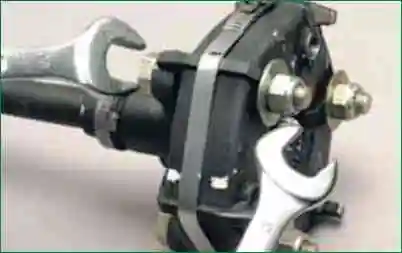
Using a 19 wrench, unscrew the nut of the coupling bolt to the flange, holding the bolt from turning with a 19 wrench
In the same way, unscrew the nuts of the other two coupling bolts and remove the bolts
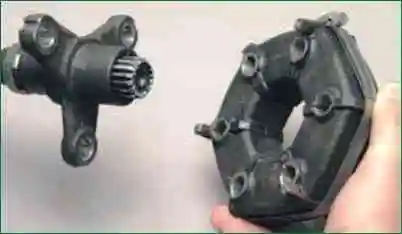
Disconnecting the coupling and flange
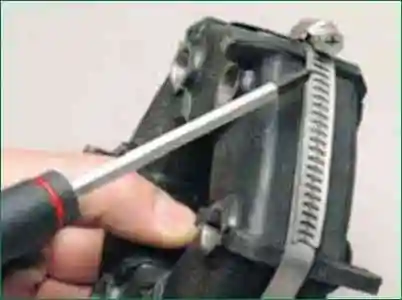
Before installing a new elastic coupling, we crimp it with a clamp
Install the flexible coupling in reverse order
Replacing the gland of the spline connection of the shaft and the coupling flange
Remove the intermediate shaft as described above
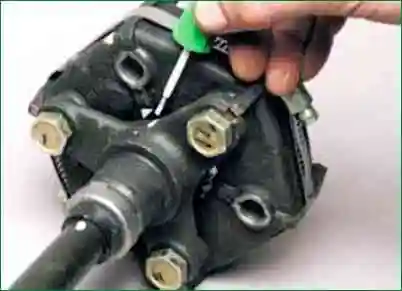
Mark the position of the coupling flange relative to the shaft
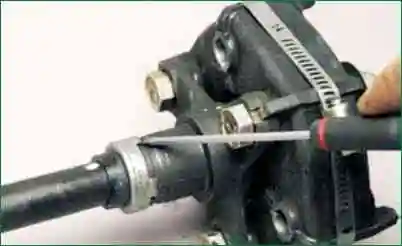
Use a screwdriver to bend the four petals of the stuffing box
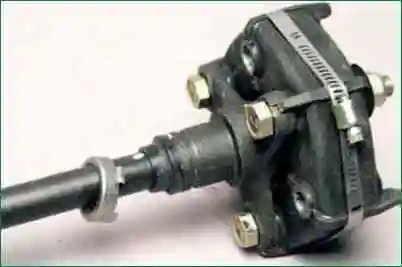
Move the clip along the shaft
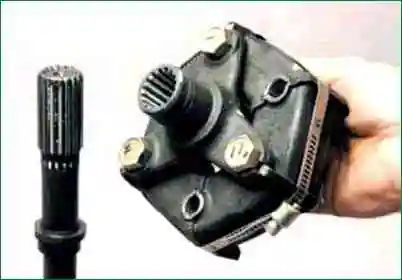
Remove the flange assembly with the coupling from the shaft
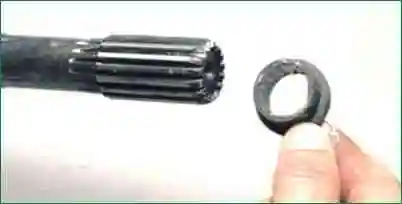
Remove the seal
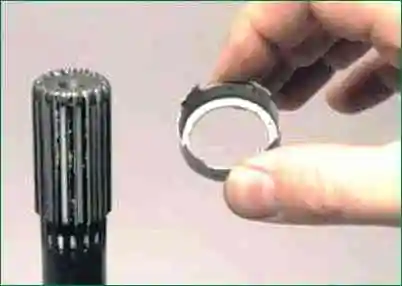
We remove the stuffing box from the shaft only to replace it
Before installing the stuffing box, we clean the splines of the shaft and the coupling flange from old grease and dirt.
Checking the gap in the spline connection.
The maximum allowable gap on the average diameter of the slot is 0.30 mm
If the limit clearance is exceeded, then the shaft and coupling flange or intermediate shaft must be replaced
Before installing the coupling flange on the shaft, we evenly apply 3-4 grams of Fiol-1 or Fiol-2U lubricant to the splines of the shaft and flange
We assemble in the reverse order, orienting the flange relative to the shaft according to the marks.
Replacing the hinge cover
Remove the intermediate shaft as described above
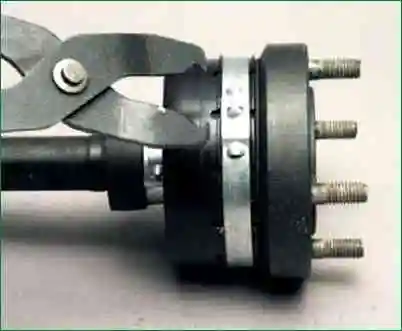
We compress with special tongs or sliding pliers the clamp for attaching the casing and cover to the hinge body
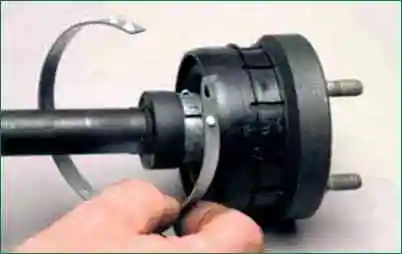
Disconnect and remove the clamp
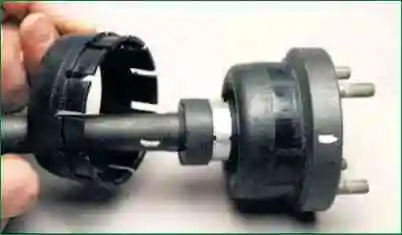
Pull the cover off the cover of the hinge body
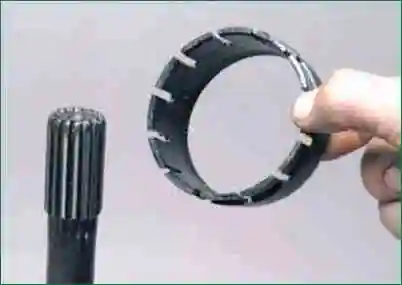
And remove the casing from the shaft
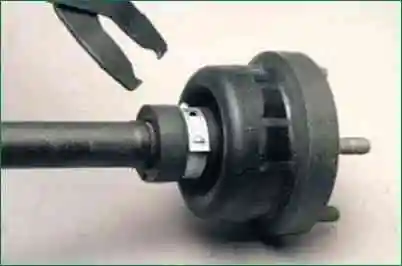
Squeeze the collar of the cover and valve clip with tongs
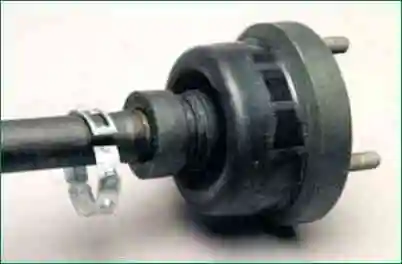
Disconnect and remove the clamp
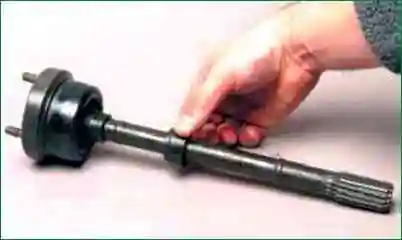
Slide the valve along the shaft
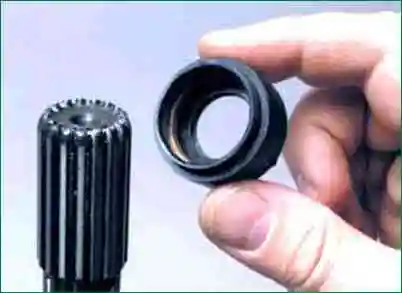
And remove it from the front end of the shaft
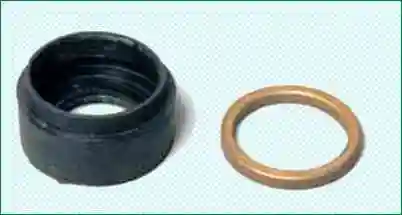
A ceramic-metal ring is installed in the rubber cage of the valve
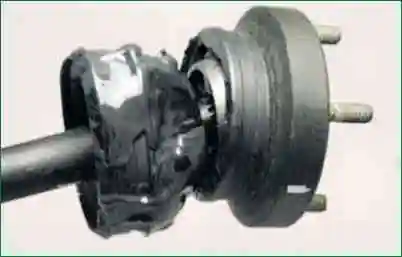
Remove the cover from the hinge body
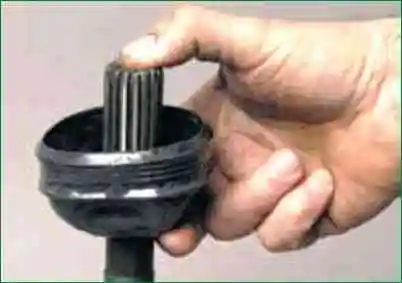
Remove the cover from the front end of the shaft
We clean the shaft and remove the old grease from the hinge cavity.
We inspect the balls, the separator and the body clip without disassembling the hinge.
If the hinge is in a normal state, then we put 20 cm 3 CV joint grease 4
into its cavity
We install the cover in the reverse order.


