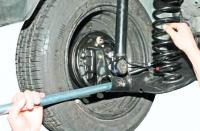
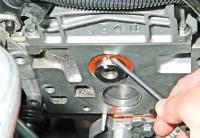
Remove the starter for repair or replacement
We install the car on a lift or on a viewing hole.
Disconnect the negative battery terminal.
Use a flat screwdriver to squeeze the latch and remove the cover of the electronic control unit for the ECM.
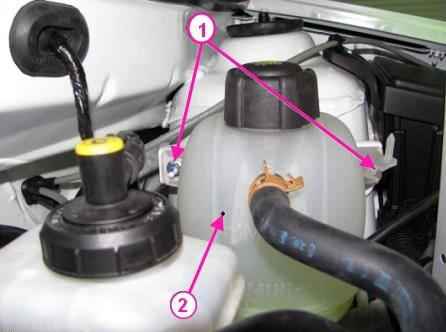
Using a 10 key, unscrew the two nuts 1 fastening the expansion tank 2 (Fig. 1).
Remove and set aside the expansion tank without disconnecting the hoses.
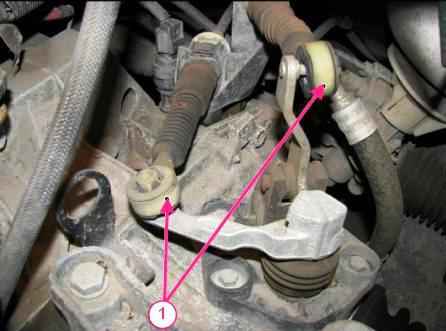
If a JR5 gearbox is installed, use a flat screwdriver to disconnect hinges 1 (Figure 2), select and shift cables from the gearbox.
Press the latches and disconnect the stoppers of the sheaths of the select and shift cables from the gearbox bracket.
If a JH3 gearbox is installed:
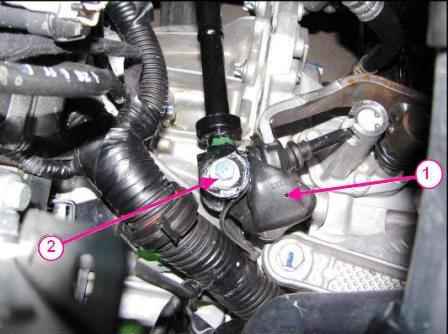
Remove the cover 1 (Figure 3), the hinge of the gearshift drive rod.
Using a 10 key, we unscrew the bolt 2 of the gearshift drive rod, remove the distance sleeve and disconnect the rod.
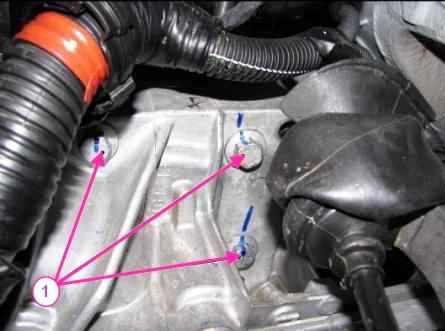
With a head of 13, we unscrew the three bolts 1 (Fig. 4) fastening the starter
If the car is installed on a lift, then we raise the car to perform work from below.
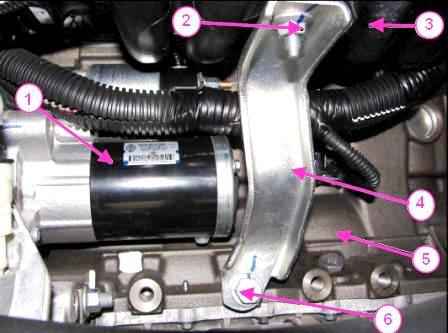
With a head of 13, we unscrew the nut 2 (Fig. 5), fastening the bracket 4 to the intake manifold 3.
With a head of 17, we unscrew the bolt 6 securing the bracket 4 to the cylinder block 5.
Remove the bracket 4 fastening the intake manifold 3.
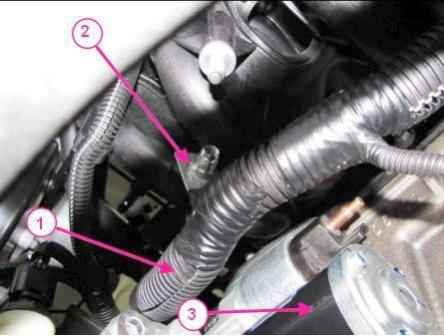
Head 10 unscrew the nut 2
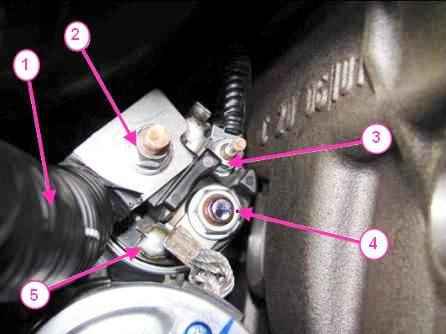
Disconnect the wiring harness 1 of the ignition system from the starter 3.
With a head of 10, unscrew the nut 4 fastening the starter wires 5.
Disconnect the starter wire.
With a head of 8, unscrew the nut 3 (Figure 6) fastening the wire of the starter electromagnetic relay 5.
Remove the starter.
Starter installation
Install the starter in the reverse order of removal.
In this case, the tightening torques for threaded connections:
- - starter mounting bolt - 44 Nm (4.4 kgf.m);
- - nut for fastening the starter wire - 8 Nm (0.8 kgf.m);
- - nut for fastening the wire of the starter electromagnetic relay - 5 Nm (0.5 kgf.m);
- - bolt for fastening the gear shift drive rod - 27.5 Nm (2.75 kgf.m).
Connect the terminals to the battery.


