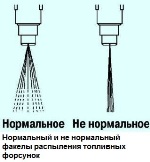
")
")
")
")
")
")
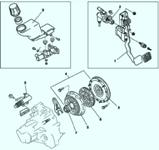
Assembly and disassembly of the intermediate shaft Mazda 3
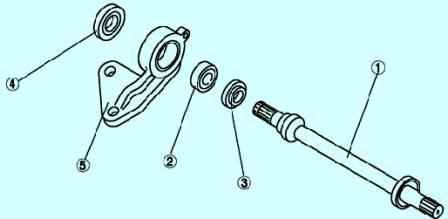
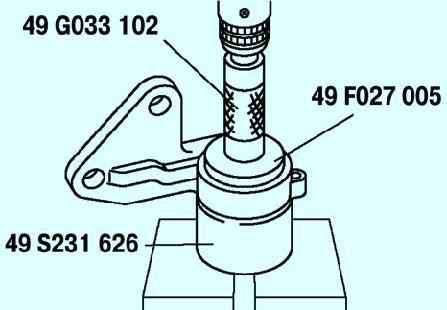
The connecting shaft components are shown in fig. 1.
Disassembly
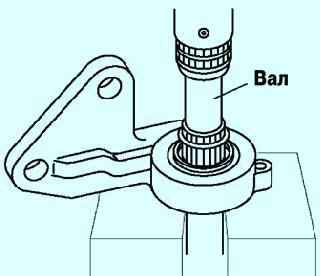
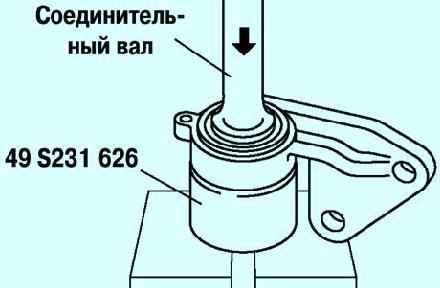
Before dismantling, place the connecting shaft in a vise (fig. 2)
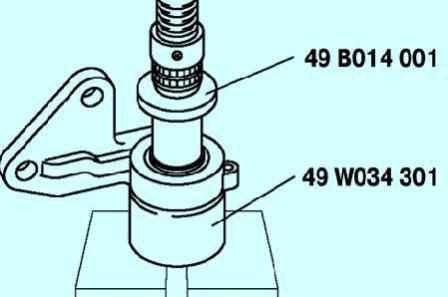
Using the special tools, remove the bearing and the right dust seal (fig. 3)
Assembly
Apply grease to the lip of the new seal.
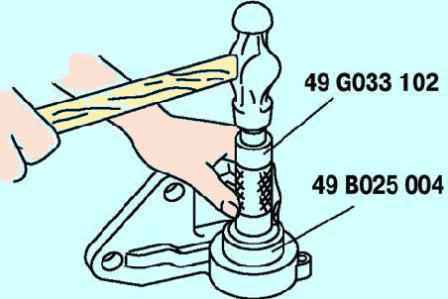
Install the new right dust seal using the special tools (fig. 4).
Using the special tools, install the new bearing (fig. 5).
Apply grease to the lip of the new seal.

Install the new left dust seal using the special tools (fig. 6)
Assemble the connecting shaft using a press and a special tool (fig. 7)