Checking the clearance in the front wheel bearing
- - Remove the front wheel.
- - Disconnect front left disc brake caliper.
- - Remove the front disc.
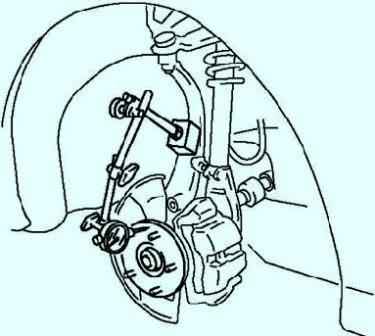
Mount the dial indicator against the wheel hub (fig. 1).
While moving the wheel hub manually in the axial direction, measure the clearance in the hub bearing. Maximum: 0.05 mm.
If the clearance exceeds the maximum, replace the bearing.
Checking the clearance in the front wheel bearing
Remove the hub bolt using the special tools.
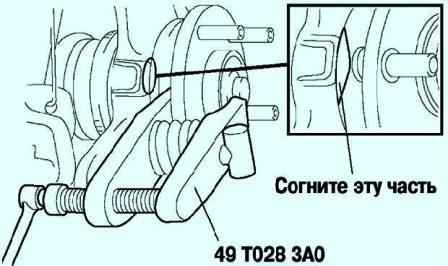
If the guard prevents the removal of the wheel hub bolt, give the part shown in figure 2 a few light blows with a chisel and bend it back towards the steering knuckle.
Install the bolt into the wheel hub, install the washer and nut onto the hub bolt.
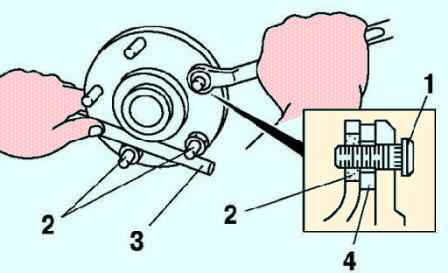
Tighten the mounting nuts while holding the wheel hub with a brass rod (fig. 3).
Removing and installing the front wheel hub
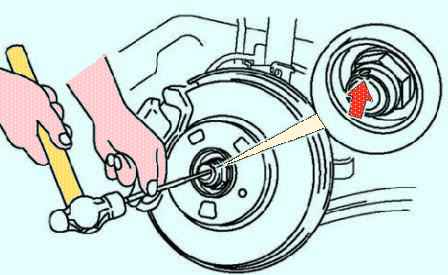
Knock out the bent part of the locknut with a small chisel and hammer (fig. 4).
Lock the hub by pressing the brake.
Remove the locknut.
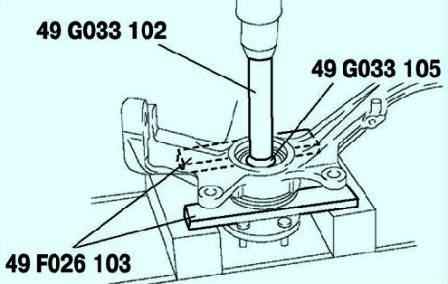
Place the hub assembly in a vise.
Remove the wheel hub from the drive shaft using special tools (fig. 5).
If the bearing inner race is left on the wheel hub axle, cut through the bearing inner race to the remaining thickness, (approximately 0.5 mm).
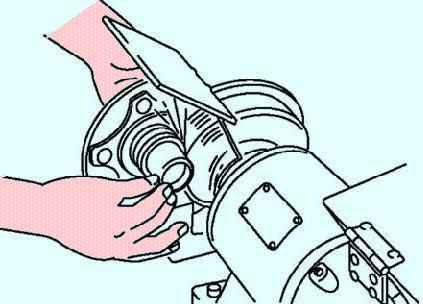
After that, remove the ring with a chisel (fig. 6).
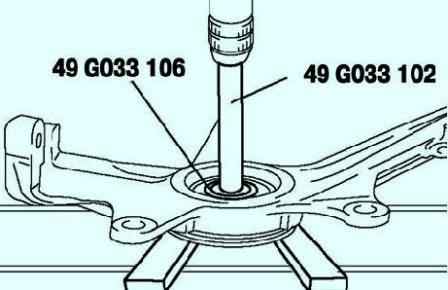
Remove the wheel bearing using the special tools (fig. 7)
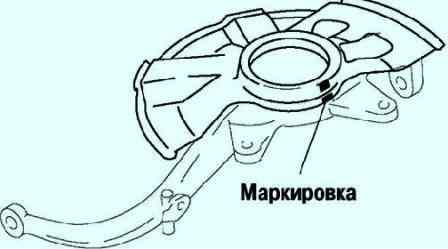
Mark the protective cover and knuckle for further installation (Fig. 8)
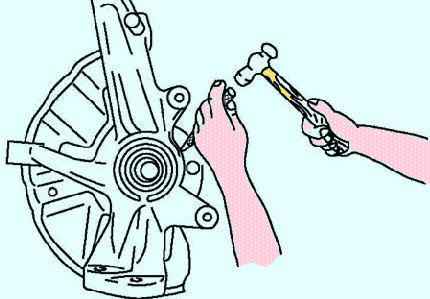
Using a chisel, remove the protective cover (Fig. 9).
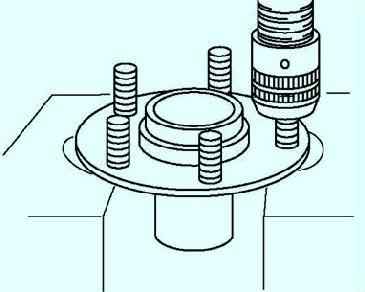
Install the hub in the press and remove the bolts (fig. 10).
Hub bolts should only be removed if they are to be replaced
Installing the front wheel hub
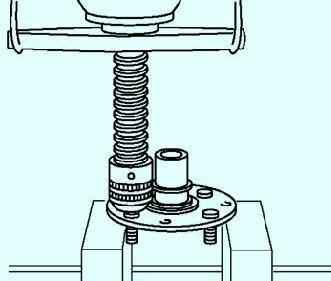
Install the new hub bolts using a press (fig. 11).
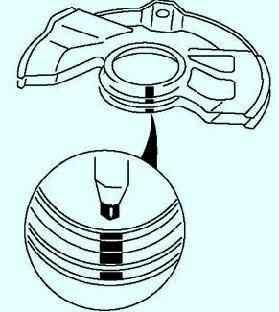
Install the cover on the steering knuckle.
Align the marks on the new guard and knuckle (fig. 12).
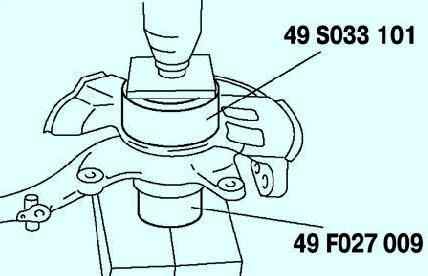
Using the special tools, install the new protective cover (fig. 13).
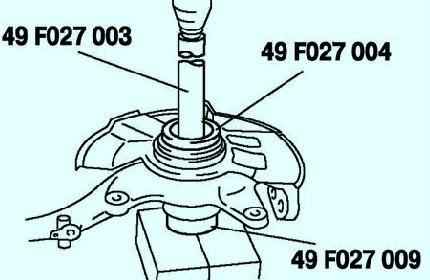
Using special tools, install a new wheel bearing (Fig. 14)
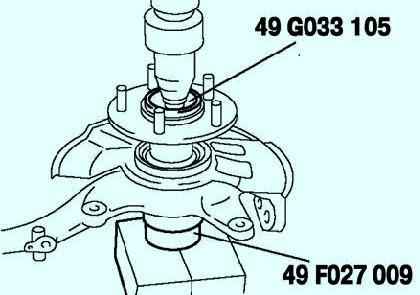
Install the hub using special tools (fig. 15)
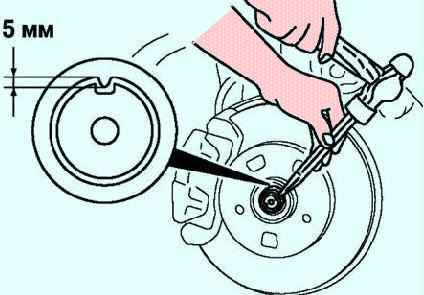
Install the new locknut and lock it as shown in Figure 16


