In the article, we will consider how to remove the steering knuckle and replace the front axle hub bearing
Preparing the car for the task
Loosen the wheel nuts on the side of the work being performed
We raise the car and securely fix it on stands
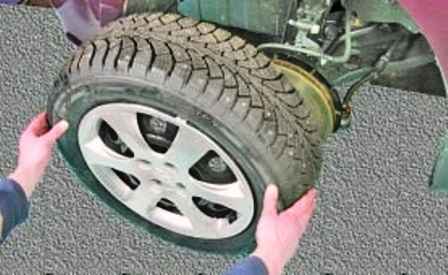
Remove the front wheel. Tightening torque for wheel nuts 90-110 Nm
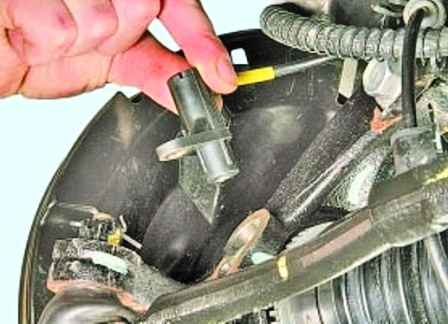
We unscrew the mounting bolt and disconnect the front wheel speed sensor from the steering knuckle. Bolt tightening torque 7-10 Nm.
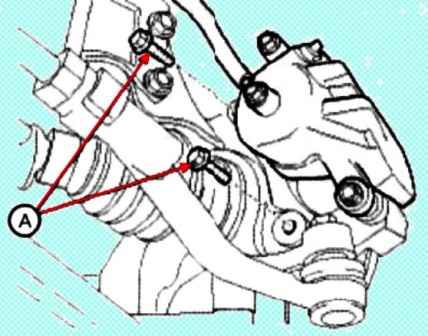
We unscrew the bolts of the brake caliper (the tightening torque of the bolts is 80-100 Nm).
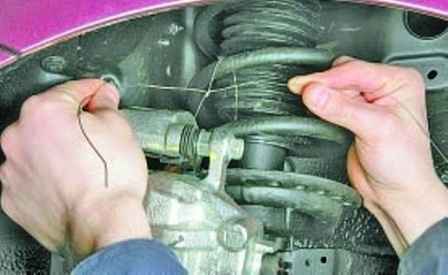
Then we fix the caliper assembly to the shock absorber spring
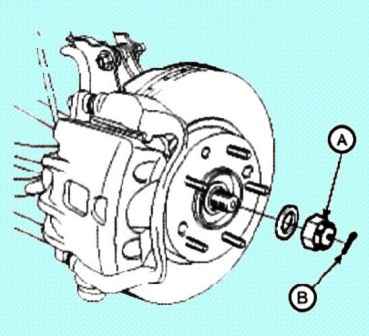
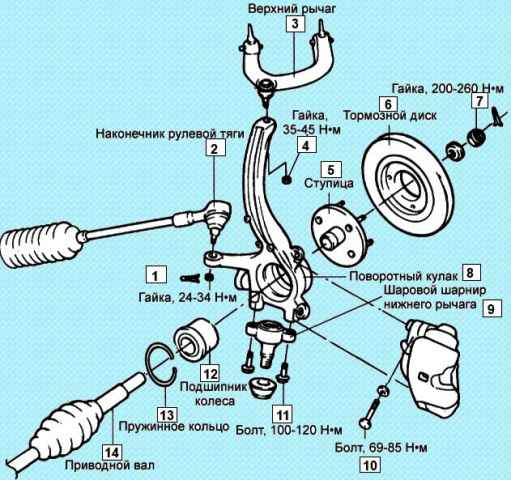
Remove the cotter pin (B), and unscrew the castle nut (A) (nut tightening torque - 200-280 Nm)
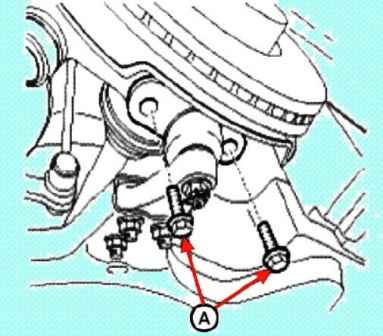
We unscrew the bolts (A) of the ball joint of the lower suspension arm to the steering knuckle (bolt tightening torque 100-120 Nm)
Disconnect the tie rod end from the steering knuckle. For this:
- take out the cotter pin and unscrew the castle nut of the fastening (nut tightening torque 24-34 Nm);
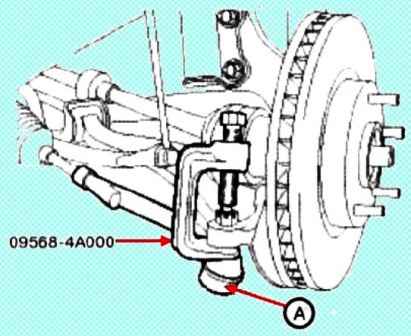
- using a puller (09568-4A000), disconnect the ball joint (A) from the steering knuckle (bolt tightening torque 100-120 Nm)
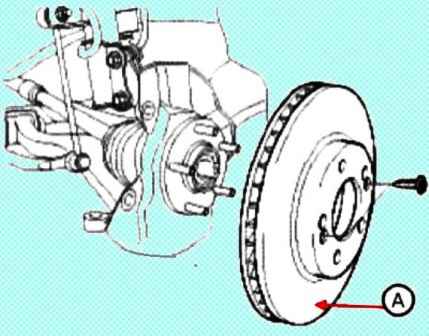
Unscrew the mounting screws and remove the brake disc (A) from the wheel hub
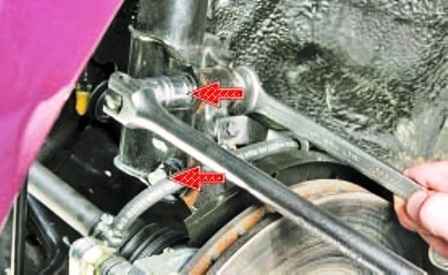
We unscrew the bolts and nuts for fastening the shock absorber (the tightening torque of the nuts and bolts is 140-160 Nm)
Remove the wheel hub assembly with the steering knuckle
Check the hub, steering knuckle and all parts for defects
Hub disassembly
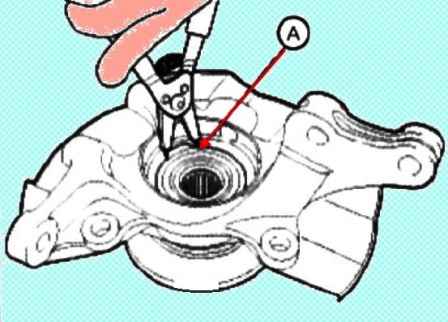
Using special pliers, remove the retaining ring (A)
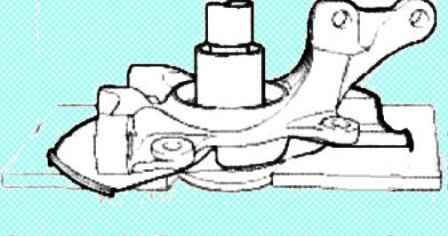
We press the wheel hub out of the steering knuckle using tool 09545-34100
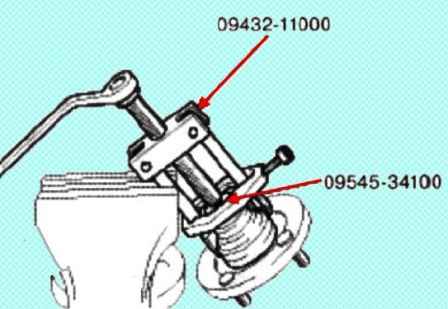
We press the inner ring of the bearing out of the wheel hub using tool 09432-11000, 09545-34100
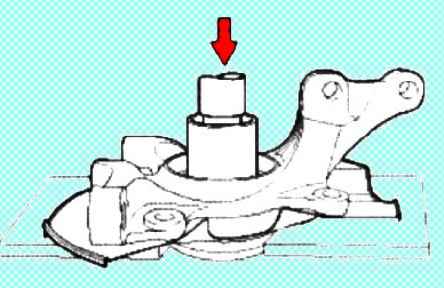
We press out the outer ring of the bearing from the wheel hub using tool 09216-21600, 09216-21100
In garage conditions, we use suitable mandrels
Assembly
Apply engine oil to the contact surface of the steering knuckle and wheel bearing
Install the bearing on the steering knuckle using tool 09216-21100
Install the retaining ring on the groove of the steering knuckle
We press the hub onto the steering knuckle using tool 09454-21100
Force applied to the bearing inner ring
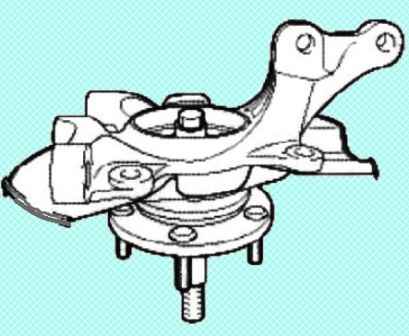
We tighten the hub on the knuckle using a special tool 09517-21500 (tightening torque 200-260 Nm)
Spin the wheel hub on the bearing. You need to make sure that the hub rotates smoothly and without jamming
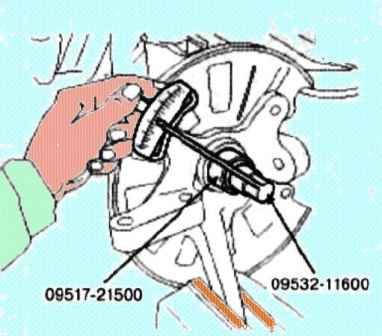
We measure the initial moment of resistance to rotation of the bearing, as shown in the figure. Standard value 1.8 Nm
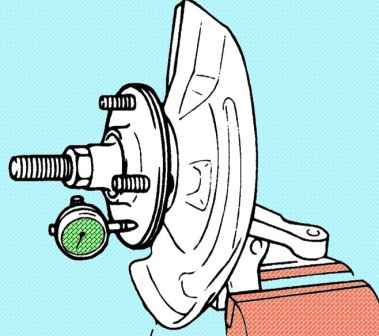
Measure the hub runout using a jig and a dial gauge. The maximum allowable runout value is 0.04 mm.


