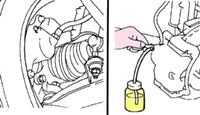
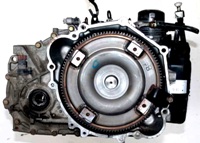
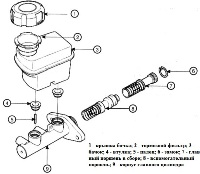
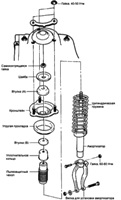
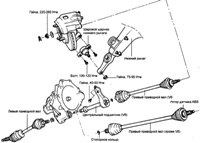
We disassemble the gearbox shafts to replace parts
Disassembly and assembly of the gearbox input shaft
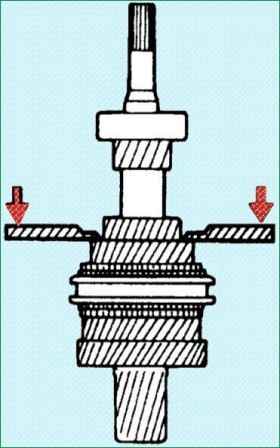
Using a puller 09432-21300, remove the snap ring and ball bearing
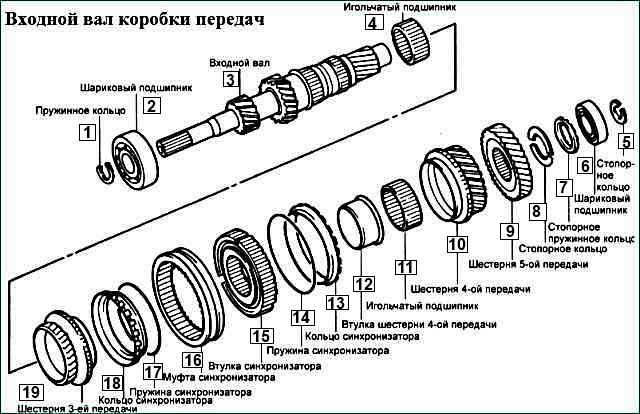
Remove the snap ring, snap ring, fifth and fourth gears, needle bearing, fourth gear bushing, third and fourth gear synchronizer ring, first, second, third, fourth gear synchronizer springs, third and fourth gear synchronizer bushings, third gear and needle bearing
Check
Checking the surface of the input shaft in contact with the needle bearings for damage or wear
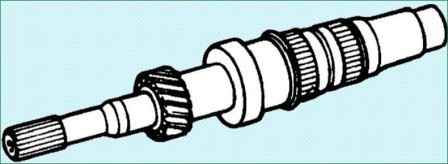
Check the shaft splines for damage or wear
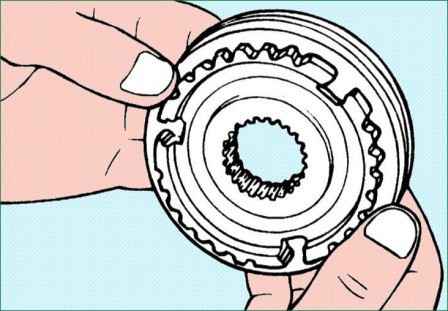
Install the synchronizer sleeve on the sleeve and make sure it moves smoothly
Checking the sleeve for damage
Checking the wear of the surfaces of the ends of the sleeve (in contact with each gear)
Assembly
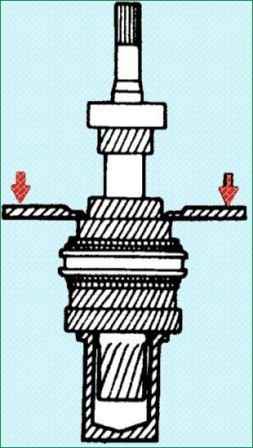
Using special tool 09432-33300, install the needle bearing, 3rd gear, 3rd and 4th gear synchronizer bushing, 1st-4th gear synchronizer springs, 3rd and 4th gear synchronizer ring, 4th gear bushing, needle bearing, gears fifth and fourth gears, circlip and circlip
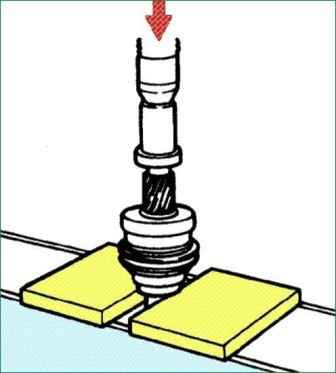
Using the special tool 09432-21300, install the ball bearing and spring ring
Disassembly and assembly of the driven shaft of the gearbox
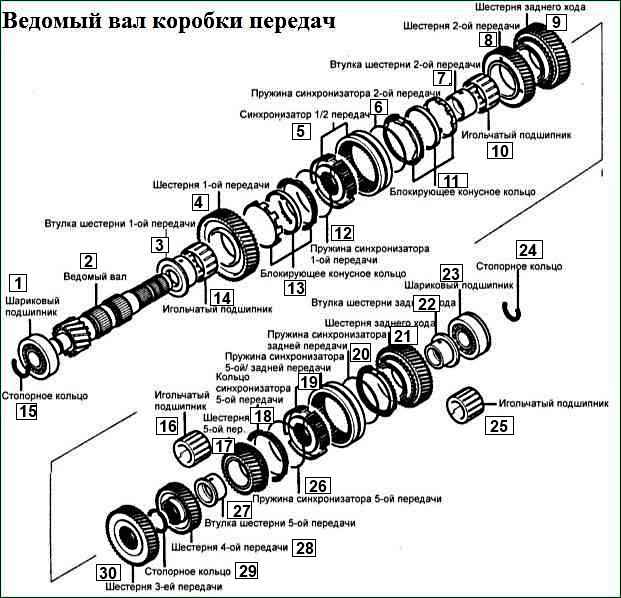
The figure shows the assembly sequence of the slave gearbox shaft
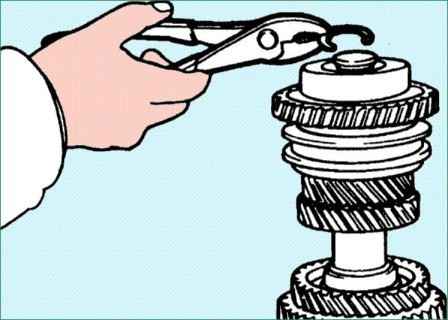
Remove the retaining ring
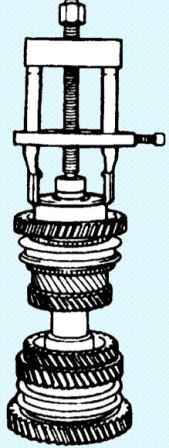
Using special tool 09432-33000, remove the ball bearing and reverse gear
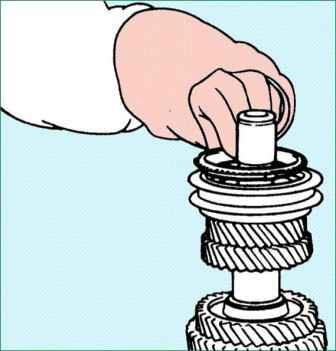
Remove the synchronizer ring, fifth gear and reverse gear synchronizer spring, fifth gear and reverse gear bushing
Using the special tool 09432-33000, remove the synchronizer sleeve and fifth gear
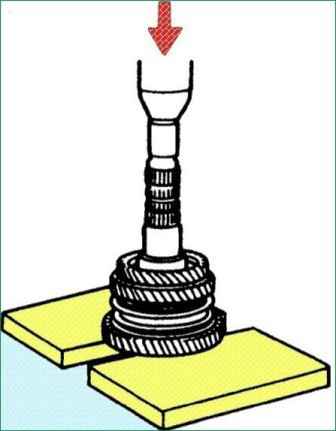
Using the special tool 09432-33200, remove the 4th, 3rd, 2nd, and first gears together
Check
Checking the surface of the driven shaft in contact with the needle bearings for damage and wear

Check the shaft splines for damage and wear
We install the needle bearing with the support sleeve and the gear on the shaft.
Check that the bearing rotates evenly without noise or play
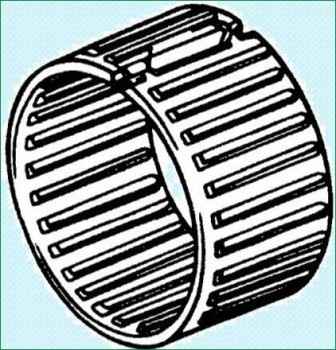
Checking the needle bearing housing for damage
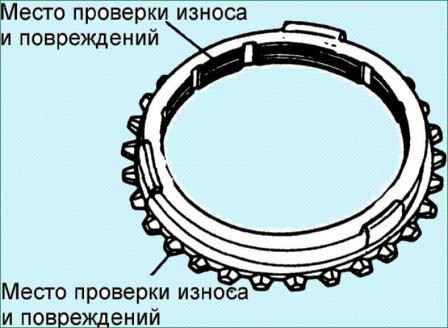
Inspecting the teeth of the synchronizer ring for damage
Checking the inner surface for damage, wear or damage to the grooves
Install the synchronizer sleeve on the sleeve and make sure it moves smoothly
Checking the sleeve for wear and damage
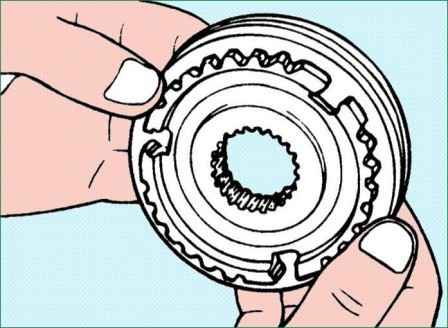
Checking the wear of the surfaces of the ends of the sleeve in contact with each gear
Check the gear teeth for wear and damage
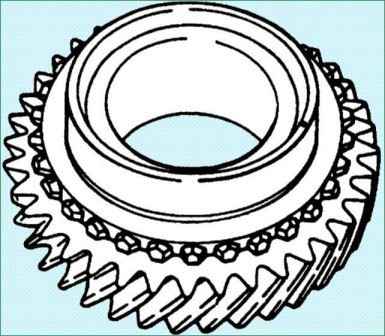
Check the conical surface of the gear for roughness, damage and wear
Check the gear bore for wear and damage
Assembly
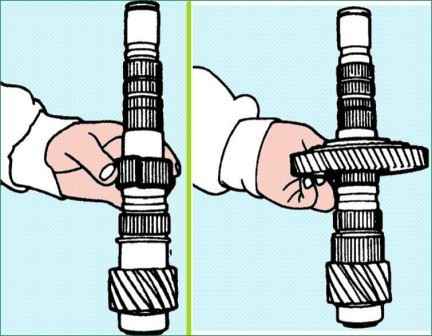
Installing the needle bearing
Installing the first gear
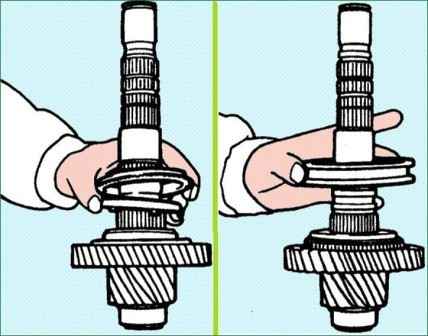
Installing the locking taper ring
Install the synchronizer sleeve and sleeve
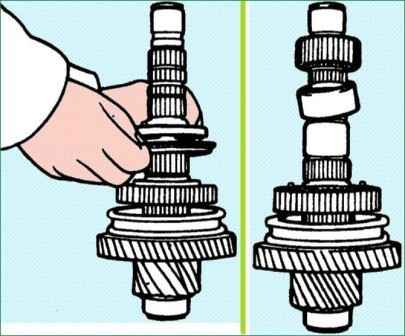
Installing the locking taper ring
Installing the second gear bushing and needle bearing
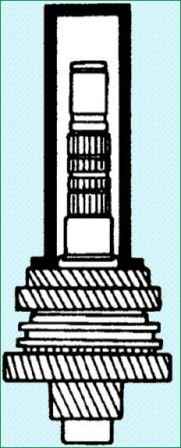
Using the special tool 09432-22000, install the second and third gear
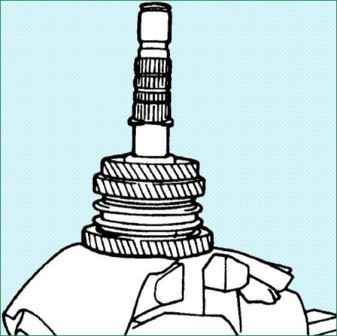
Installing the retaining ring
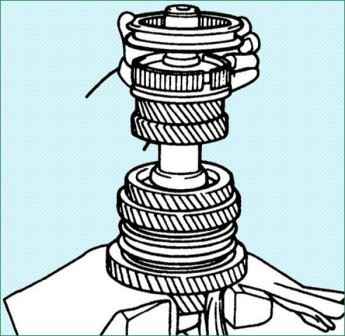
Installing the 4th gear, 5th gear bushing, needle bearing, 5th gear, 5th synchro ring, synchro bushing, and 5th and reverse gear hub
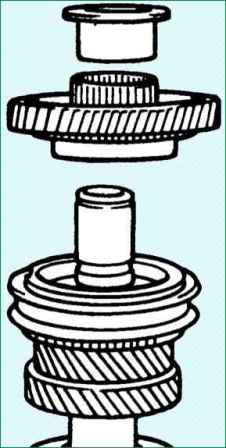
Installing the needle bearing, reverse gear and driven bushing
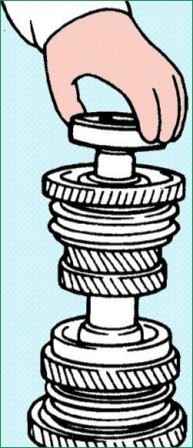
Using the special tool 09432-22000, install the ball bearing and retaining ring


