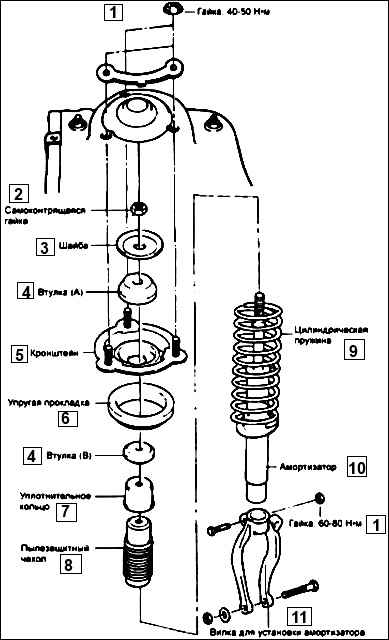
We remove the suspension strut to replace parts of the shock strut or its elements
We install the car on a lift or a flat horizontal platform
We loosen the wheel nuts on the side of the task being performed
Raise the front of the car and set it on reliable stops
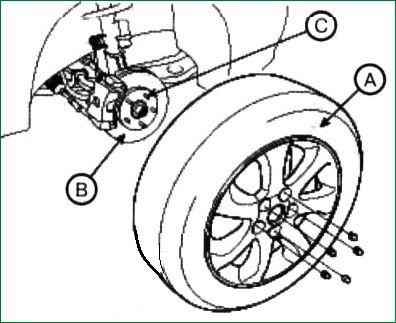
Unscrew the wheel nuts and remove the front wheel
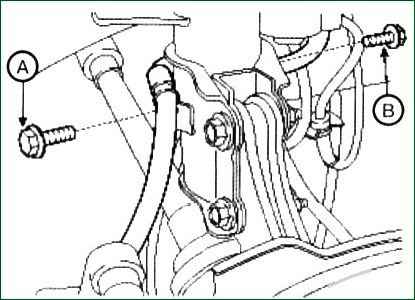
We unscrew the bolts of the brake hose bracket from the front pillar
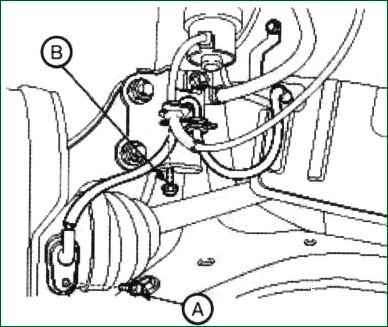
Remove the wheel speed sensor and unscrew the bolts securing the electrical wiring from the front steering knuckle
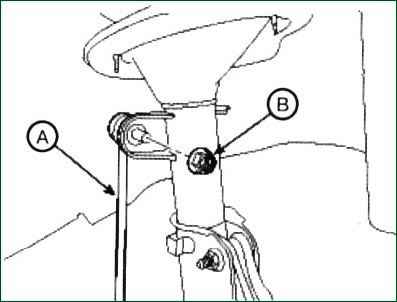
Unscrew the front stabilizer strut nut from the shock strut
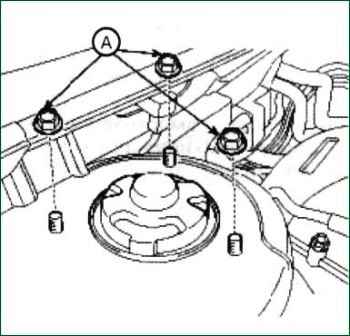
We unscrew the upper nuts of the shock absorber strut
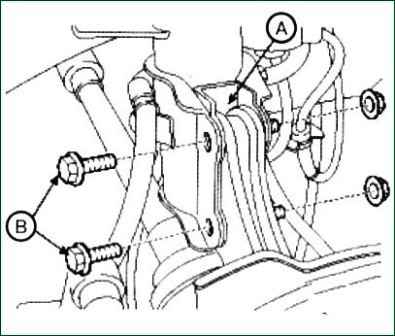
We unscrew the bolts of the front shock absorber strut assembly from the front steering knuckle
Remove the shock strut
Installing the shock strut
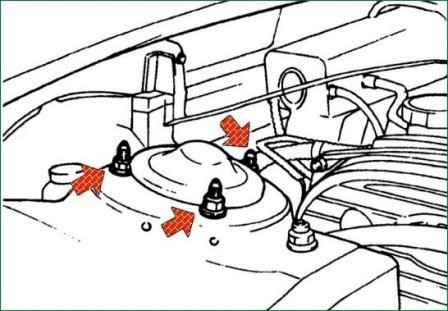
We insert the shock strut and screw in the upper nuts of the shock absorber strut. Nut tightening torque: 44.1-58.8 Nm
After that, we screw the shock strut bolts into the front steering knuckle. Tightening torque 137.3-156.9 Nm
We screw the nut of the front stabilizer strut into the shock strut. Tightening torque 98.1-117.7 Nm
We install the wheel speed sensor and screw in the wiring bolts. Tightening torque 6.9-10.8 Nm
We screw in the bolts securing the brake hose to the axle shaft. Tightening torque 6.9-10.8 Nm
Install the wheel and tighten the wheel nuts. Tightening torque 88.3-107.9 Nm
Disassembling the shock strut of the front suspension
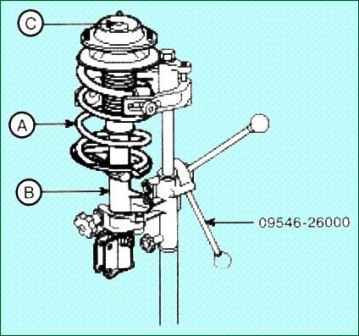
Using tool 09546-26000 or using spring ties, we compress the spring
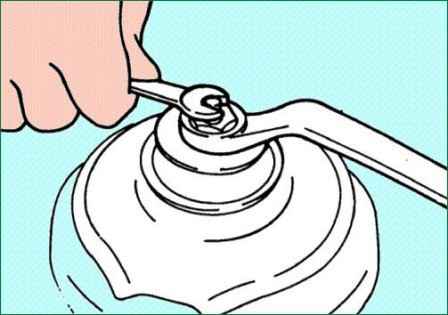
Unscrew the self-locking nut from the shock strut
Remove the suspension strut support, spring support, spring and boot
Checking the technical condition of the shock strut
Check the shock strut support for damage and excessive wear. If necessary, replace the part
Checking rubber elements for damage
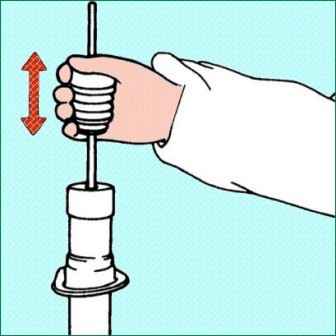
Move up and down the shock absorber rod (A) several times
we make sure that there are no extraneous sounds during the movement
If any defects are found, we replace the shock absorber assembly
Assembly
The type of spring must be selected according to the two identification marks located on the spring
Install the spring so that the marks are directed towards the steering knuckle
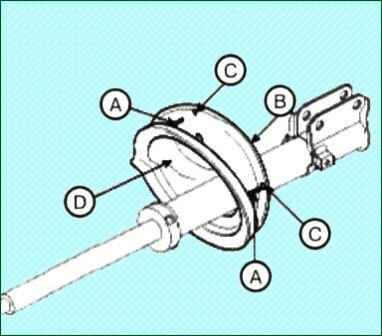
Install the lower spring seat (D) so that the protrusions "A" fall into the holes (C) in the lower spring seat "B"
We press on the spring using tool 09546-26000. Installing the spring on the shock absorber
Raise the piston rod completely and install the upper spring seat and shock strut support
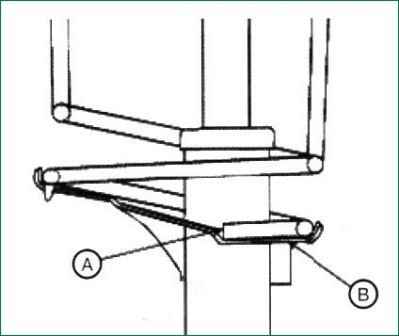
After the upper and lower ends of the spring (A) are correctly secured in the upper and lower grooves (B) of the support, carefully tighten the self-locking nut
Remove the spring tensioner and tighten the self-locking nut to 49-68.6 Nm


