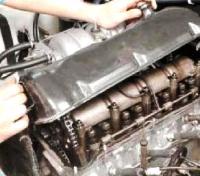
Let's take a closer look at removing and installing the carburetor
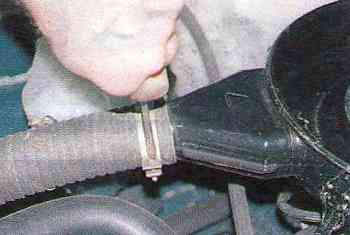
Remove the air filter.
Loosen the clamp with a screwdriver and remove the corrugated air intake hose.
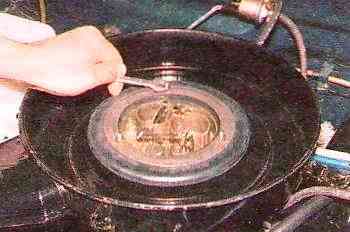
With a screwdriver, we bend the antennae of the lock washers, and with the “10” wrench, unscrew the three nuts.
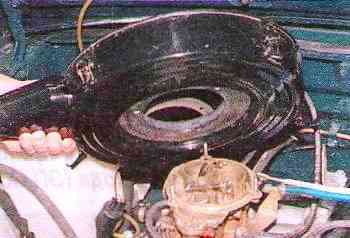
Remove the air filter housing.
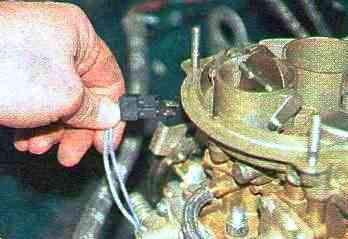
Disconnect the plug from the microswitch.
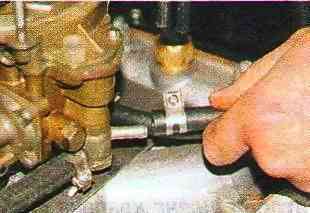
Disconnect the fuel supply hose.
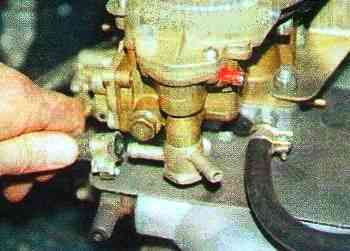
Disconnect the fuel outlet hose.
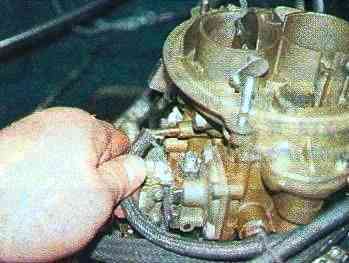
Disconnect the hose of the thermal switch of the exhaust gas recirculation system.
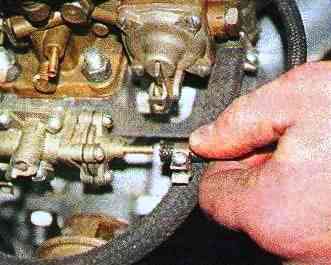
Disconnect the first hose of the forced idle economizer system valve (EPKhK).
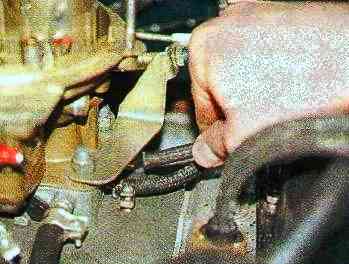
Disconnect the hose of the vacuum ignition timing regulator.
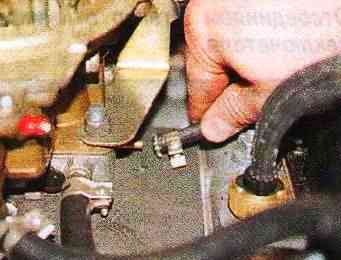
Disconnect the second hose of the EPHX system valve.
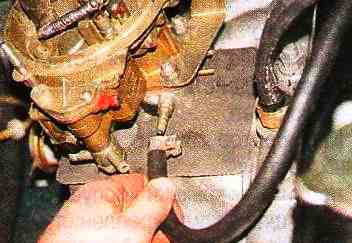
Disconnect the crankcase exhaust hose.
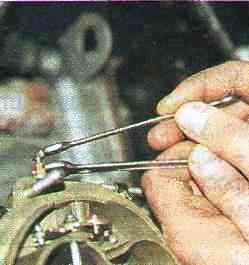
Holding the nut with a key of 8, with a key of 7 we unscrew the bolt by 1-2 turns.
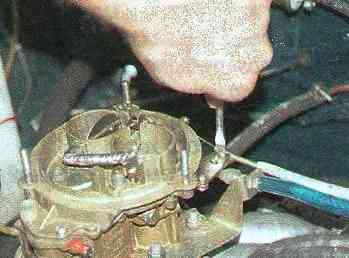
Then, with a screwdriver, loosen the holder screw and remove the air damper drive rod
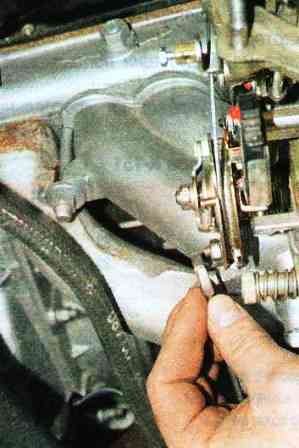
With a 10 key, unscrew the nut by 1-2 turns and remove the cable from the throttle actuator clamp
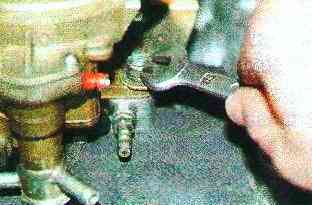
With a 13 key, we unscrew the four nuts securing the carburetor
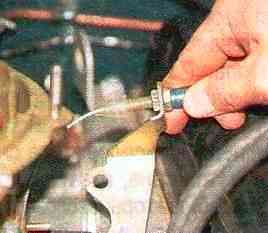
Remove the bracket with the throttle actuator rod
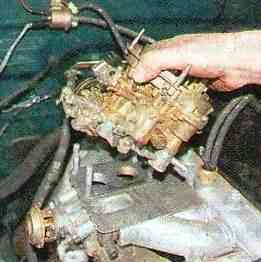
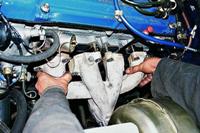
Remove the carburetor from the engine
Two insulating gaskets are installed under the carburetor.
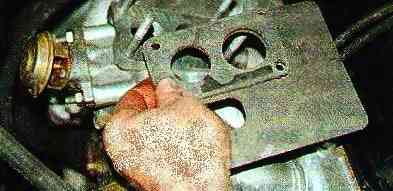
We install the carburetor in the reverse order, connecting the hoses to it according to the diagram.
We connect the damper control rods and adjust them.
The choke should be in a vertical position with the pull handle recessed, and fully closed when the handle is pulled out.
We install the carburetor in the reverse order, connecting the hoses to it according to the diagram.
We connect the damper control rods and adjust them.
The choke should be in a vertical position with the pull handle recessed, and fully closed when the handle is pulled out.
The throttle cable must not restrict its travel, sag excessively or bend sharply.
We adjust its tension with two nuts securing the shell tip on the bracket.


