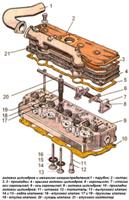
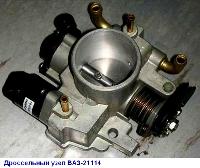
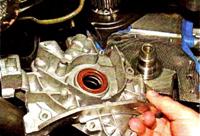
Repair the carburetor in case of breakage of any of its parts or in case of unsatisfactory operation of the carburetor after adjustment in all engine operating modes
Before disassembling, wash the carburetor with kerosene to remove dust and dirt.
When working on leaded gasoline, pre-soak the carburetor in kerosene for 10–20 minutes.
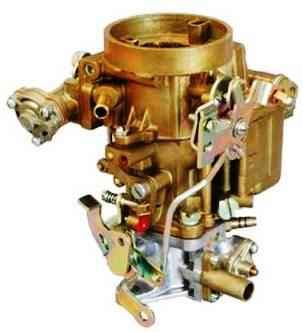
The procedure for disassembling and assembling the K-131 carburetor
Remove the five screws securing the float chamber cover.
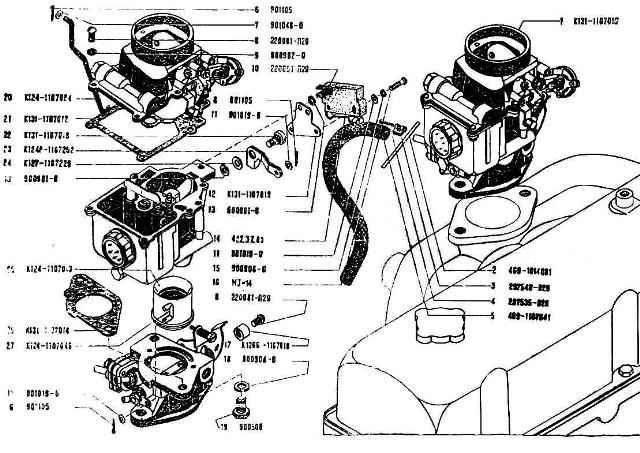
Carefully prying up the cover so as not to damage the float mechanism, disconnect the low speed rod, remove the cover and the float chamber gasket.
Turn the lid over and, while holding the float, remove the float shaft from the posts.
Remove the float and carefully remove its needle with a sealing polyurethane washer from the fuel valve body.
Unscrew the valve body and remove its gasket.
Unscrew the filter plug, remove its gasket and take out the filter mesh.
Unscrew the accelerator pump nozzle and remove the sealing washer.
Disassemble the air damper drive mechanism and remove the damper only if the mechanism does not work satisfactorily, and also if the gaps between the wall of the air pipe and the damper exceed 0.2 mm when it is closed.
Separate the mixing chamber from the body of the float chamber, to do this, unscrew the two bolts and, having unpinned the accelerator pump drive earring, remove it from the rod and lever.
After removing the mixing chamber gasket, remove the large diffuser from the float chamber body.
Remove the accelerator pump piston assembly with its drive parts and the economizer drive rod.
Unscrew the economizer valve assembly and remove it from the well.
Together with the gasket, unscrew the plug of the well of the emulsion tube and remove this tube, unscrew the idle air jet.
Unscrew the plugs of the channels of the fuel and air jets of the main metering system and the idle fuel jet, remove the gaskets of these plugs and unscrew the corresponding jets.
Remove the accelerator pump valve lock and remove the valve from the well.
Remove the retaining ring and ball of the accelerator pump check valve. Do not press out the small diffuser unnecessarily.
When disassembling the mixing chamber, unscrew the idle mixture quality adjustment screw and remove its spring.
Remove the throttle valve and its shaft only if:
- – the throttle axis does not rotate freely in the chamber bosses;
- - gaps between the walls of the chamber and the damper in the closed position are more than 0.06 mm;
- - the upper edge of the throttle valve in the closed position does not coincide with the axis of the via hole Zh 1.6 + 0.06 mm (deviation ± 0.15 mm is allowed).
After disassembly, wash all parts of the carburetor in unleaded gasoline or in hot water with a temperature of at least 80 ° C, then blow with compressed air.
All parts of the carburetor must be clean, free of carbon deposits and resinous deposits.
Jets and other metering elements must have a given capacity or dimensions.
The economizer valve assembly must be sealed.
When checking its tightness under a pressure of 1200 mm of water. Art. no more than four drops of water per minute are allowed.
The degree of wear of the piston of the accelerating pump and the walls of its well, as well as the tightness of the check valve, must be such as to ensure that the pump delivers at least 8 cm3 for 10 strokes of the piston.
Check the float for leaks by immersing it in water with a temperature of at least 80 ° C.
The release of bubbles from the float indicates a violation of its tightness.
Seal the places of damage to the float with soft solder, after removing the fuel that got into the float.
After soldering, check the weight of the float, which should be (13.3 ± 0.7) g.
Adjust the weight by removing excess solder without violating the tightness of the float.
The surface of the body connector and the cover of the float chamber must be flat, the permissible deviation from the plane is not more than 0.2 mm.
Assemble the carburetor in the reverse order of disassembly, taking into account the following:
- 1. If the throttle or air damper was removed during disassembly, then tighten the screws for their fastening during assembly.
- 2. Check that the economizer is fully engaged and adjust if necessary.
- 3. Adjusted check the fuel level in the float chamber.
On the assembled carburetor, check the relationship between the air and throttle valves.
When the air damper is fully closed, the throttle damper should open slightly at an angle of 17–21°, which corresponds to the gap between the wall of the mixing chamber and the edge of the damper (2.5 ± 0.2) mm.
If the specified requirement is not met, bend the low speed crankshaft rod.


