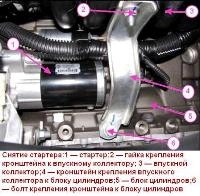
Replacing the gasket due to its burnout
Preparing the car for repair work
We install the car on a viewing ditch or on a lift.
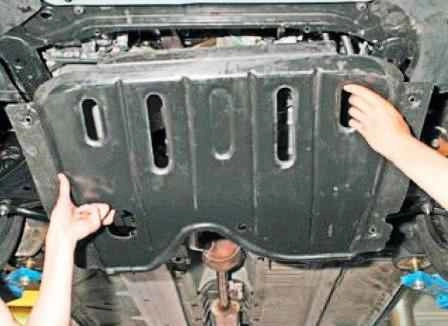
Unscrew and remove the protection of the power unit (Fig. 1)
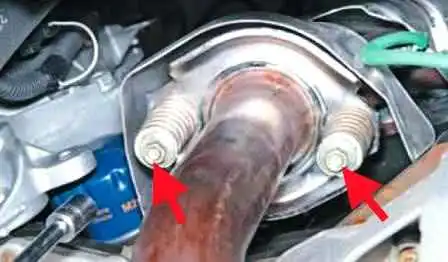
Disconnect the intake pipe from the manifold. To do this, use a 14 key to unscrew the two nuts securing the intake pipe (Figure 2).
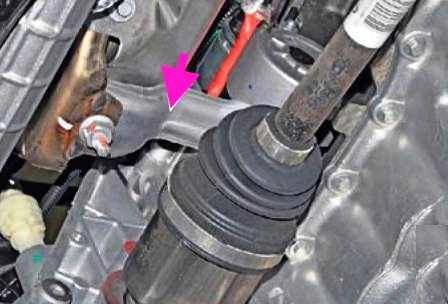
The bottom of the exhaust manifold supports a bracket attached to the cylinder block (fig. 3).
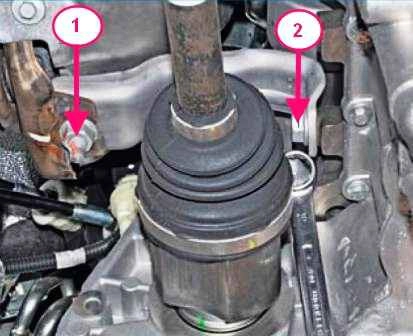
With a 16 head or a spanner wrench, unscrew the nut 1 and bolt 2 (Figure 4), fastening the bracket to the cylinder block
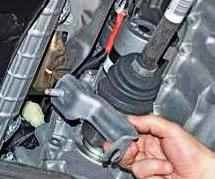
Remove the collector mounting bracket (Figure 5)
Remove the air filter housing.
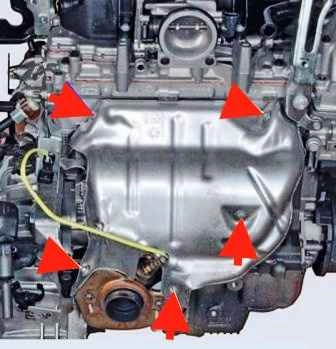
With a head of 10, we unscrew five bolts (Figure 6), fastening the upper heat shield.
Before unscrewing, we moisten the threads with WD-40 penetrating fluid, or brake fluid.
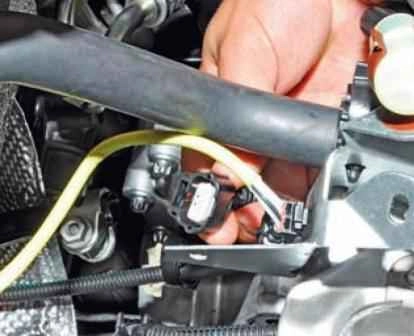
Remove the control oxygen concentration sensor.
To do this, disconnect the block of the wire harness to the sensor.
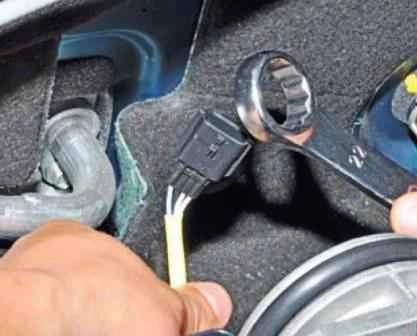
We pass the 22 spanner through the wire.
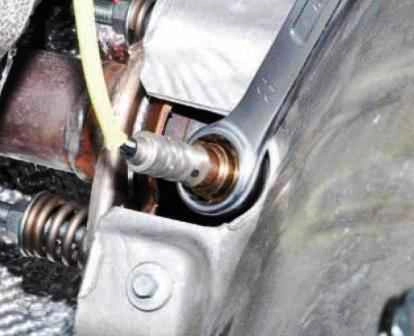
Unscrew the oxygen concentration sensor
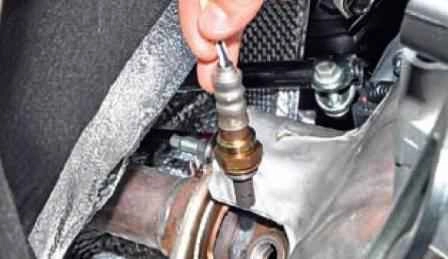
Remove the oxygen concentration sensor from the exhaust manifold hole.
Wet the collector mounting nuts with penetrating liquid WD-40 or kerosene
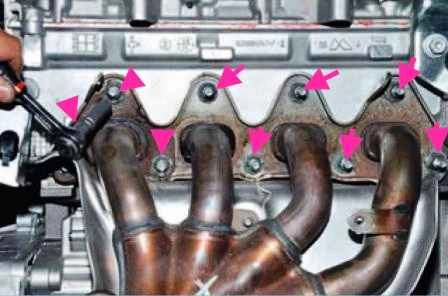
With a head of 10, we unscrew the nine nuts securing the exhaust manifold flange to the cylinder head
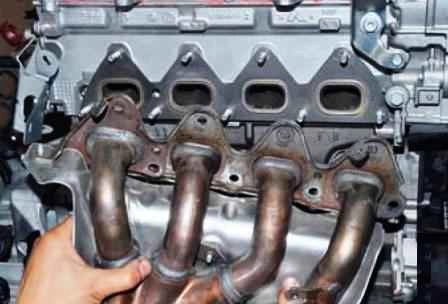
Remove the collector assembly with the lower heat shield
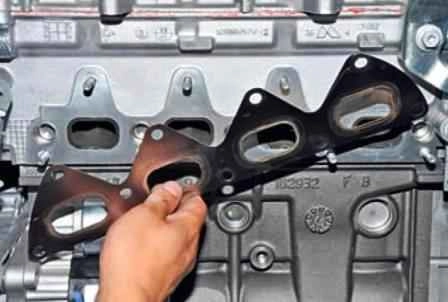
Remove the exhaust cylinder gasket
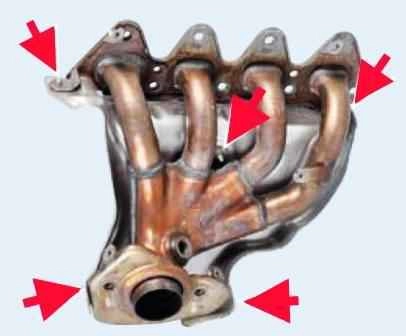
If the collector is to be replaced, then unscrew the five nuts securing the lower heat shield and remove it.
Before mounting the collector, we clean all surfaces and inspect the parts.
Before tightening the manifold nuts, apply graphite grease to all manifold studs
Tighten the manifold fastening nuts sequentially from the center to the edge. The tightening of the nuts should be a torque of 18 Nm.


