We remove car lighting devices for repair, as well as for replacement
Before replacing lighting fixtures, disconnect the negative battery terminal
Removing and installing headlight
To replace the headlight unit, remove the front fender liner from the side of the headlight unit to be replaced
Remove the front bumper as described in the article - How to remove the Toyota Camry front bumper
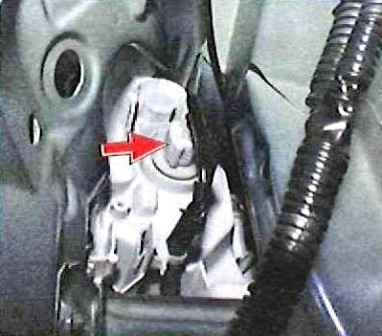
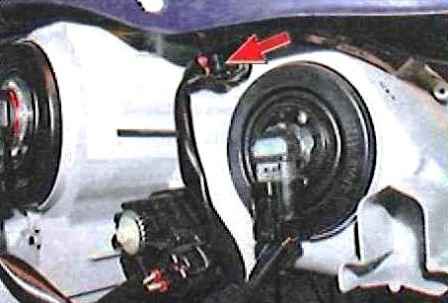
Squeeze the latches and disconnect the wire blocks from the direction indicator lamps, side lighting
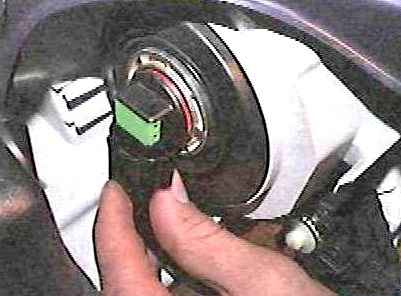
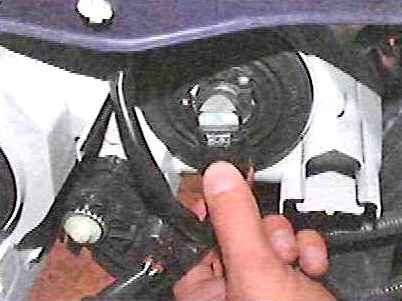
Disconnect the pads from the high and low beam headlights
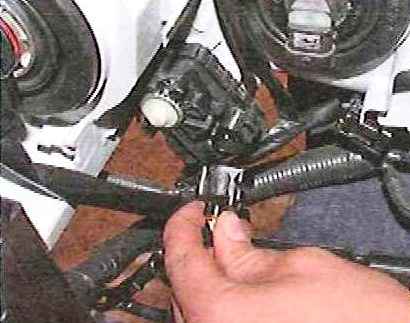
Disconnect the block from the headlight electric corrector
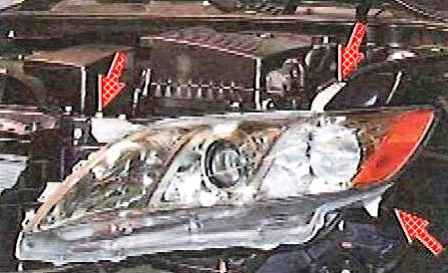
We unscrew the three mounting bolts and remove the headlight unit from the car
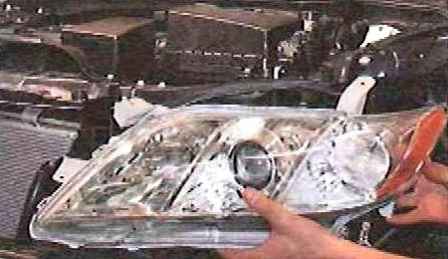
To remove the headlight electric corrector, turn its body in the direction indicated by the arrow in the figure
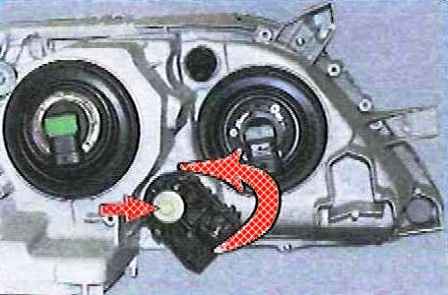
After that, turn the adjusting screw in the same direction (arrow in the figure) and remove the electric corrector of the headlight
Install the headlight and all parts in reverse order
Replacing the side turn signal light
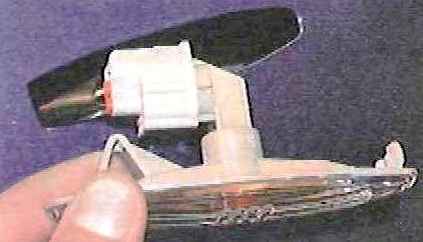
We move the side indicator light forward in the direction of travel and remove it from the hole in the wing
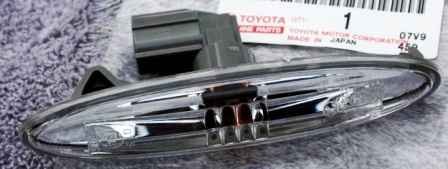
Squeeze the latch, disconnect the block of wires from the lantern and remove the lantern
Install parts in reverse order
Replacing the rear light located on the fender
Remove the trunk upholstery from the side of the lamp to be replaced
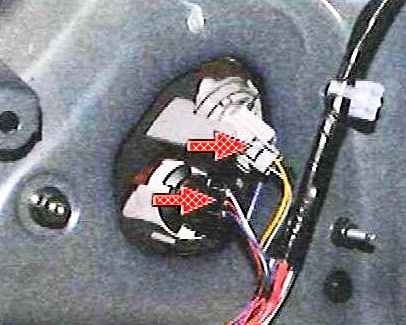
Squeezing the latches, disconnect the wire blocks of the rear turn signal lamp, brake lamp and side lighting
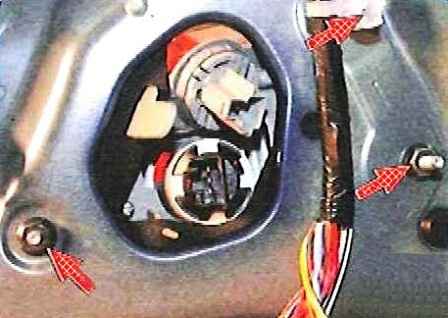
We unscrew the three nuts securing the lantern, having previously removed the plastic holder for the wiring harness from the top stud
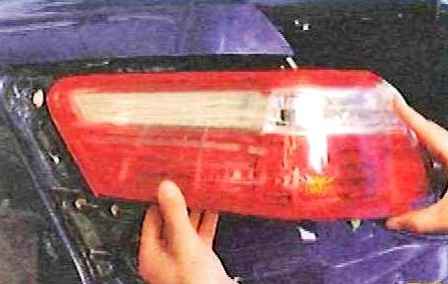
Remove the taillight located on the wing from the car
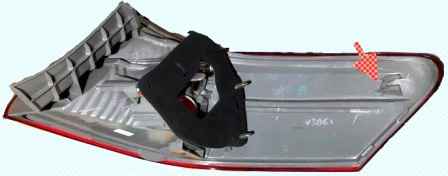
When removing the flashlight, it is necessary to overcome the force of the lock on its body (the lock is shown by an arrow)
Install the rear light located on the wing in reverse order
Replacing the rear light located on the trunk lid
Remove the upholstery of the trunk lid
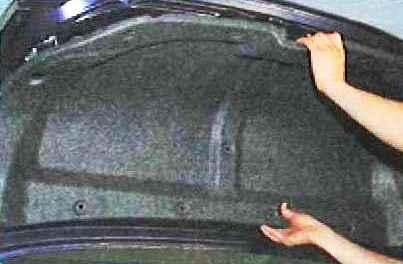
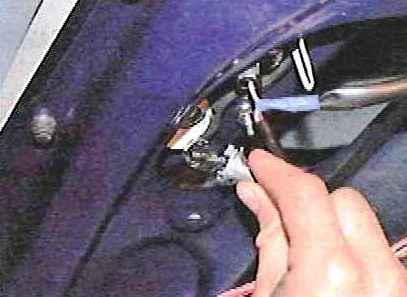
Remove the reversing light and rear fog lamp sockets by turning them counterclockwise
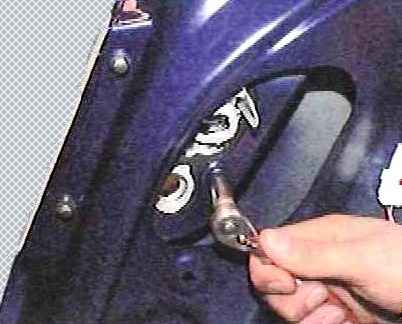
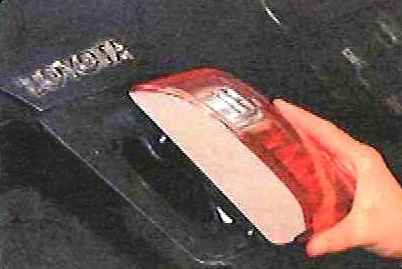
We unscrew the three nuts securing the lamp and remove the lamp from the car
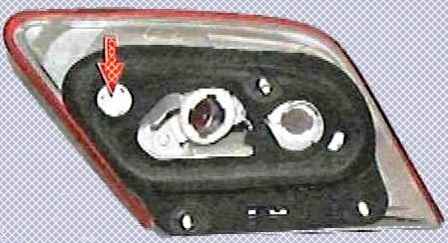
When removing the flashlight, you need to overcome the force of the lock on its body (indicated by the arrow in the figure)
Replacing the fog lamp
Remove the front fender liner
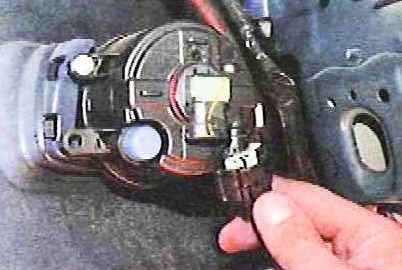
Squeeze the latches and disconnect the wire block from the fog lamp
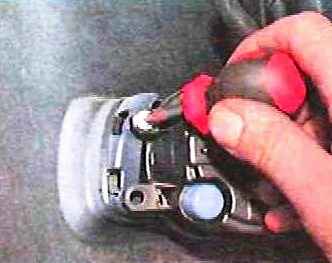
We unscrew the fastening screw and remove the fog lamp from the car
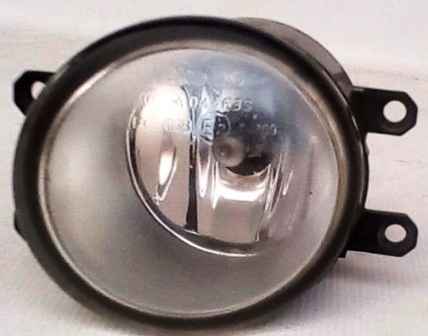
Install the fog lamp in reverse order
Replacing an additional brake light
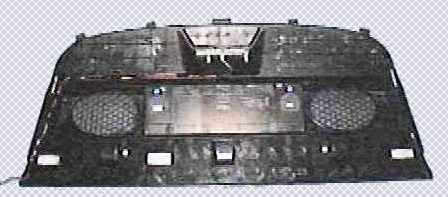
Remove the lining of the rear shelf
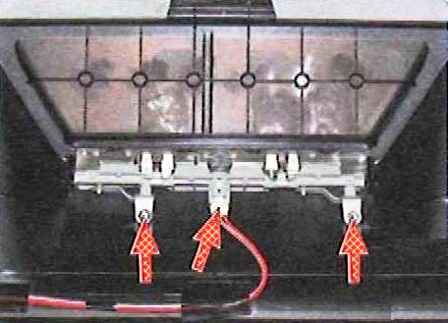
Squeezing the latches, disconnect the wire block from the additional brake light
We unscrew the two fastening screws and remove the brake light from the lining of the rear shelf
Install parts in reverse order
Replacing license plate lights
Remove the lining of the trunk lid
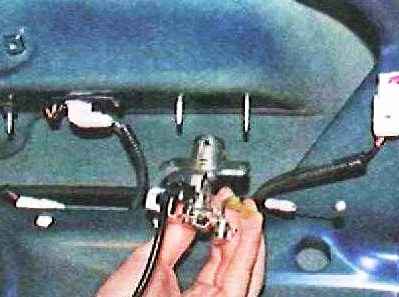
Remove the tailgate lock switch
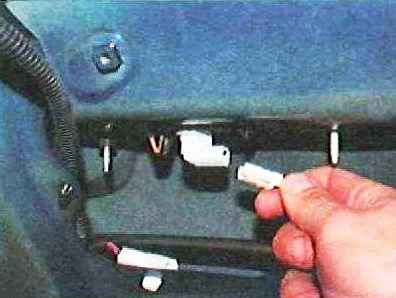
Squeeze the latches and disconnect the block of wires from the lamp to be replaced
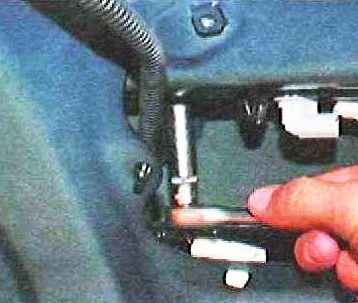
We unscrew the three nuts securing the lining of the trunk lid
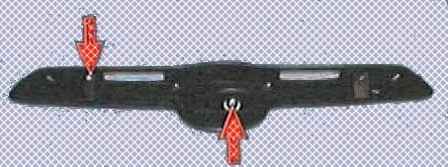
Remove the overlay, overcoming the force of two clamps (indicated by arrows)
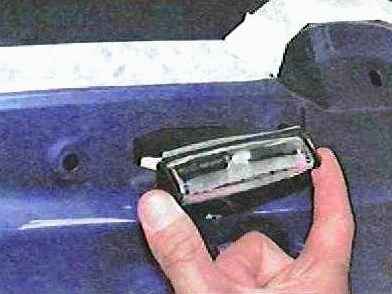
Remove the lamp by moving it in the hole to the center of the car
Install the new license plate light in reverse order
Replacing the lampshade for lighting the driver's and front passenger's seats
For this work, you will need a puller for clamps (a metal plate with a width of at least 20 mm and a thickness of 0.8-1.0 mm)
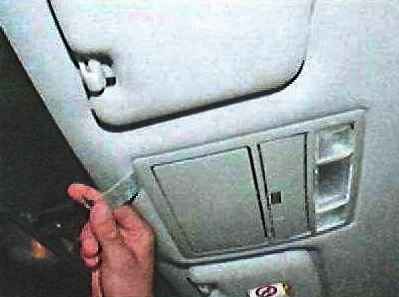
Using a puller, we release the four latches in the front of the ceiling and move the ceiling housing away from the roof upholstery
Disconnect the wire blocks and remove the cover
Install parts in reverse order
Replacing the ceiling lamp for general interior lighting
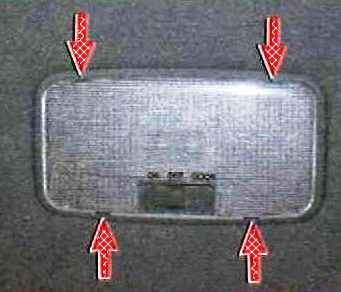
We pry off with a flat screwdriver and remove the diffuser of the ceiling, overcoming the force of the four clamps
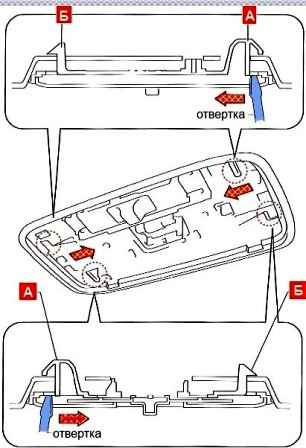
Using a screwdriver, we release the two latches "A" and remove the body of the ceiling lamp from the hole in the upholstery, disengaging the latches "B"
Disconnect the wiring block and remove the cover
Install parts in reverse order
Replacing the trunk light
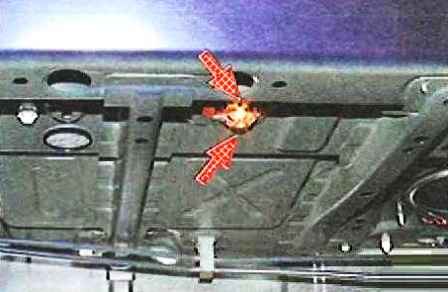
Release the two clips of the lampshade body
Disconnect the wiring harness and remove the trunk light
Install the trunk light in reverse order
Replacing the doorway light
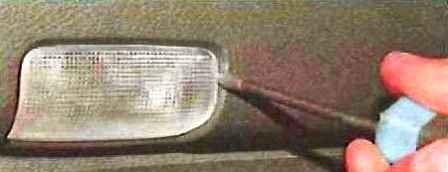
Pry off the doorway light with a screwdriver and remove it from the hole in the door upholstery
Disconnect the wire block from the lantern
Install the lantern in reverse order


