Mount the generator cover from the drive side to the rotor
Install washer
Use a plastic-headed hammer to install the rectifier housing.
Fix the housing with four nuts. Tightening torque: 4.5 - 5.4 Nm.
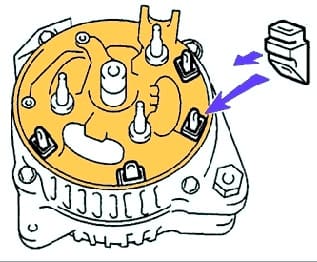
Install the four rubber insulators of the rectifier housing (fig. 1).
Install the insulators carefully so as not to damage them.
Install the terminal and sealing plate.
Install the rectifier unit with four screws. Tightening torque: 2.9 Nm.
Install the voltage regulator with four screws. Tightening torque: 2.0 Nm.
Install the brush holder by securing it with two screws (fig. 2). Tightening torque: 2.0 Nm.
Install the brush holder cover.
Install the rear cover and rectifier plate
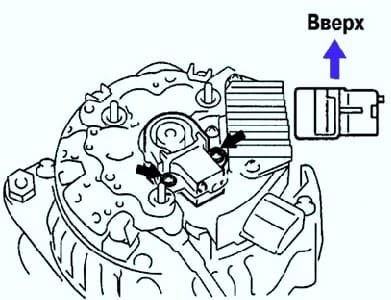
Install the lead insulator by securing it with the nut. Tightening torque: 4.1 Nm.
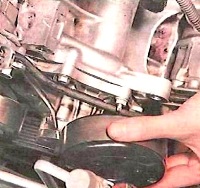
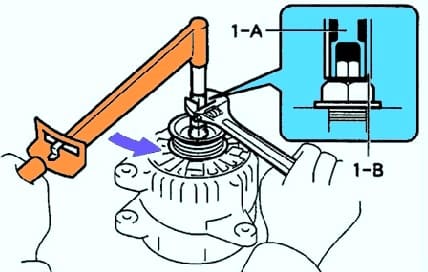
Install the pulley on the toe of the rotor shaft and tighten the pulley fastening nut by hand.
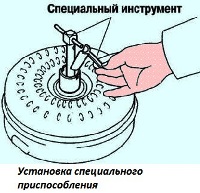
Hold the special tool "1-A" with a torque wrench and tighten the special tool "1-B" (fig. 3). Tightening torque: 39 Nm.
Check that the special tool "1-A" is securely fixed on the rotor.
Clamp the special tool "1-C" in a vise and install the generator on it.
To tighten the pulley mounting nut, turn the special tool (1-A) clockwise. Tightening torque: 111 Nm.
Remove the generator from the special tool "1-C".
Unscrew the special tool "1-B" and remove the special tools "1-A" and "1-B".
Make sure the rotor rotates smoothly without binding.
Disassembling and checking the generator is also described in the article - Toyota Camry car generator repair


