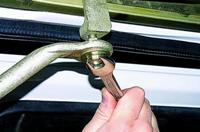
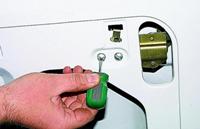
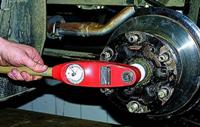
Loosen bolt 1 two to three turns
Unscrew the adjusting bolt 2, loosen the belt tension and remove it
Inspect the belt.
If it has cracks, rubber delamination, tears, dirt deposits between the ribs, etc., replace the belt.
Inspect the pulleys.
Clean or replace the pulleys if they are dirty or damaged.
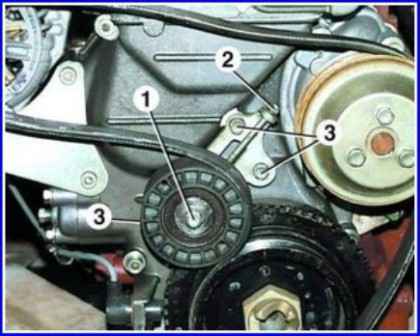
If it is necessary to remove the tensioner, unscrew the three bolts 3, at the same time, in order to make it more convenient to unscrew the bolt under the roller, move the roller up.
Installation:
- 1. Put the belt on the crankshaft pulley.
- 2. Put the belt on the pulleys of the water pump and generator.
- 3. After that, put the belt on the tension roller.
After installing the belt, adjust its tension.
Tension adjustment:
At the correct tension, the belt should deflect 15 mm when a force of 8 kgf is applied midway between the alternator and water pump pulleys.
Belt tension is adjusted by moving the tension roller.
Loosen bolt 1.
Wrapping or unscrewing the bolt 2, adjust the belt tension. Tighten bolt 1.
Check belt deflection.
Details in pictures:
Replacing and adjusting the tension of the drive belt
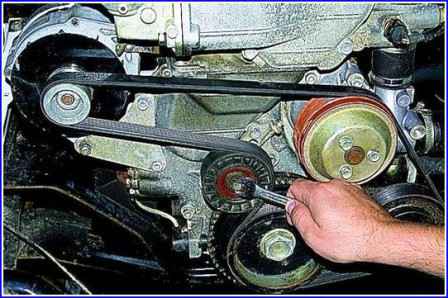
Using the “12” key, loosen the tightening bolt of the tension roller (for clarity, the engine radiator is removed).
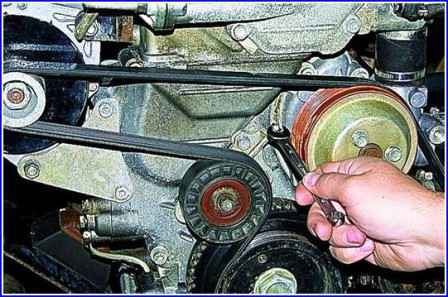
Weaken the belt tension by turning the key "by 10", counterclockwise the tension roller bolt
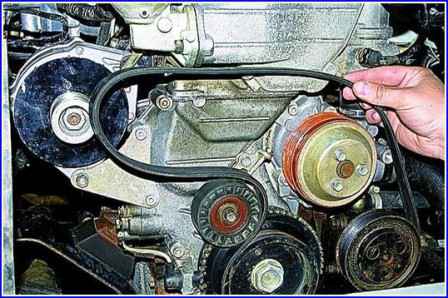
Remove the belt from the pulleys
Installing a new belt.
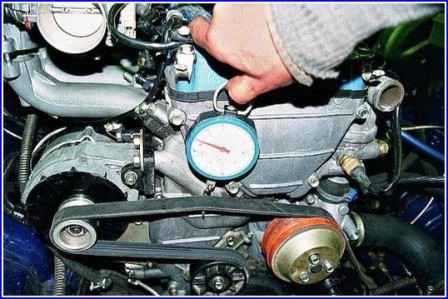
By rotating the tension roller bolt, we achieve a belt deflection of 15 mm under a load of 8 kgf applied in the middle of the horizontal drive branch (between the generator and pump pulleys).
Tighten the tension roller mounting bolt.
Replacing the idler pulley and accessory drive belt tensioner
Loosen the tension of the drive belt.
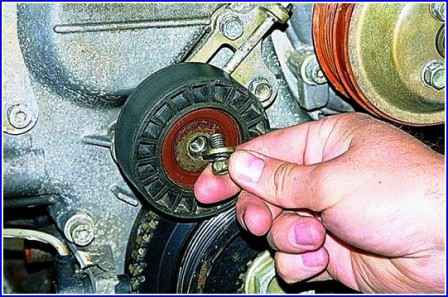
Completely unscrew the tensioning pulley bolt
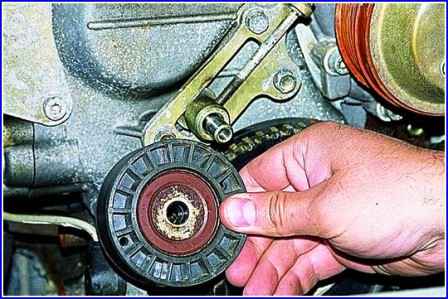
Remove the pulley from the tensioner axis.
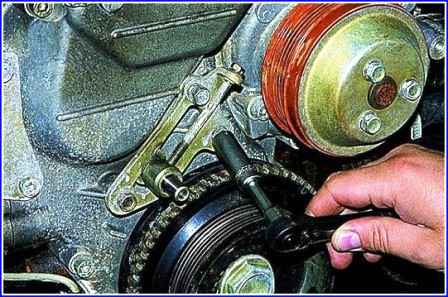
If necessary, use a socket wrench or a “12” head to unscrew the three bolts securing the tensioner
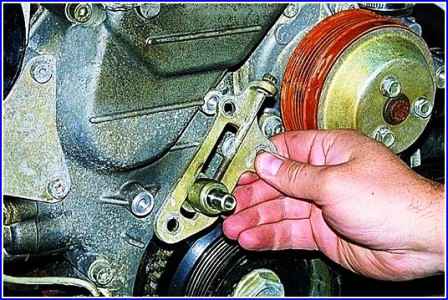
Remove the tensioner mount from the engine
We install the tensioner and pulley on the engine in reverse order, after which we tighten the belt.


