Replace the rear suspension arms in case of deformation or wear
Replacing the front wishbone rear suspension
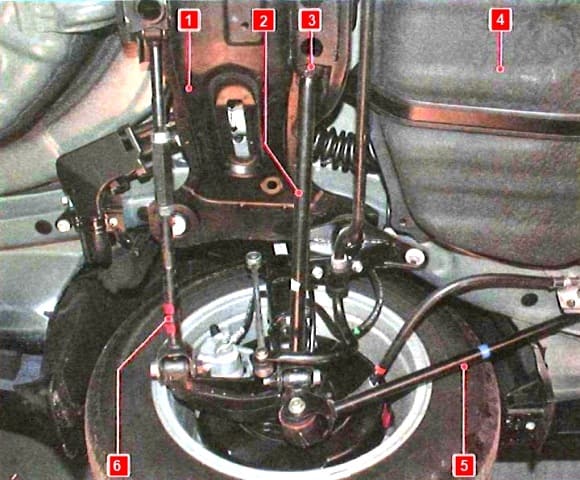
To replace the front transverse arm 2 (fig. 1), it is necessary to remove the rear suspension cross member 1, since the bolt of the inner hinge 3 of the arm rests against the fuel tank when unscrewed
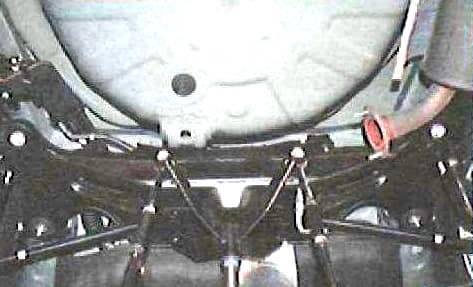
Remove from the car the rear suspension cross member assembly with wishbones (to be described below)
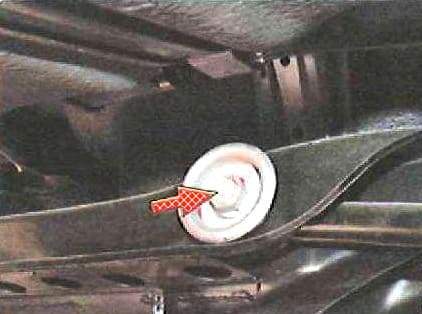
Unscrew the bolt securing the front transverse arm to the rear suspension crossbar and remove the arm
Inspect the lever. In the presence of cracks, deformation or wear of the silent block, the lever is replaced.
Signs of wear of the silent block are tears, one-sided swelling and delamination of rubber from a metal bushing
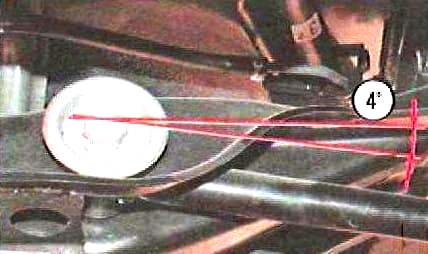
Set the lever to the position shown in the photo and tighten the fastening bolt to a torque of 100 Nm
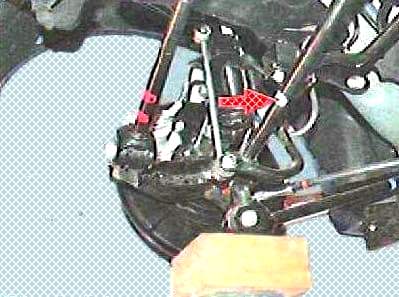
The paint mark on the front transverse arm must point to the rear
Install parts in reverse order
Check and, if necessary, adjust the wheel alignment
Replacing the rear wishbone rear suspension
We install the car on a lift or a viewing ditch
Raise the rear of the car and remove the wheel
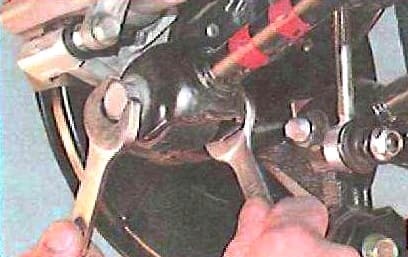
Unscrew the nut securing the rear transverse arm to the rear suspension knuckle
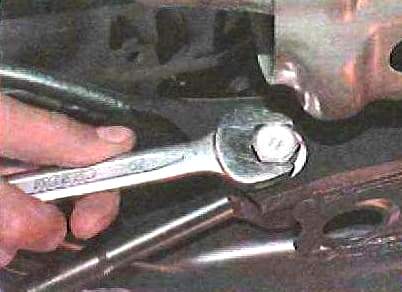
Unscrew the bolt securing the rear transverse arm to the rear suspension crossbar
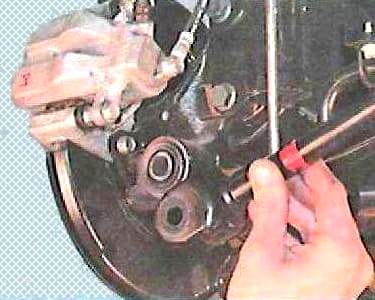
Remove the bolt securing the lever to the knuckle of the rear suspension and remove the lever
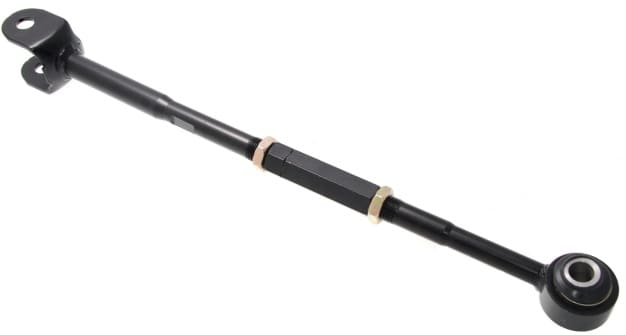
Inspecting the lever.
If there is deformation, wear and damage to the thread of the adjusting sleeve, as well as wear on the silent block, replace the lever.
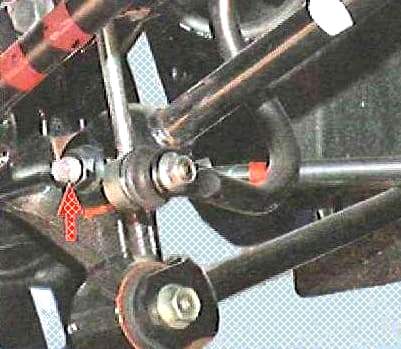
Install parts in reverse order
The ink mark on the lever should be facing backwards
The nut and bolt of the lever fastening are finally tightened with the car standing, on the ground, with a torque of 100 Nm
Check and, if necessary, adjust the wheel alignment
Replacing the trailing arm of the rear suspension
We install the car on a lift or a viewing ditch
Raise the rear of the car and remove the wheel
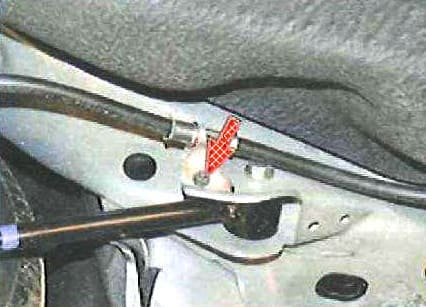
We unscrew the bolt of the parking brake cable holder and remove the cable from the bracket of the front hinge of the trailing arm
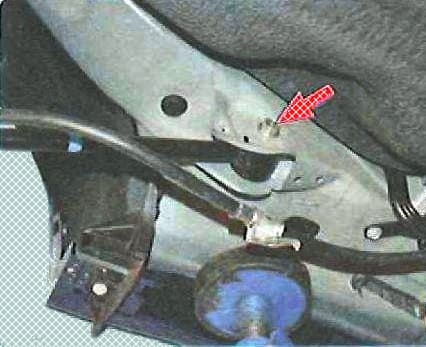
Unscrew the nut and remove the bolt securing the trailing arm to the body bracket
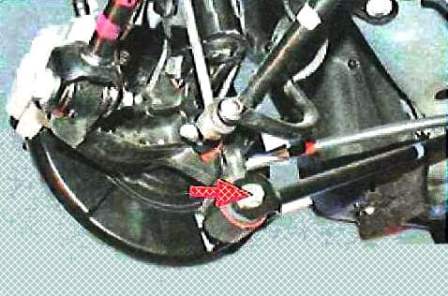
We unscrew the nut, remove the bolt securing the trailing arm to the rear suspension knuckle and remove the arm
Inspect the lever. In the presence of cracks, deformation or wear of the silent block, the lever is replaced.
Signs of wear of the silent block are tears, one-sided swelling and delamination of rubber from a metal bushing
Install parts in reverse order
We finally tighten the lever mounting bolts with the car on the ground to a torque of 113 Nm
Removing and installing the rear suspension crossbar
We install the car on a lift or a viewing ditch
Raise the rear of the car and remove the wheel

Raise the rear suspension knuckle through a wooden block with a jack

We unscrew the nut securing the rear transverse arm to the rear suspension knuckle, holding the bolt from turning

Remove the bolt and disconnect the lever from the knuckle

In the same way, we disconnect the front transverse arm from the rear suspension knuckle
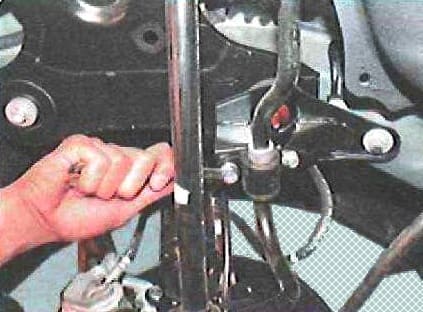
Remove the rear anti-roll bar
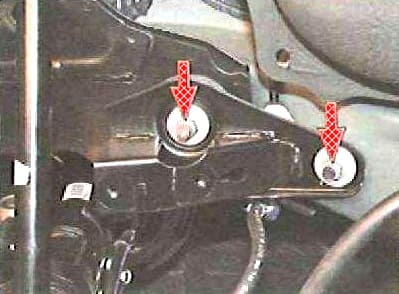
Remove the left and right brackets for mounting the rear suspension crossbar by unscrewing two nuts on each bracket
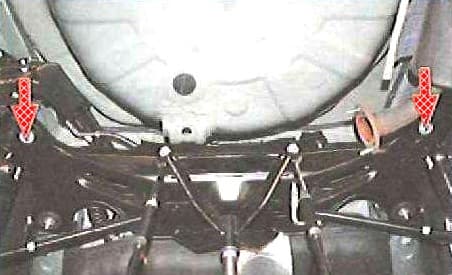
We install reliable supports under the crossbar
We unscrew the two bolts and remove the cross member assembly with the transverse levers
Install the rear suspension cross member in reverse order
We finally tighten the nuts for fastening the transverse levers with the car standing on the ground to a torque of 100 Nm
Check and, if necessary, adjust the wheel alignment


