Remove
Disconnect the wires from the battery terminals, starting with the negative terminal
Remove the intake manifold.
Beware of gasoline emissions when disconnecting the fuel supply line from the fuel rail.
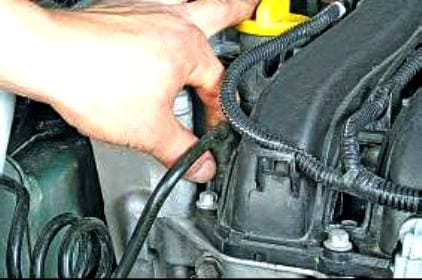
Squeeze the retainer of the fuel rail hose end
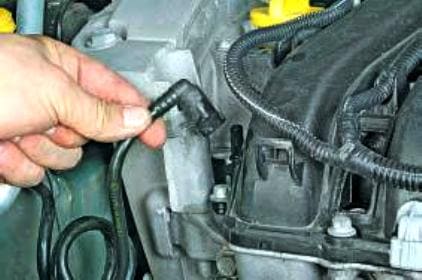
Disconnect the hose from the fuel rail
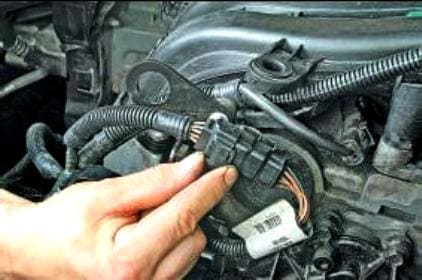
We press the retainer of the harness block and disconnect the fuel injector block
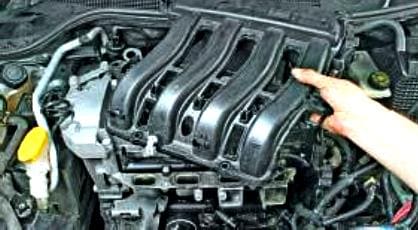
Removing the receiver
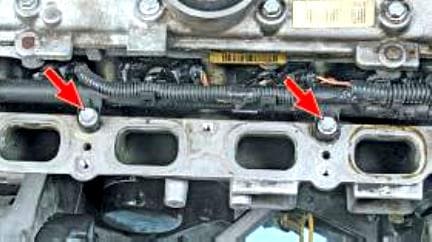
We unscrew the two bolts of the fuel rail
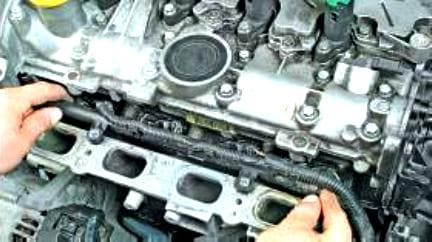
Remove the fuel rail
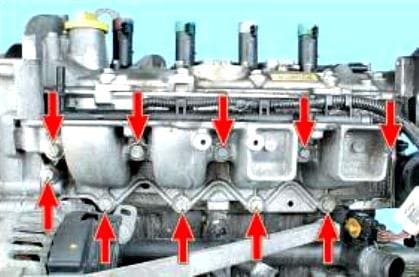
We unscrew the ten bolts securing the intake pipe
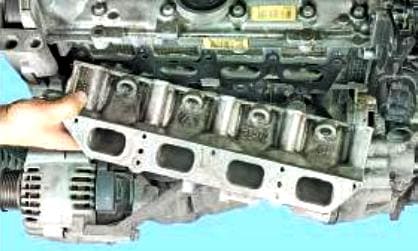
Remove the nozzle body
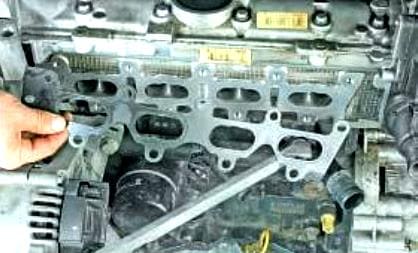
Remove the gasket
Installation
The lining of the injector housings must be replaced.
Install all mounting bolts.
Attach:
- - lining the injector housings to the upper timing cover by screwing the bolt "A" by hand.
- - lining the injector bodies to the support of the engine pendulum suspension, tightening the bolt "B" by hand.
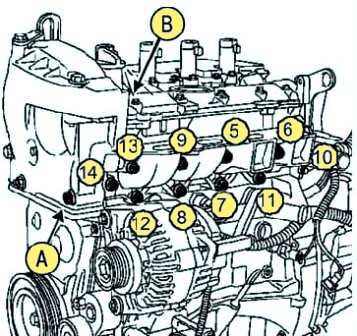
Tighten in the order shown in Figure 3 to the correct torque:
- - bolts 5 and 6 for fastening the lining of the injector bodies (25 Nm);
- - bolts 7 and 14 for fastening the lining of the injector bodies (21 Nm).
Torque tighten: Swingarm support bolt (44 Nm);
- - bolt for fastening the upper timing cover (44 Nm).
Install the intake manifold.
Installation is performed in the reverse order of removal.
Connect the wires to the battery terminals, starting with the positive terminal.


