In the article, we will consider disassembling the trunk lid and removing the trunk upholstery
Removing the upholstery of the trunk lid
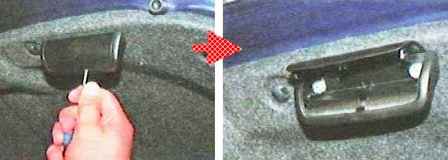
Using a screwdriver, we pry off the decorative cover of the trunk lid handle and take it up
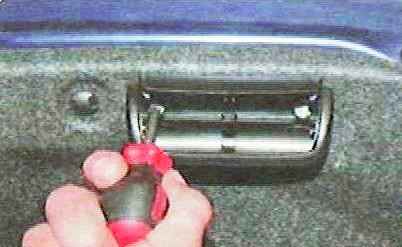
We unscrew the two screws securing the handle to the trunk lid panel and remove it
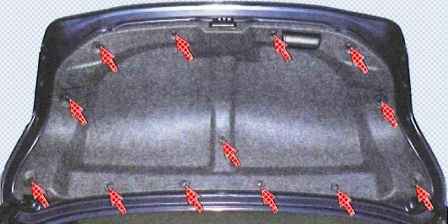
Trunk upholstery fastened with 13 clips
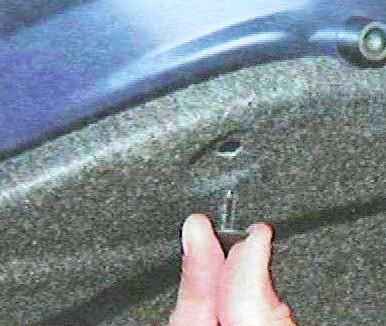
We take out, overcoming the resistance of the clamps, the caps for fastening the upholstery of the trunk lid
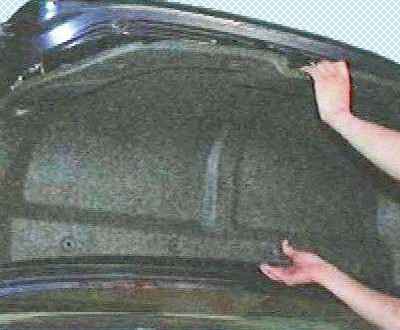
Removing the upholstery
Install the lid upholstery in reverse order
Removing the trunk lid lock and switch
Disconnect the negative battery terminal
Remove the upholstery of the trunk lid, as described above
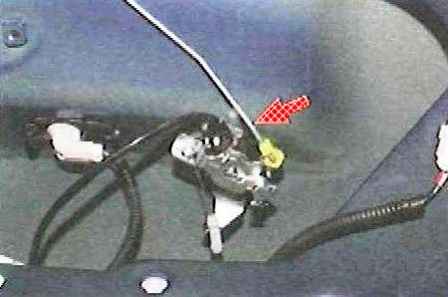
Remove the latch and disconnect the drive rod from the lock switch lever
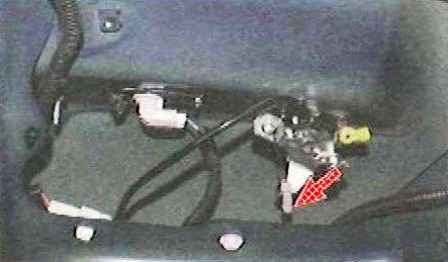
We remove the tip of the remote drive cable sheath from the lock switch bracket and disconnect the cable tip from the switch
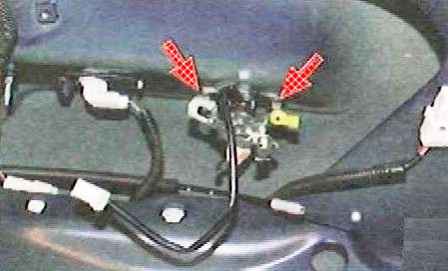
Press the latch and disconnect the block of wires of the lock switch
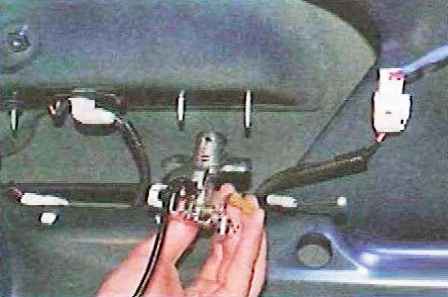
We unscrew the two bolts securing the lock switch to the trunk lid and remove the switch
Disconnect the wiring block from the trunk lid lock
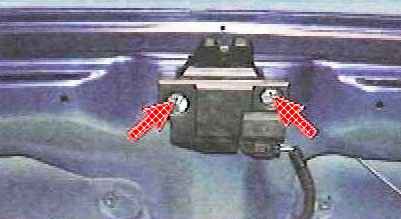
We unscrew the two bolts securing the lock and remove the lock
Install the removed parts in reverse order
Removing and installing the trunk lid torsion bar
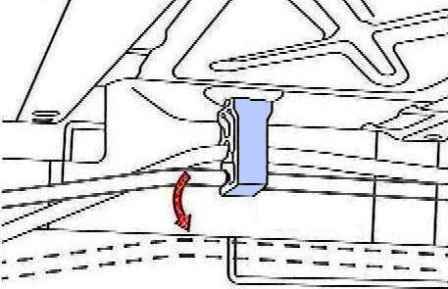
Disconnect the right side of the torsion bar from the support on the body panel
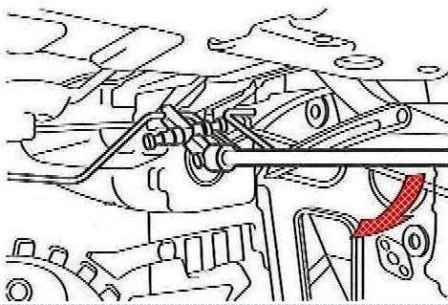
Install the special tool as shown in the figure and disconnect the right side of the torsion bar from the body bracket
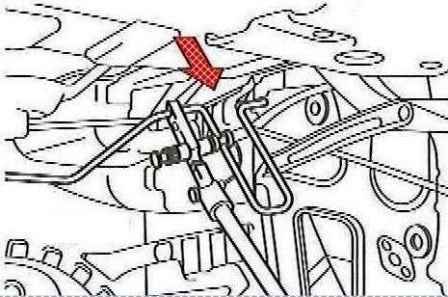
Disconnect we remove the left side of the torsion bar from the support on the body panel
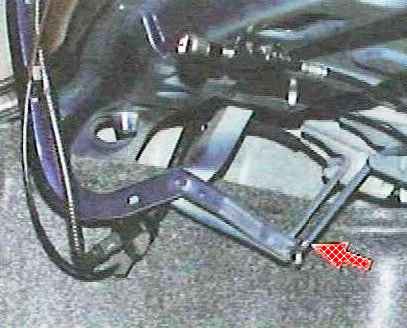
Disconnect the left side of the torsion bar from the bracket of the left hinge of the trunk lid and remove the torsion bars
Install the torsion bar in reverse order
Removing and installing the trim on the trunk lid
Disconnect the negative battery terminal
Remove the upholstery of the trunk lid, as described above
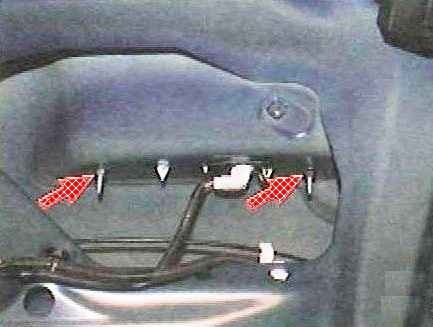
We unscrew the two nuts securing the decorative trim through the left technological window in the trunk lid panel
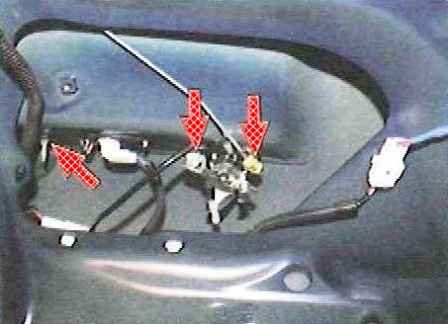
Through the right technological window in the trunk lid panel, unscrew the decorative trim fastening nut
We unscrew the two nuts securing the trunk lid lock switch
Remove the overlay, overcoming the resistance of the clamps

Decorative trim is attached to the trunk lid with two clips
Install the overlay in reverse order
Removing trunk lining
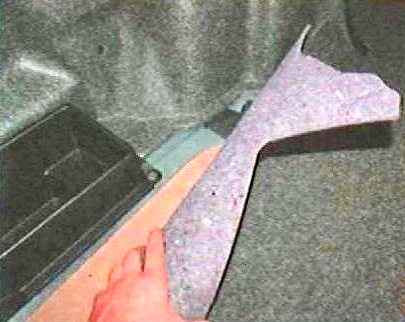
Open the trunk lid and take out the trunk mat
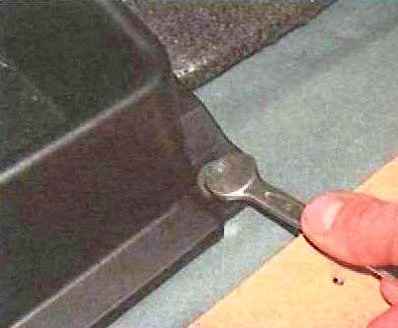
Unscrew the bolt securing the box for small items
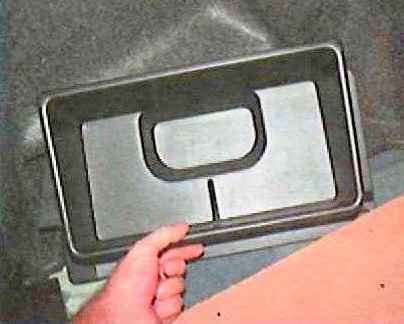
Overcoming the resistance of the latch, we take out the box from the trunk
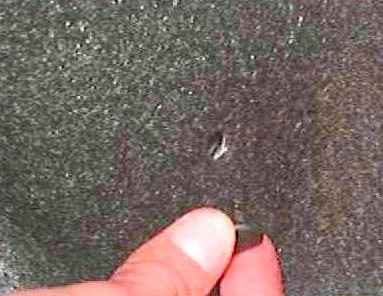
Remove the upholstery clips on the left side of the trunk and remove the upholstery
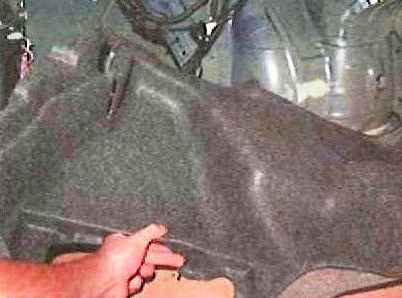
In the same way, remove the upholstery on the right side of the trunk
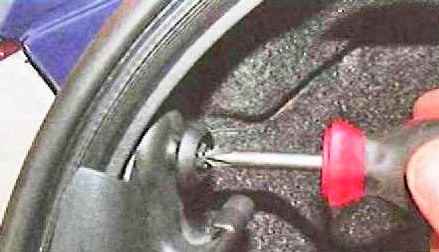
We unscrew the screws securing the brackets on the right and left sides of the trunk and remove the brackets
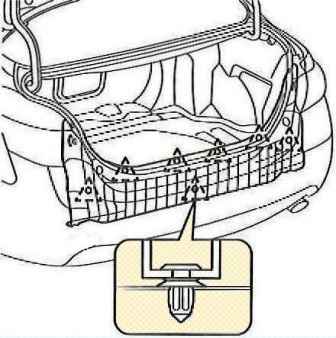
Remove the rear lining of the trunk, overcoming the resistance of the clamps
Install the boot upholstery in reverse order


