In the article, we will consider the replacement of lamps in headlights, lanterns and ceiling lamps. Lamps are replaced if they are dim or the filaments are burned out
It is recommended to use only genuine Toyota products designed for this vehicle.
Since some lamps are connected to circuits designed to prevent overload, non-genuine parts not designed for this vehicle may not be suitable
Replacing headlight bulbs
We prepare the car and disconnect the negative battery terminal
To replace the turn signal lamp, remove the front fender liner, from the side of the lamp being replaced
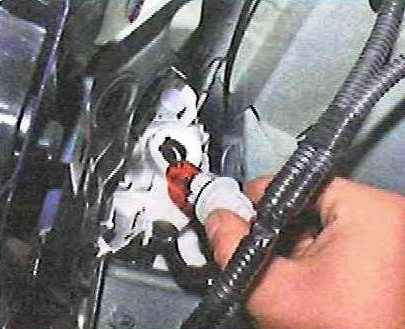
Turn the direction indicator lamp socket counterclockwise and remove it from the headlight
Remove the baseless lamp from the socket
We install a new lamp in the cartridge, and the cartridge in the headlight
To replace the side light bulb, turn the side light socket counterclockwise and remove the socket with the lamp from the headlight
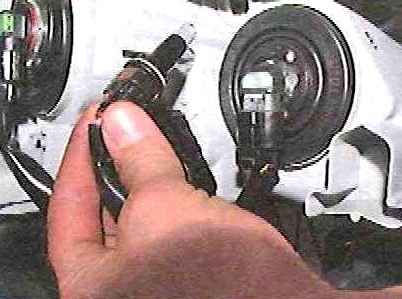
Remove the baseless lamp from the socket
We install a new lamp in the cartridge, and the cartridge in the headlight block
Replacing low and high beam bulbs
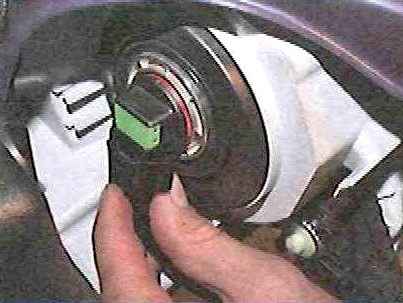
Squeeze the latch and disconnect the wire block from the low beam lamp
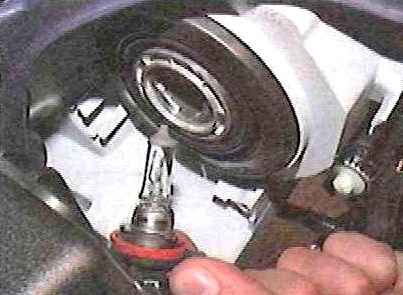
Turn the base of the low beam lamp counterclockwise and remove the lamp from the headlight
Install a new dipped beam lamp in the headlight and connect the wiring harness block
Warning: do not touch the dipped beam and high beam bulbs.
Handle the lamp by the bulb only with clean gloves or a clean cloth. If there are grease stains on the lamp, you need to remove them with alcohol
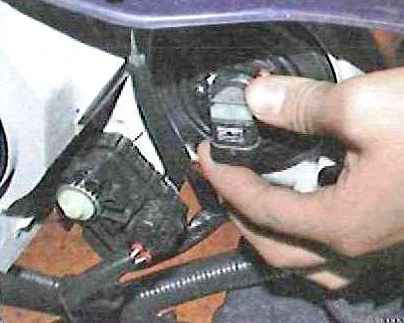
To replace the high beam lamp, squeeze the latch and disconnect the wire block from the high beam lamp
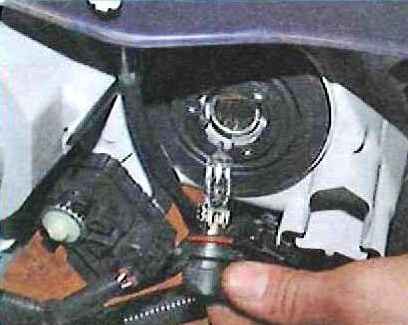
Turn the high beam lamp base counterclockwise and remove the lamp from the headlight
Install the lamp in reverse order
Replacement of side turn signal lamps on a Toyota Camry car is not provided.
If the lamp burns out, the lamp assembly must be replaced
Replacing taillight bulbs
We prepare the car and disconnect the negative battery terminal
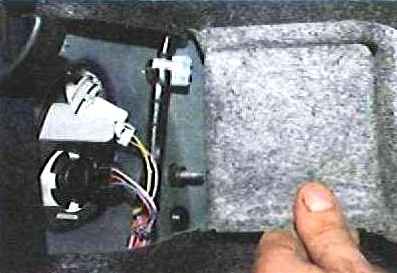
Bending the cut-out part of the trunk upholstery
Turn the lamp socket to be replaced counterclockwise and remove it from the lamp body
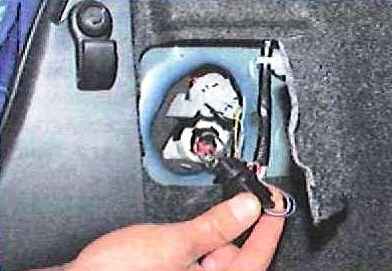
Remove the baseless lamp from the socket and install a new one
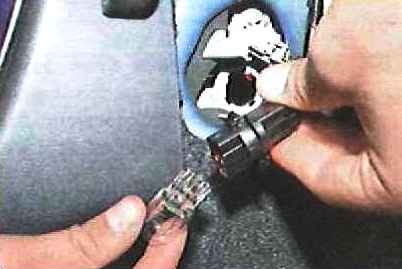
To replace the reversing light bulbs and the rear fog lamp, remove the trunk lid upholstery
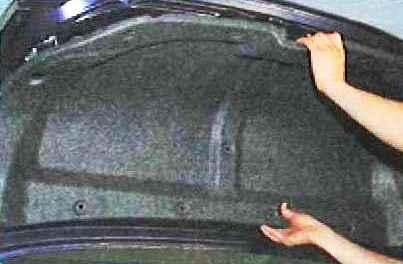
Turn the socket of the lamp to be replaced counterclockwise and remove it from the lamp body
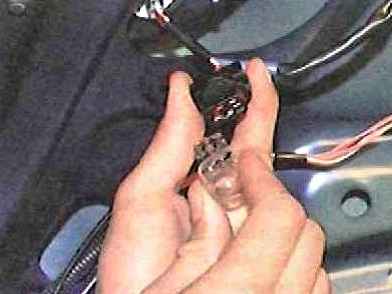
Remove the baseless lamp from the socket and install a new lamp
Replacing a bulb in a fog lamp
Disconnect the negative battery terminal
Remove the front fender liner
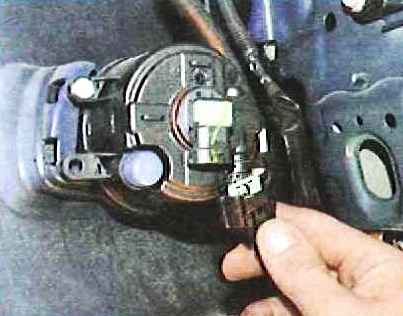
Squeeze the latch and disconnect the wire block from the fog lamp
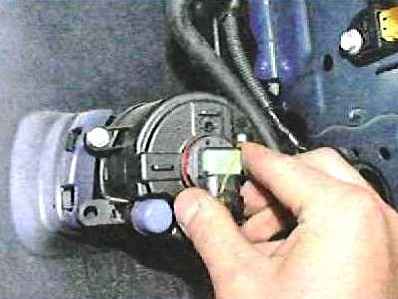
Turn the lamp base counterclockwise and remove the lamp from the headlight
Install a new lamp and assemble all the parts in reverse order
Replacing bulbs in license plate lights
Disconnect the negative battery terminal
Remove the upholstery of the trunk lid
Turn the license plate lamp socket counterclockwise and remove it from the lamp housing
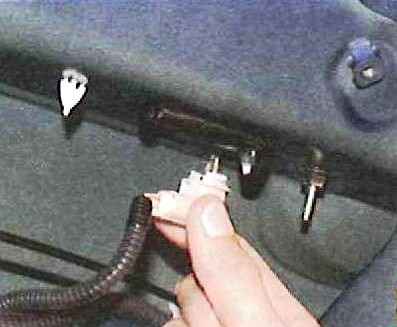
Remove the baseless lamp from the socket and install a new lamp.
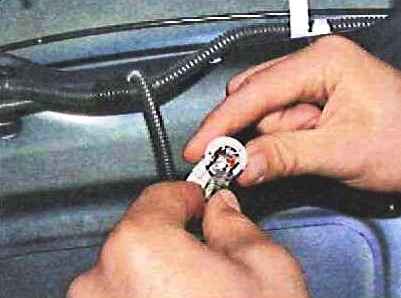
In the same way, we replace the second license plate lamp
Replacing lamps in interior ceiling lamps
Disconnect the negative battery terminal
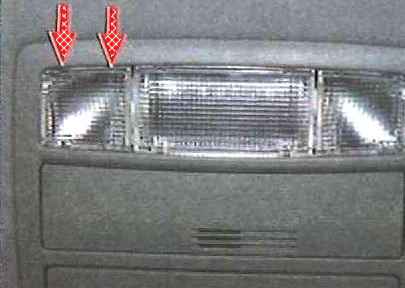
We pry off with a screwdriver and remove the diffuser for the individual lighting of the driver's and front passenger's seats, overcoming the force of the clamps
Remove the baseless lamp from the socket and insert a new lamp
Reinstalling the diffuser
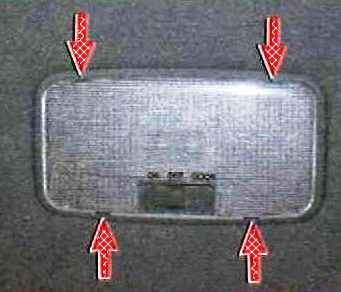
To replace the lamp in the ceiling of the general interior lighting, pry with a screwdriver and remove the diffuser
Remove the lamp from the spring contacts and insert a new lamp
Reinstalling the diffuser
To replace the lamp in the vanity mirror cover, you need:
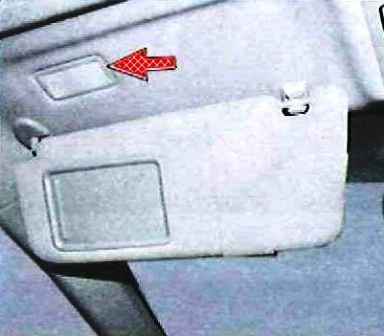
Pry off with a screwdriver and remove the vanity mirror light from the hole in the upholstery
Remove the baseless lamp from the socket and insert a new lamp
Install the ceiling in place


