We dismantle doors for repair or replacement of door parts
We prepare the car for the task and disconnect the negative battery terminal
Removing the door trim
Remove the trim of the outside rear-view mirror support
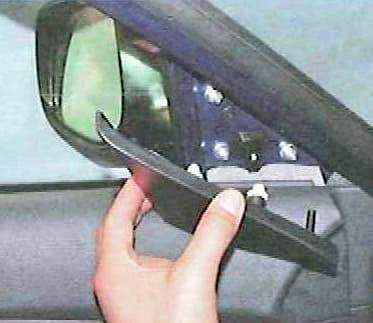
The overlay is attached with clips
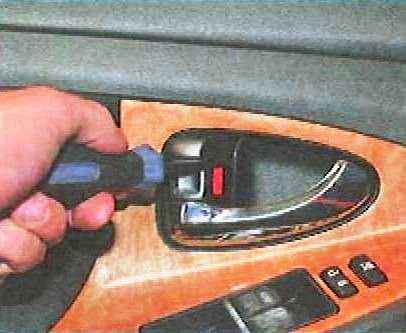
Use a screwdriver to pry off the decorative trim. In order not to scratch the parts, we wrap the tip of the screwdriver with insulating tape.
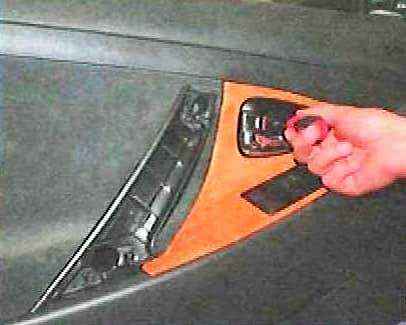
Unscrew the screw securing the inner handle of the lock
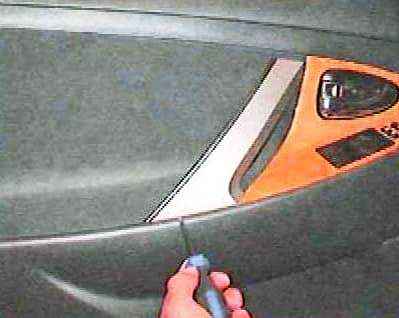
Use a screwdriver to pry off and remove the lining of the inner door handle
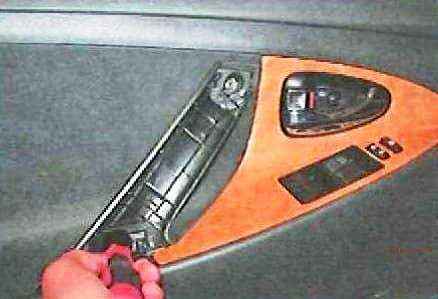
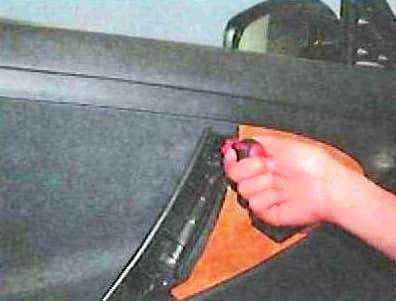
We unscrew the lower and upper screws securing the inner handle to the door panel
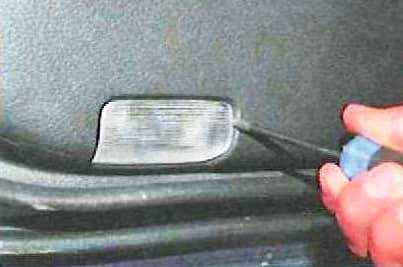
Pry off with a screwdriver, take out the backlight and disconnect the wire block from it
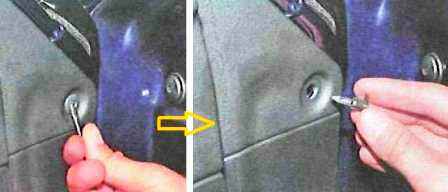
Retract the retainer and remove the piston of the front fastening of the door upholstery
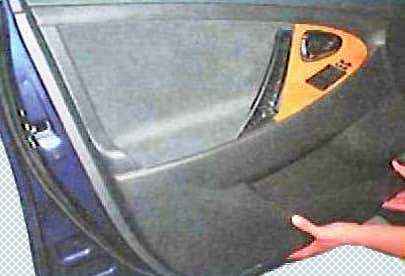
Disconnect the lower part of the upholstery from the front door panel, overcoming the force of the plastic holders
Lift the upholstery up, removing the holders of the sliding window seal from the door panel and move the upholstery to the side
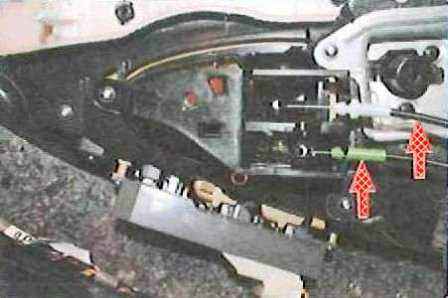
We remove the ends of the shells of the door lock drive rods from the holders on the body of the inner handle
Disconnect the lock drive rod ends from the inner handle levers
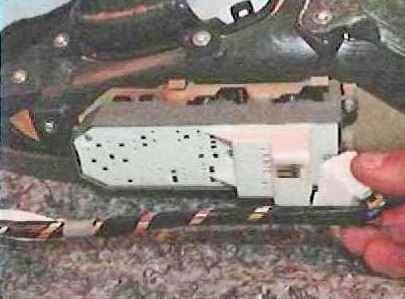
Press the latch and disconnect the wire block from the power window control unit.
Remove the door upholstery
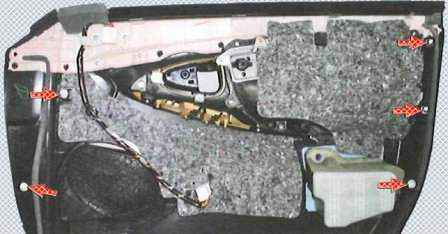
The door trim is attached to the door panel with plastic clips.
We replace damaged caps with new ones by removing them from the upholstery brackets
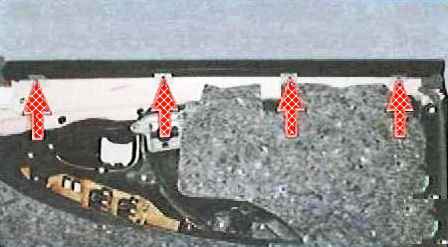
Overcoming the resistance of the four holders, remove the sliding glass seal
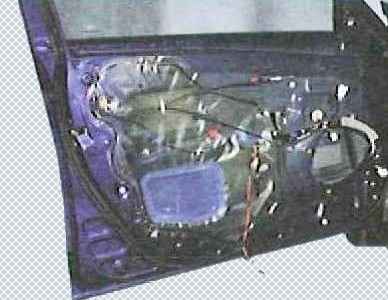
Peel off the moisture-proof film from the panel
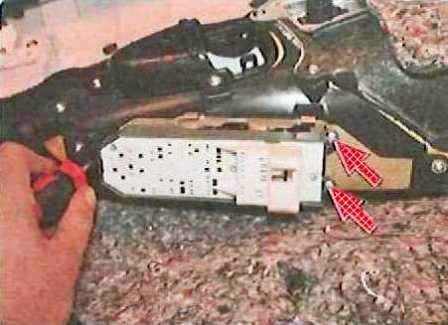
We unscrew the three screws and remove the power window control unit
We install the upholstery and all removed parts in the reverse order after performing all repair operations
Replacing the front door glass
Lower the glass down
Remove the front door upholstery and moisture barrier film as described above
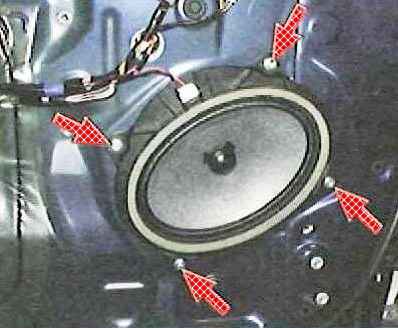
Disconnect the block of wires from the speaker by pressing the latch on the block
Unscrew the screws securing the speaker to the door panel and remove the speaker
Connect the wiring harness to the power window control unit and connect the negative battery terminal
Let's bring the power window slider so that its bolts coincide with the technological holes in the door panel
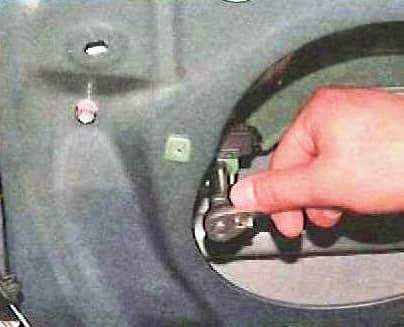
We unscrew the bolt of the front fastening of the sliding glass to the slider
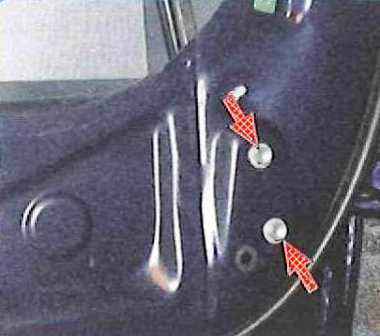
We unscrew the two bolts and remove the front guide of the sliding glass, bringing it out through the technological hole in the door panel
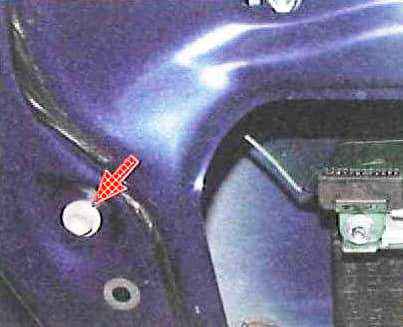
Unscrew the bolt and remove the rear sliding window guide
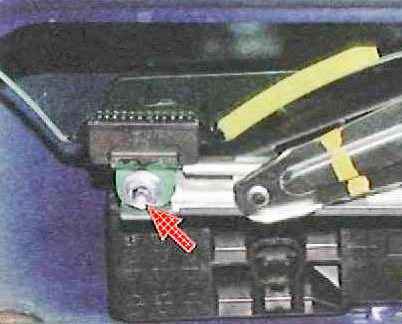
We unscrew the bolt of the rear mounting of the sliding window to the power window slider
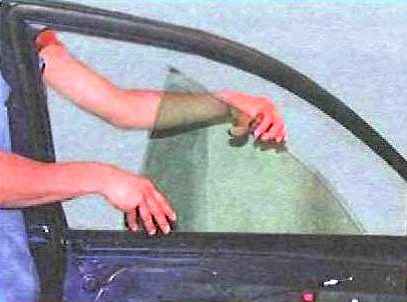
Remove the glass from the door, taking it up outward
Install glass in reverse order
Replacing the power window of the front door
Remove the front door upholstery and moisture barrier film as described above
Remove the glass of the front door (when replacing the power window, it is not necessary, just lift the glass and fix it)
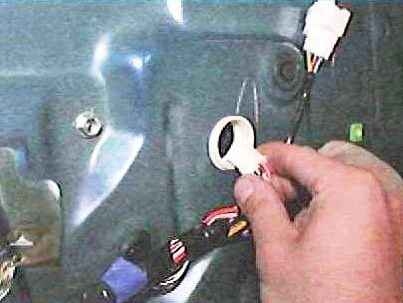
Squeeze the latch and disconnect the wire block from the power window gearmotor
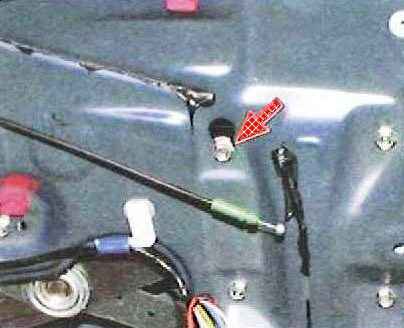
Loosen the temporary fastening bolt
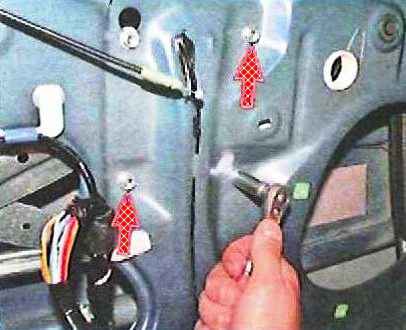
We unscrew the three bolts securing the power window to the door panel on the right side
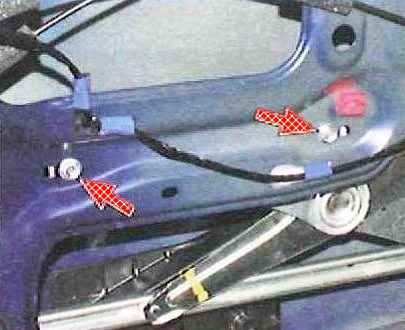
We unscrew the two bolts on the left side and remove the power window from the door cavity through the mounting hole in its inner panel
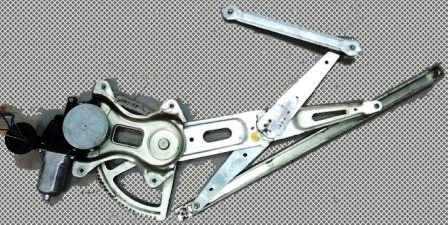
Install the power window in reverse order
Replacing the outside handle of the front door
Remove the front door upholstery and moisture barrier film as described above
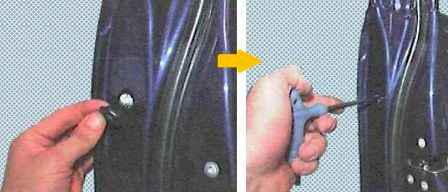
Remove the decorative plug and unscrew the screw securing the lock switch
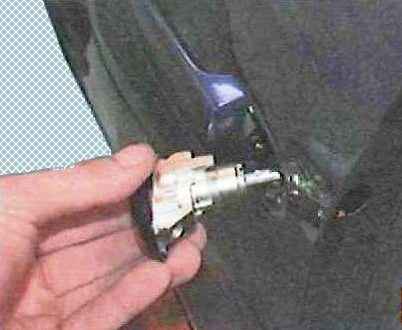
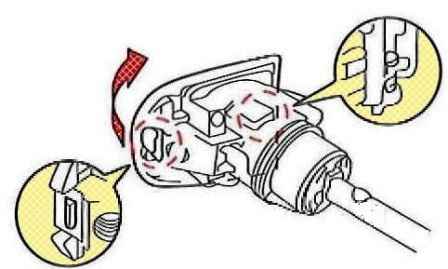
Squeezing the switch holders with a screwdriver, remove the switch from the door panel
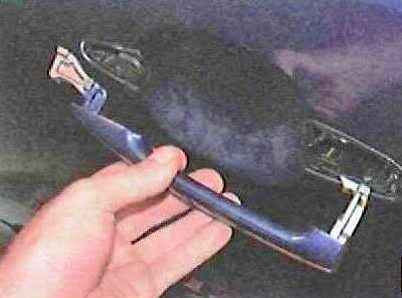
Pull the handle back and remove it
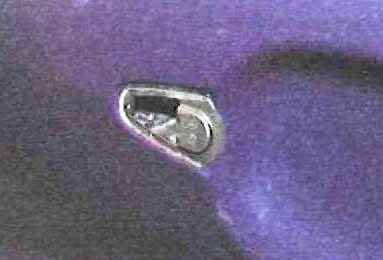
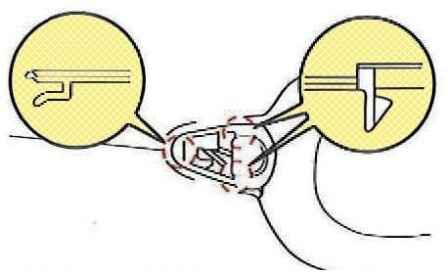
We press the holders with a screwdriver in their locations and remove the front cover
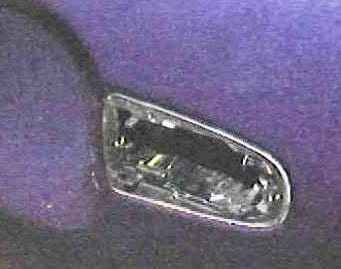
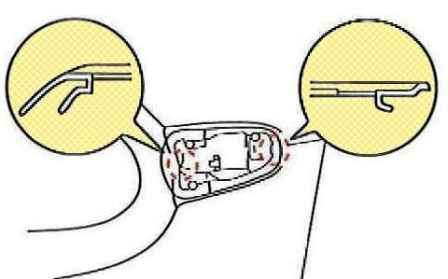
We press the holders with a screwdriver in their locations and remove the back cover
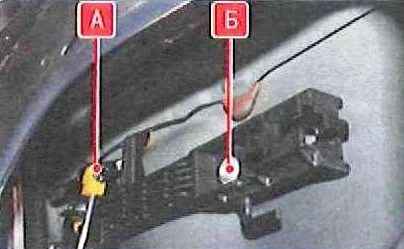
Remove the latch (A) and disconnect the lock drive rod from the lever. We unscrew the screw (B) and remove the frame of the outer handle of the front door
Install the outer handle in reverse order
Replacing the front door lock
Remove the front door upholstery and protective film
Disconnect the lock drive rod from the lever of the outer handle, as described above
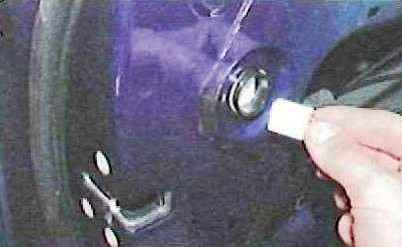
Press the latch and disconnect the wire block from the front door lock
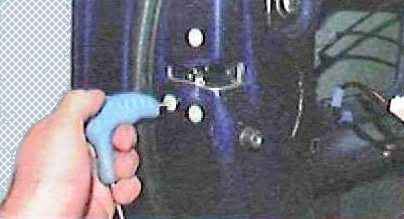
We unscrew the three screws securing the lock to the door panel and remove the lock assembly with its drive rods
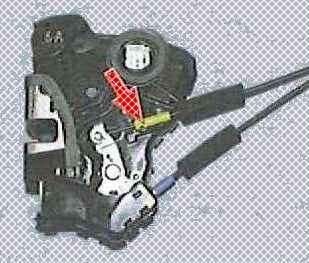
If the lock is removed for replacement, disconnect it from the levers of the lock rod
To do this, we remove the tip of the lock drive shell from the holder on the lock body
Disconnect the rod end from the lock lever and remove the rod
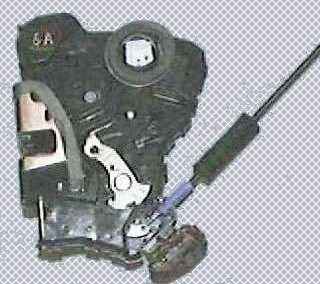
Overcoming the resistance of the latches, we move the lining of the lock lock rod to the side.
Remove the tip of the lock drive rod shell from the holder on the lock body
Disconnecting the rod end from the lock lever and remove the rod
Install parts in reverse order
Replacing the front door opening limiter
Raise the glass and remove the front door upholstery as described above
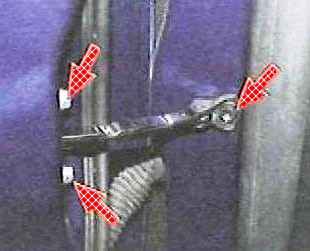
Remove the speaker as described above
We unscrew the two bolts securing the limiter to the door and one bolt securing the limiter to the body pillar
Remove the limiter by pulling it out through the technological hole in the door panel
Install the limiter in reverse order


