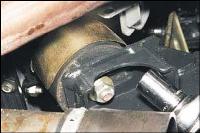
If there are scuffs, deep scratches and other defects on the working surface of the disc that increase pad wear and reduce braking efficiency, as well as in case of increased lateral runout of the disc, causing vibration during braking, replace the disc
In specialized workshops, such a disc can be machined and polished on both sides to the same depth, but after processing, the thickness of the disc must not be less than the minimum allowable.
The minimum allowable brake disc thickness is 9.5 mm.
If the disc is thinner, it must be replaced.
The axial runout of the brake disc surface must not exceed 0.15 mm.
You will need: keys "for 10", "for 14", "for 17", "for 27" (preferably a head with a strong collar), pliers, punch, screwdriver, hammer.
Remove the caliper (see "Removing and installing the front brake caliper") without disconnecting the brake hose from it.
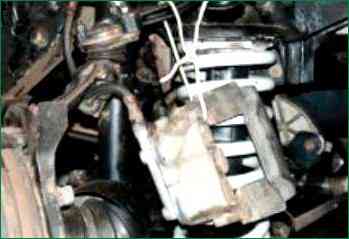
Suspend the caliper on a rope or wire, while making sure that the brake hose is not twisted or too tight.
Remove the brake pads (see Replacing the front brake pads).
Mark them so that they can be reinstalled when reassembling.
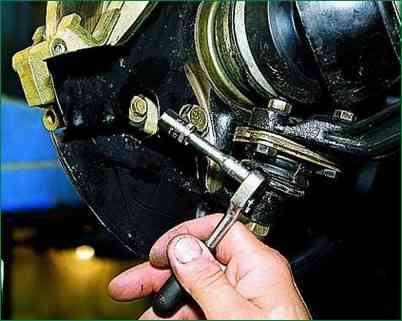
Remove the cover bolt.
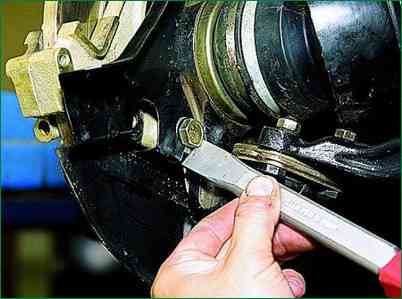
Bend off the tab of the retaining plate of the upper and lower bolts securing the shoe guide to the steering knuckle with a screwdriver
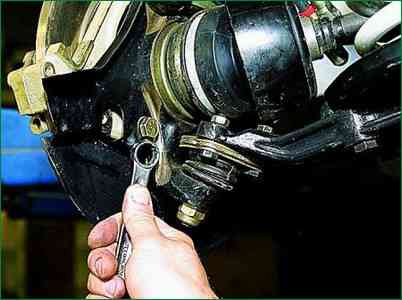
Remove the lower (shown in the photo) and upper bolts of the shoe guide
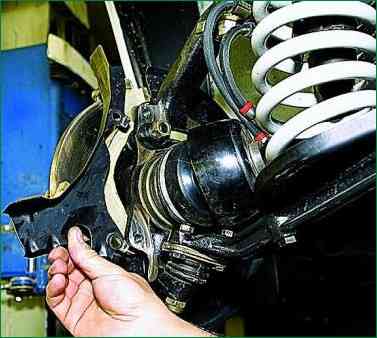
Remove the cover
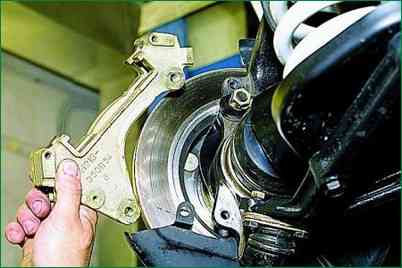
Remove the shoe guide
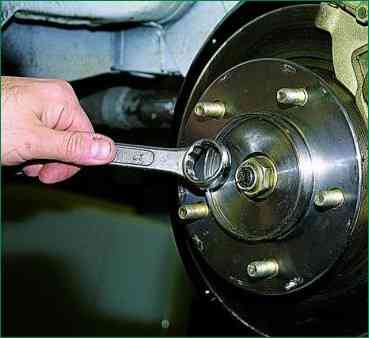
Unscrew the hub nut
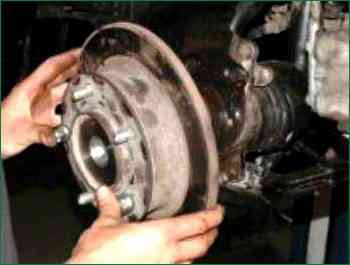
remove the hub assembly with the brake disc
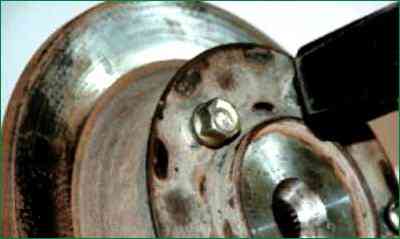
Screw the nuts onto the studs so as not to damage the threads of the studs, and knock out the studs (one is shown in the photo).
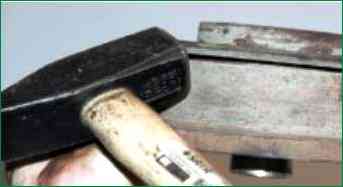
Taking the edge of the hub with a hammer will separate the hub from the brake disc.
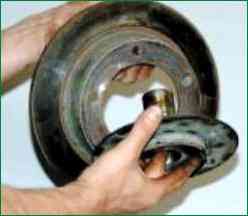
Install the new brake disc and removed parts in the reverse order of removal.
In this case, do not forget to lock the bolts of the guide pads by bending the antennae of the locking plates.
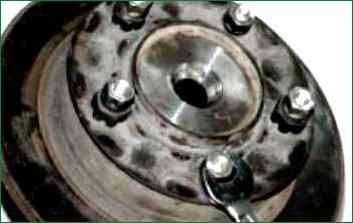
For back presses For previously pressed out studs, you can use the wheel nuts.
Thread them onto the ends of the studs through spacers (you can use larger nuts as spacers) and evenly tighten crosswise until the studs are completely pressed into the disk and hub.
Before installing the disc, thoroughly clean the mating surfaces of the hub and disc from rust and scale, as their smallest particle, sandwiched between the mating surfaces, will cause the disc to beat and vibrate when braking.
If you are installing an old disc, use a file to remove the shoulders on the working surfaces of the disc, formed as a result of wear on the disc on both sides.


