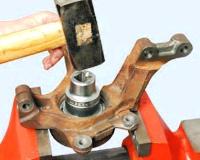
Preparing the car for work
Use a 10 key to unscrew and remove the negative battery terminal
Removing the air filter housing, article - How to replace the air filter
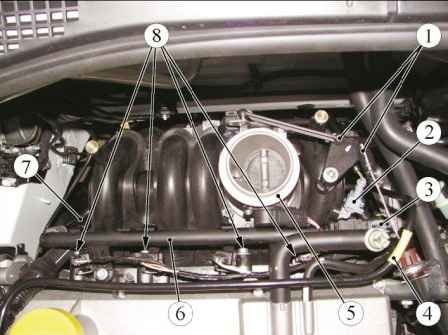
Using a slotted screwdriver, disconnect the ball ends 1 (Figure 1) of the throttle actuator.
Disconnect block 2 of the wiring harness from the temperature sensor.
Disconnect block 3 of the wiring harness from the pressure sensor.
Disconnect the crankcase ventilation tube 4 from the intake manifold.
Disconnect the crankcase ventilation hose from the intake manifold.
Remove throttle body 5
Press the connector latch and disconnect the supply pipe 7 from the fuel rail 6.
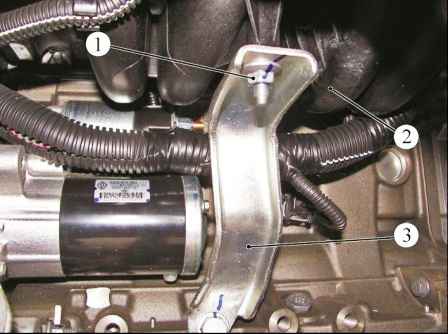
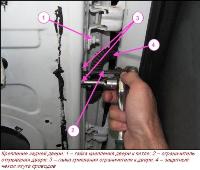
With a head of 13, unscrew the nut 1 (Figure 2) of the studs securing the intake manifold 2 to the bracket 3.
Disconnect the intake manifold wiring harness.
With a head of 10, we unscrew the four upper bolts 8 (Figure 1), fastening the intake manifold.
With a 10 head, we unscrew the three nuts of the lower intake manifold mounting.
Remove the intake manifold
Install
Install the intake manifold and use a 10 key to tighten the lower central fastening nut.
Install the bolts and nuts of the intake manifold (replaceable head 10, 13, extension, ratchet wrench).
Tightening torques:
- - intake manifold mounting bolts 25 Nm (2.5 kgf.m);
- - intake manifold nuts 25 Nm (2.5 kgf.m).
Further installation is carried out in the reverse order of removal.
With a key of 10, we connect the ground wire terminal to the battery.
Replacing the gaskets for the intake pipe of the K7M engine
Four gaskets are installed between the cylinder head and the intake pipe
If the tightness of these gaskets is violated, the engine runs unevenly ("troit")
If tightening the intake pipe does not fix the problem, then the gaskets must be replaced
For this:
Reducing the pressure in the power system
Disconnect the negative battery terminal
Removing the air filter housing, article - Removing the air filter
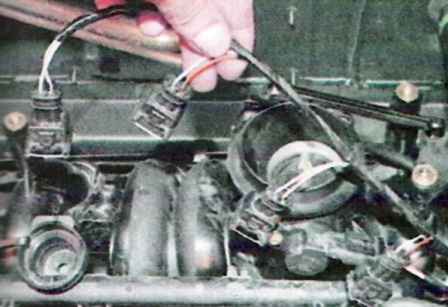
We press the latches and disconnect the wire blocks from the injectors
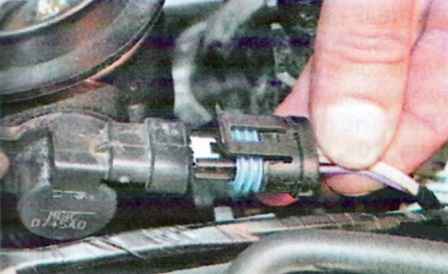
Disconnect the block from the throttle position sensor
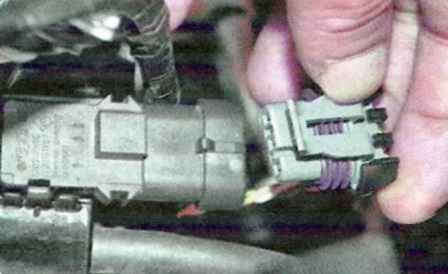
Disconnect the block from the absolute pressure sensor
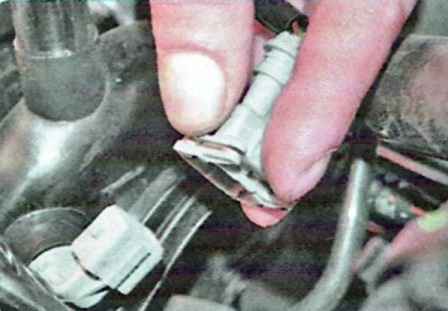
Disconnect the block from the intake air temperature sensor
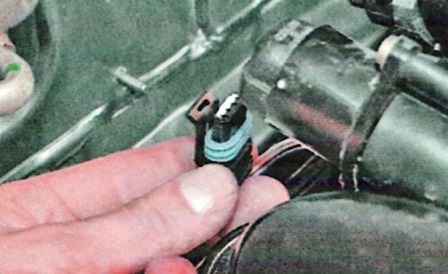
Disconnect the block from the idle speed controller
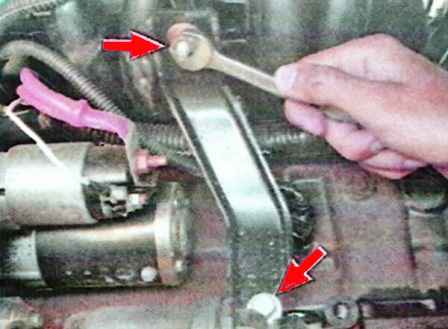
We unscrew the nut securing the spacer to the intake pipe and the bolt to the cylinder block
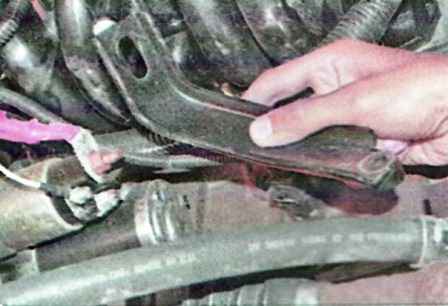
Remove the spacer
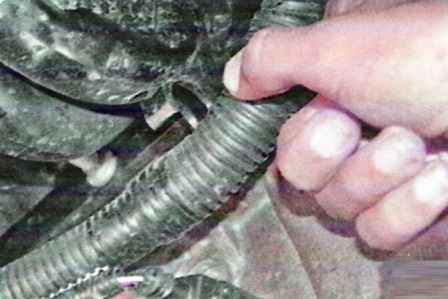
Remove the engine harness from the holders on the rear intake pipe
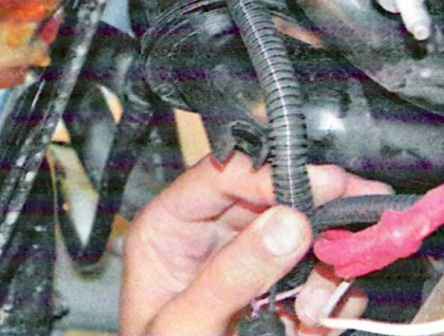
We remove the engine harness from the holders on the intake pipe in front
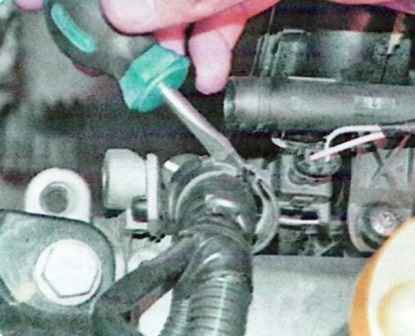
Using a screwdriver, unfasten the upper holders of the engine harness in front
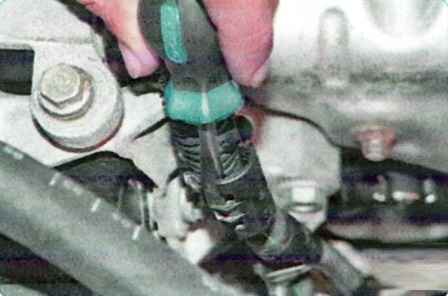
Unfasten the harness holders at the back
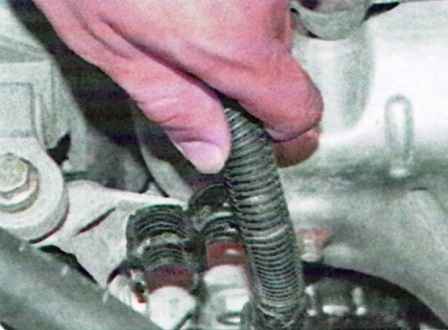
Remove the harness from the front holder
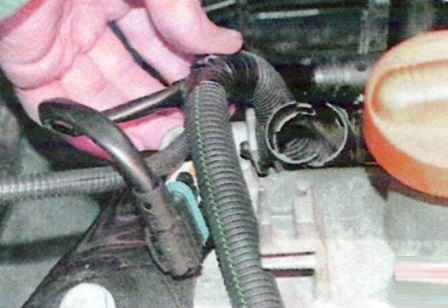
Remove the harness from the rear holder
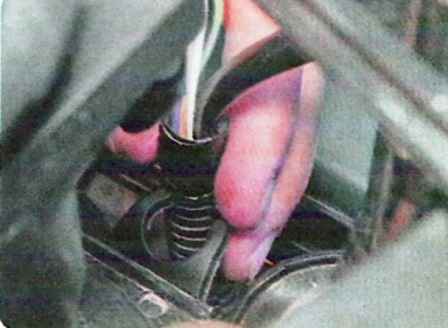
Remove the harness from the middle upper holder on the inlet pipe
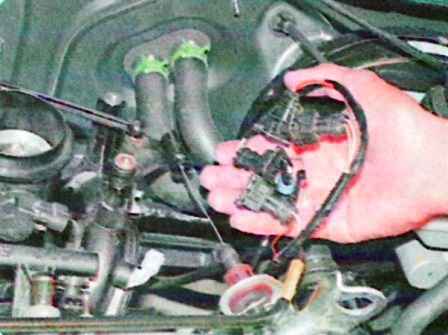
Take the tourniquet to the side
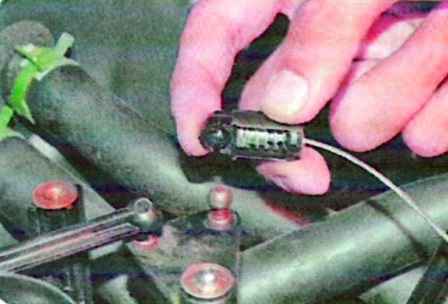
Remove the end of the throttle cable from the ball pin of the intermediate lever
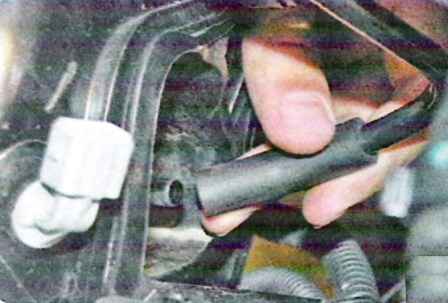
Disconnect the adsorber purge hose from the inlet pipe
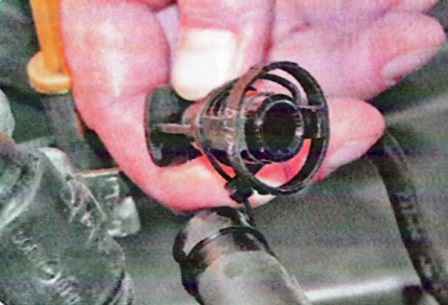
Disconnect the fuel line from the fuel rail
Disconnect the hose to the vacuum brake booster from the inlet pipe by squeezing the latches of its fastening
Note:
If you have experience, then the above operations for disconnecting hoses and wires can be omitted, since in order to replace the gaskets of the intake pipe, it is enough to take it away from the cylinder head as far as the flexibility of the hoses and wires allows.
The following operations are shown on the removed cylinder head for clarity
Remove the throttle body
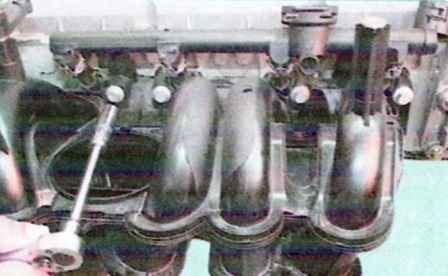
We unscrew the four bolts of the upper fastening
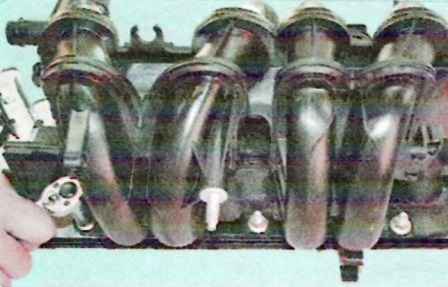
We unscrew the three nuts of the lower fastening
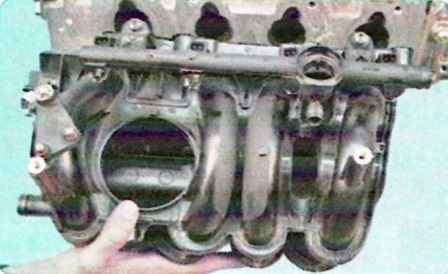
And disconnect the intake pipe from the cylinder head
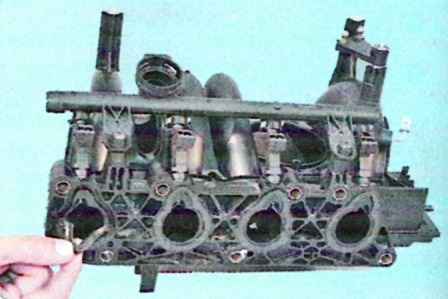
Remove the gaskets from the grooves of the intake pipe flange. We clean the grooves from the remnants of old gaskets
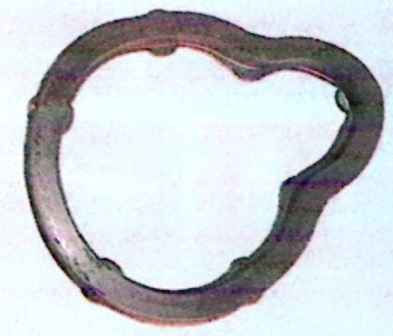
Heavily compressed, hardened or torn gaskets are replaced
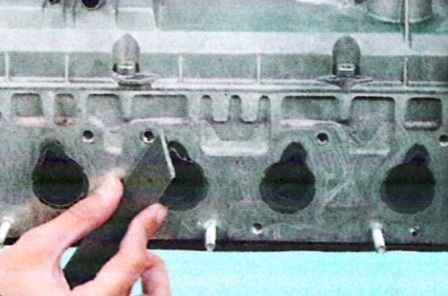
Before installing the intake pipe, we clean the flange of the block head from the remnants of the old gasket
We put the gaskets in the grooves of the inlet pipe flange and install the inlet pipe on the cylinder head
We tighten the bolts and nuts of the inlet pipe with a torque of 25 Nm evenly crosswise, starting with the outer nuts and bolts and moving on to the middle ones
Install all parts in reverse order


